
AB ROLLOUT
AB rollout is not an exercise to send the wheel as far as possible, but an anti-extension exercise in which the ribs and pelvis are fixed and the shoulder lever is lengthened with the abdomen.
When you place your knees and push the abdominal roller forward, the force to straighten your lower back increases rapidly as your arms move away from your body. If you push the wheel further after your abdomen cannot hold it, your lower back will sag and it will return to your shoulders. From the starting position with your glutes tight and your ribs down, roll very briefly and then return to the same body shape.
- Primary muscles
- Rectus abdominis · Transverse abdominis
- Secondary muscles
- Latissimus dorsi, serratus anterior, triceps, gluteus
- Difficulty
- Intermediate
- Movement type
- Knee Support Long Lever Anti-extension
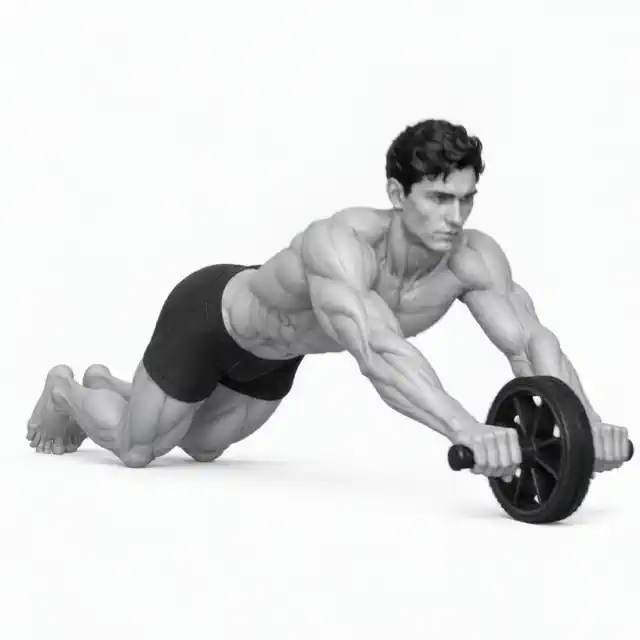
Does the wheel have to go all the way to the floor?
No. Roll only to a distance that does not bend your back. It is safe to use a wall as a stopper.
STEP BY STEP
4 Steps for One Complete Rep
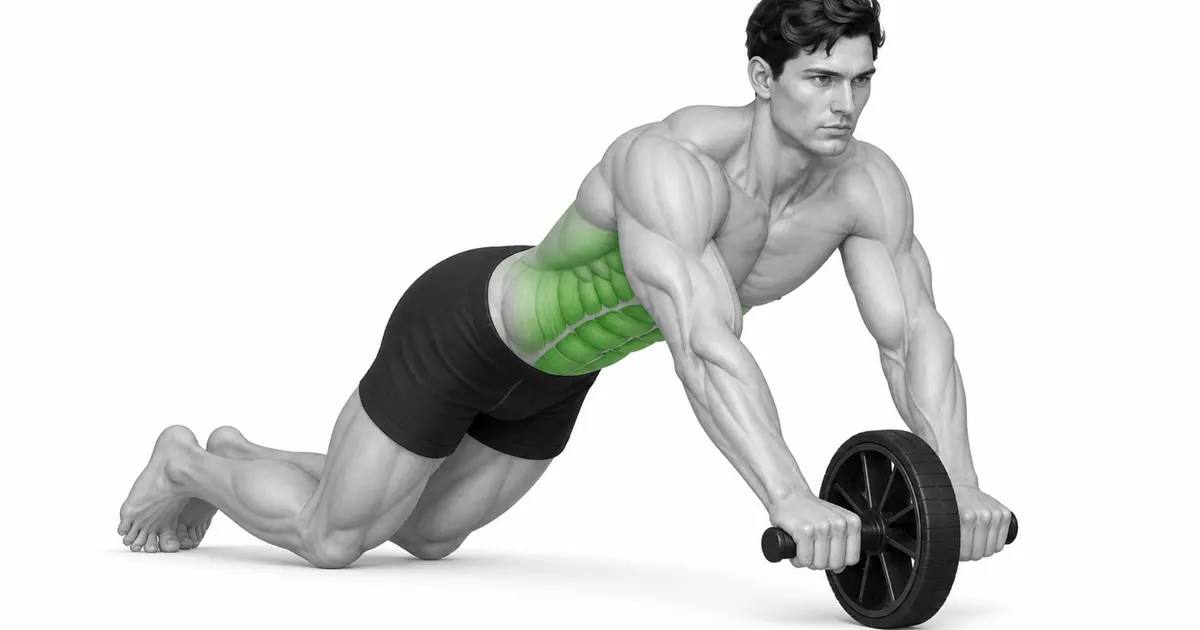
- 1
Aligning knee pads and wheels
Place your knees on the pad at hip width and hold the wheel handle in the same position with both hands. Keep your wrist close to a straight line with your forearm.
- 2
Locking ribs and pelvis
Squeeze your glutes, gently roll your pelvis back, and exhale to lower your ribs. Place the wheel below or slightly in front of your shoulders.
- 3
Roll forward while maintaining body shape
Slowly bend your shoulders and move the wheel forward. Lengthen your entire body, leaving only your hips behind, and stop just before your lower back sags.
- 4
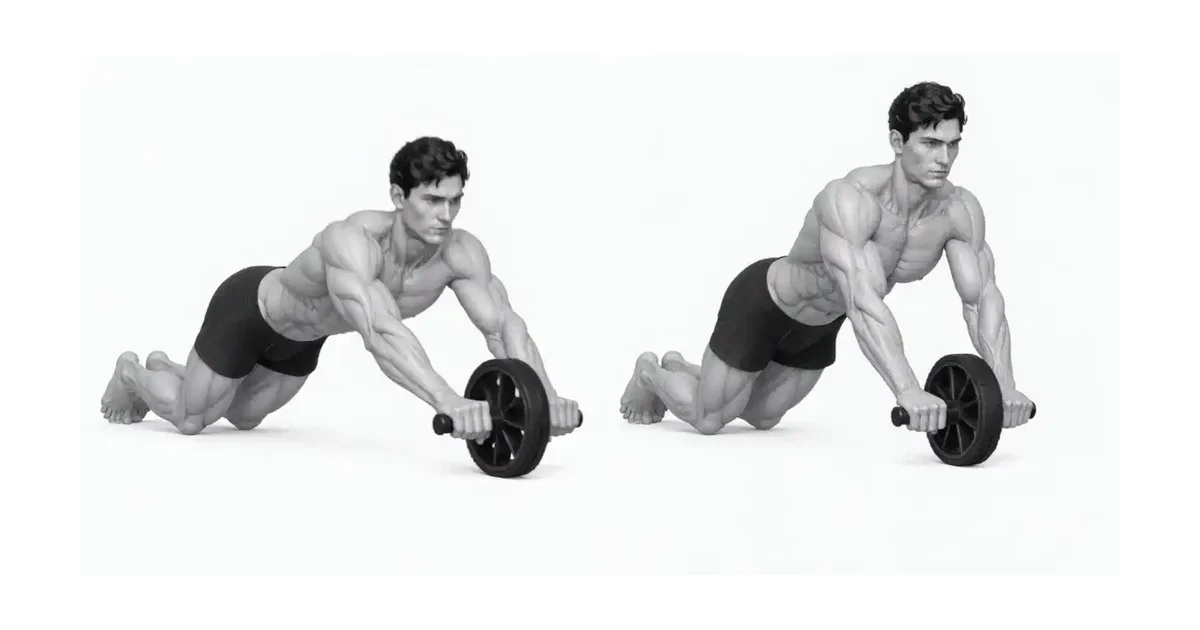
Return by pulling the wheel with your lats and abdomen
Pull your arms as if pressing down on the floor and roll the wheel toward your knees. Return to the starting position without changing the shape of your pelvis and ribs.
OWN THE RANGE
The current range is the point where the waist does not bend more than the distance of the wheel.
Even a short roll of 20 to 30 cm is effective as long as abdominal tension is maintained. Don't compare it to the video of the wheel going far.
Performed in front of a wall, the wheel will stop at a set distance, allowing you to safely learn the range.
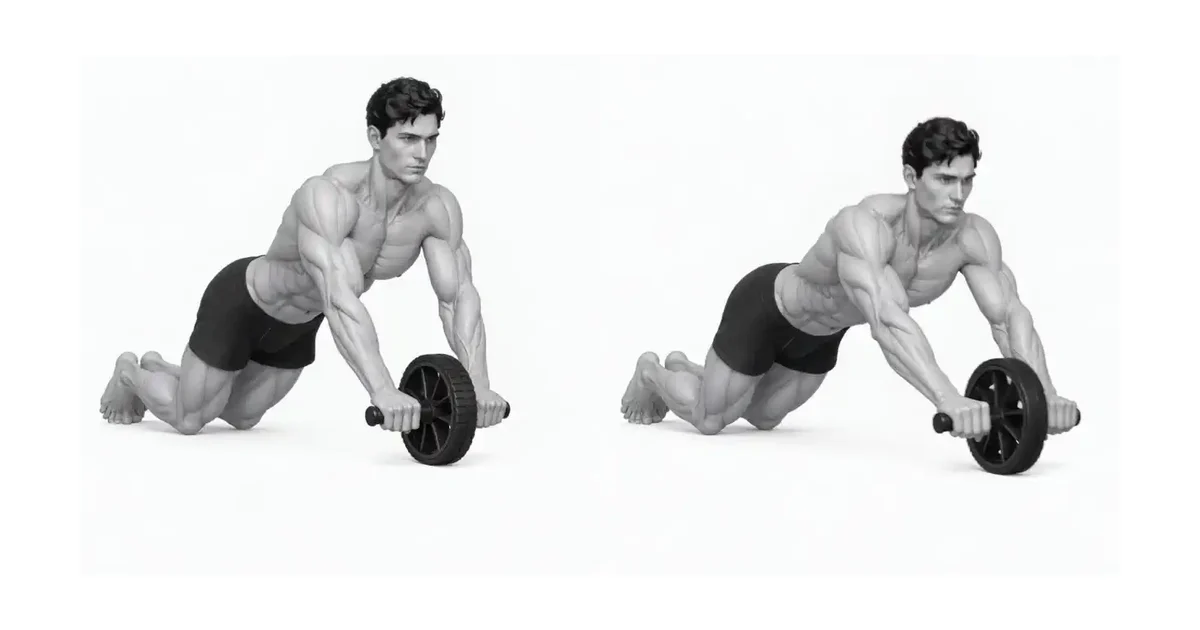
Key point: Cue to try right away: “Lock your ribs and pelvis and lengthen your entire body.”
PULL FROM THE SHOULDERS
The return is made by pulling the arms towards the body rather than folding the hips back.
If you pull your hips back first, abdominal tension is reduced and only the wheel returns to your knees. Maintain the shape of your torso and thighs.
Squeeze your armpits with your lats, press the wheel down to the floor and pull.
TROUBLESHOOTING
Fix the cause of a mistake, not just its appearance
Waist sags down
- What you see
- At the bottom, your stomach sinks toward the floor and you feel pressure in your lower back.
- Likely cause
- The wheel was sent farther than the anti-stretch ability.
- How to correct it
- Use the wall as a stopper and reduce the range to less than half to maintain posterior pelvic tilt.
Return with your butt back
- What you see
- The pelvis moves toward the heels before the wheel turns.
- Likely cause
- Unable to pull the wheel with shoulders and lats.
- How to correct it
- Practice squeezing your armpits and bringing your entire body back together at short ranges.
Rolls against wrist and shoulder
- What you see
- The wrist is bent and pressure is concentrated on the front of the shoulder.
- Likely cause
- Wheel center and wrist are not aligned or the range is excessive.
- How to correct it
- With your wrists straight, start the wheel below your shoulders and roll only short distances.
REGRESSION & PROGRESSION
Match the difficulty before adding load
Dead bug
Learn rib and pelvic fixation on the floor.
Stability Ball Rollout
Adjust lever at high support.
Wall limited knee rollout
Repeat over a defined short range.
Full range knee rollout
Increase distance when waist alignment is maintained.
BEGINNER PROGRAM
A practical starting framework
Don't roll to the point of failure, always leave room for one or two perfect repetitions. Recording your distance from the wall will help you accurately manage your range progression.
Count
4–12 times
Descent 2-4 seconds, range controlled
Set
2–4 sets
60–120 seconds recovery between sets
Frequency
2–3 times a week
Consider abdominal and shoulder recovery
- If the lower back and pelvis are maintained, gradually increase the distance from the wall.
- If you experience sagging lower back, hip precession, or wrist pain, immediately reduce the range.
- Standing rollout should be considered only after full knee range is fully controlled.
Frequently asked questions
Can I return my buttocks to my heels?
You can get closer at the end of the return, but first folding your hips to pull the wheel will reduce target tension. Come back by maintaining your torso shape.
Can I jump straight to the standing rollout?
Not recommended. The levers are significantly longer so you have full control of your knee range and move through progressively higher support variations.


