
ASSAULT BIKE
The assault bike is not a machine that pedals with full power from the beginning, but is a full-body aerobic equipment that adjusts the output by adjusting the saddle and foot position and alternating pushing and pulling of the upper and lower body.
As the speed of the fan bike increases, the air resistance increases, allowing very high strength to be created in a short period of time. Sprinting from the start will ruin your form and the quality of your subsequent intervals will drop dramatically. Adjust the saddle so that your knees are slightly bent at the lowest point of the pedal, learn the rhythm of moving the opposite arm and leg together at a light speed, and then distribute the output according to the target time.
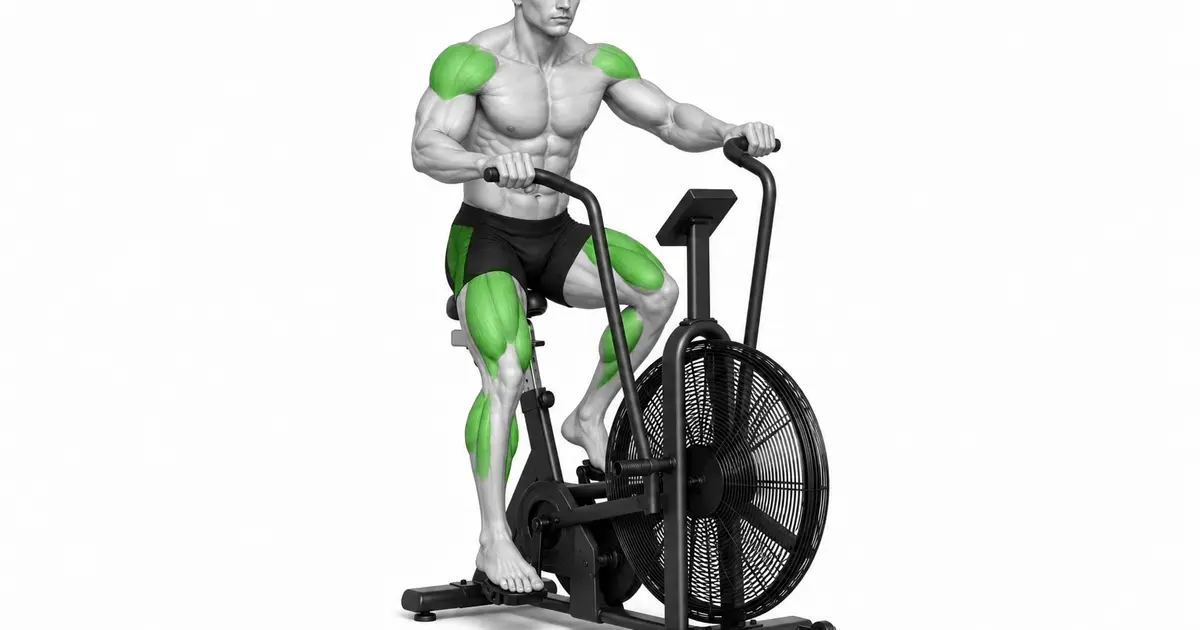
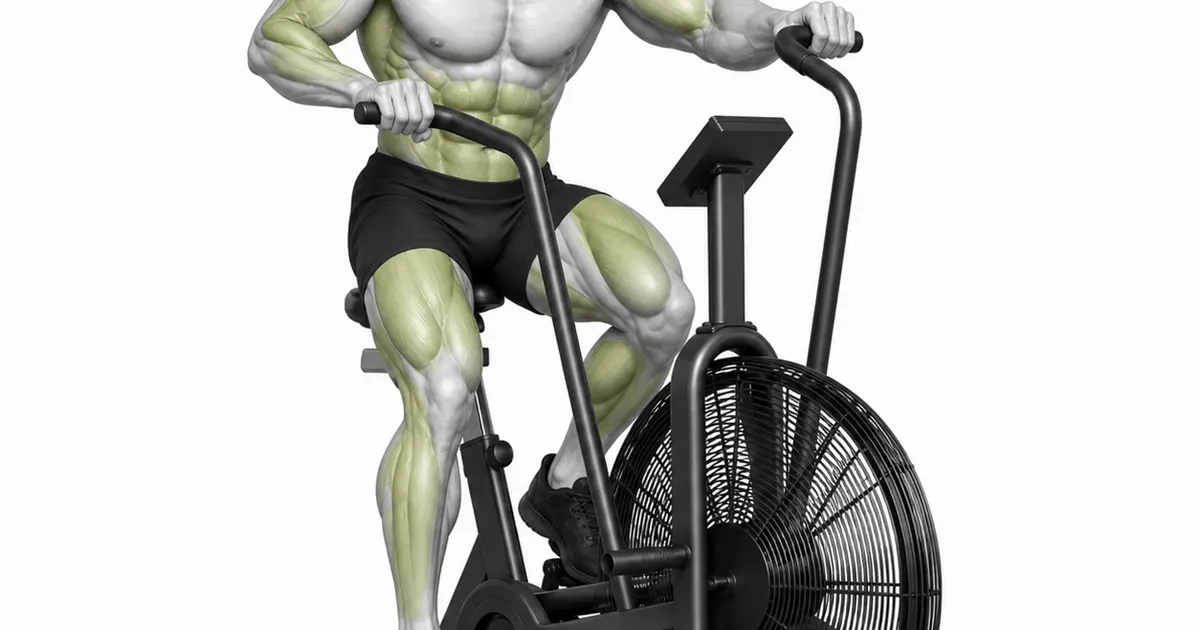
- Primary muscles
- Quadriceps, gluteus maximus, deltoids
- Secondary muscles
- Hamstrings, calves, lats, triceps, core
- Difficulty
- Intermediate
- Movement type
- Simultaneous upper and lower body push and pull pedaling
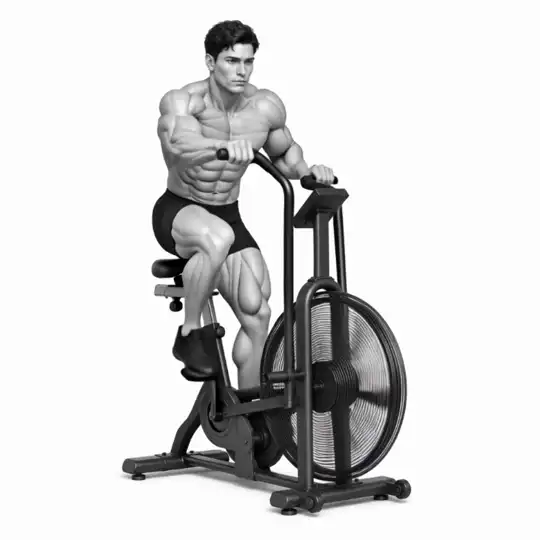
Do assault bikes always require high intensity?
No. It can also be used for low-intensity continuous cardio and warm-ups, and the fan resistance adjusts naturally based on speed.
STEP BY STEP
4 Steps for One Complete Rep
- 1
Fitting saddle and foot straps
Sit on the saddle and make sure your pelvis is not tilted and your knees are slightly bent at the lowest point of the pedal. Place the ball of your foot on the pedal and secure the strap.
- 2
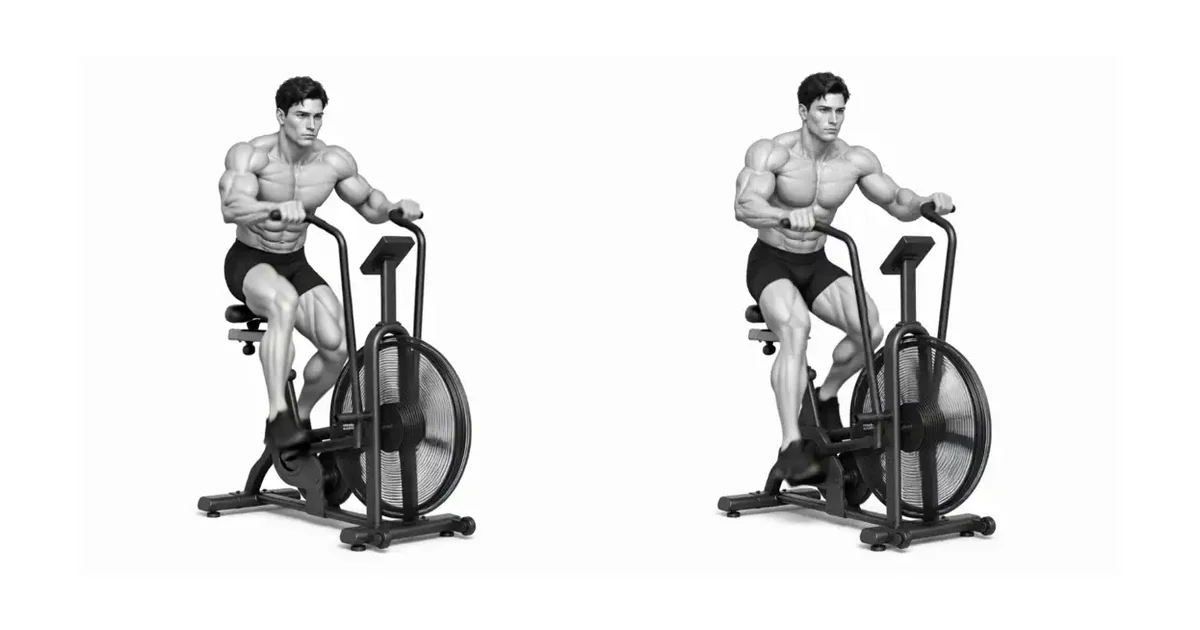
Learn upper and lower body rhythm at low speed
When one foot pushes, the hand on the same side pulls and the opposite hand pushes, creating a cross rhythm. Avoid shaking your torso from side to side.
- 3
Increase output according to target section
Actively push and pull the handle instead of just stepping on it. Start at a pace you can maintain for the scheduled time.
- 4
Slow down by continuously moving the pedal
After working, do not stop suddenly and pedal lightly to recover your breathing. After the fan and pedal have almost stopped, take your foot off.
PACE THE FAN
Fan resistance increases with speed, so even small speed differences significantly change fatigue.
If you're working for more than 30 seconds, maintaining power throughout is more important than sprinting for the first few seconds.
Select one of the indicators on the screen: Watts, Calories, or RPM to check the variation between repetitions.
Key point: Cue to try right now: “Suppress the first 5 seconds and keep the same rhythm until the end.”
PUSH AND PULL
Arms actively push and pull rather than hanging from a handle
Keep your shoulders low and elbows soft. Make sure your torso does not rotate with you as you push the handle away.
It is possible to drill using only the lower body or only the upper body, but a typical full body set links the two together.
TROUBLESHOOTING
Fix the cause of a mistake, not just its appearance
Sprint from the first section
- What you see
- After a few seconds, RPMs drop sharply and posture and breathing collapse.
- Likely cause
- Instantaneous output was prioritized over total operation time.
- How to correct it
- Lower first iteration output and maintain similar metrics at all intervals.
The saddle is low and the knees are bent excessively.
- What you see
- The knee bends significantly at the top of the pedal and the front knee is uncomfortable.
- Likely cause
- The saddle is set low for convenience.
- How to correct it
- Raise it to a height where your knees are slightly bent at the lowest point and check for pelvic sway.
Body rotates left and right along the handle
- What you see
- My ribs and pelvis rotate alternately, and my back feels uncomfortable.
- Likely cause
- Excessive output or insufficient core support.
- How to correct it
- Slow down and keep your torso in front of you and only push and pull with your arms.
REGRESSION & PROGRESSION
Match the difficulty before adding load
Interval Training
improve calorie consumption efficiency by repeating high and low intensity.
Increased time and resistance
Strengthen your stamina by increasing performance time or increasing the resistance level of the machine.
BEGINNER PROGRAM
A practical starting framework
Beginners start with 4-8 reps of 10-20 seconds of work and 40-60 seconds of recovery. As the output deviation increases with each iteration, recovery is prioritized over additional rounds.
Frequency
3 to 5 times a week
If your goal is to lose body fat, it is important to do it consistently.
Volume
20~40 minutes
Gradually increase the time according to your fitness level.
- Do this while drinking plenty of water.
- Protect your joints through light stretching before and after exercise.
Frequently asked questions
Should I put more strength on my arms or legs?
Typically, the two are used together to distribute the output. Unless it's a specific drill, keep your torso still and utilize both pushes and pulls.
Can I stop completely between intervals?
Program dependent, but light pedaling helps avoid sudden stops and prepares you for the rhythm of the next section.


