
CURTSY LUNGE
Kersey lunge is not a movement that involves crossing the back foot far away, but rather a lunge that controls small diagonal steps with the front knee and pelvis in front.
Sending your back foot diagonally behind your supporting leg creates greater rotation and lateral stability demands than a regular reverse lunge. Excessive crossing width can cause your front knee to twist or your pelvis to rotate, so start with a small range that allows you to keep your front knee pointed toward your toes without pain.
- Primary muscles
- Gluteus maximus, quadriceps femoris
- Secondary muscles
- Gluteus medius, adductors, hamstrings, core
- Difficulty
- Intermediate
- Movement type
- Rear diagonal lunge
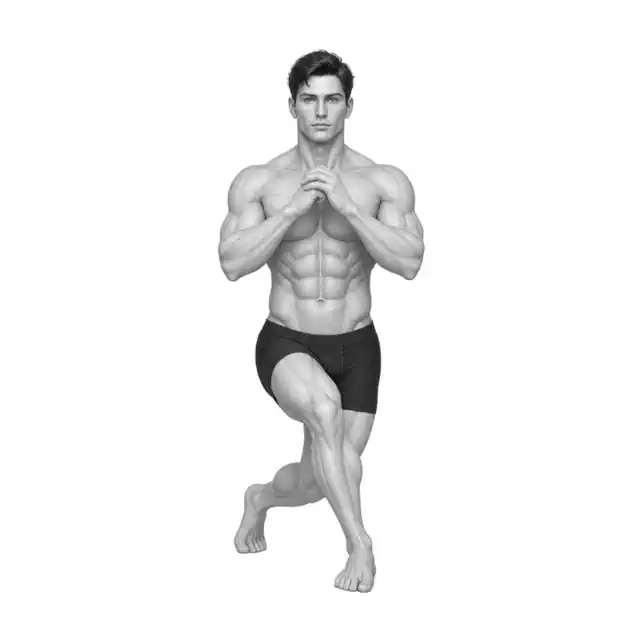
How far should I put my back foot?
A small diagonal line that keeps the front knee and pelvis facing forward is sufficient. Deep intersection is not the goal.
STEP BY STEP
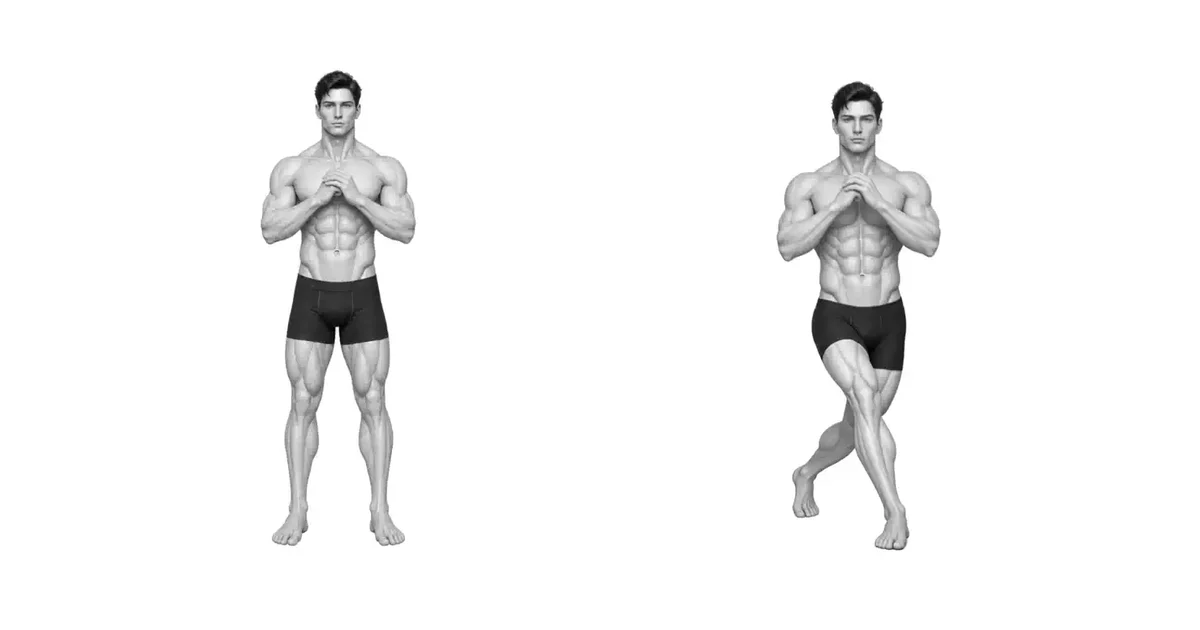
4 Steps for One Complete Rep
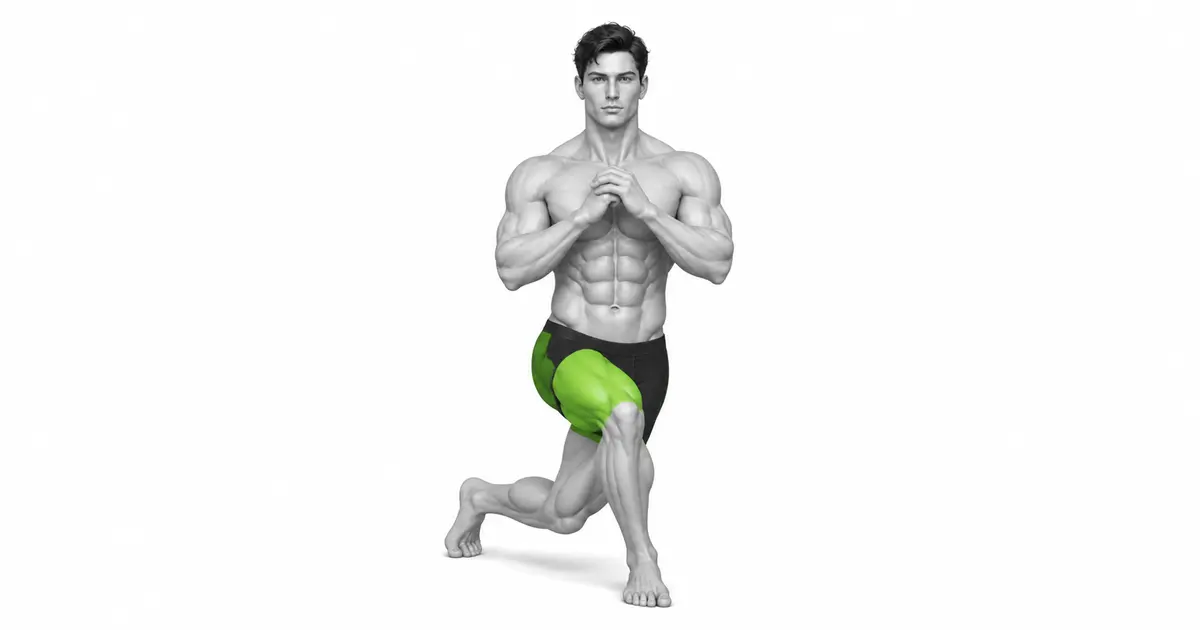
- 1
Place front foot and pelvis in front
Place your feet hip-width apart and press through your entire front foot. Tighten your abdomen and buttocks of your supporting leg so that your pelvic bones face forward.
- 2
Move your hind feet in a small diagonal motion
Step one foot behind the opposite leg, but do not cross it too far. Lightly touch the floor with the front heel of your back foot.
- 3
Lower the front knee while maintaining the direction
Bend your front knee and hip joint and lower your back knee toward the floor. Stop before your front knee bends inward or your pelvis rotates.
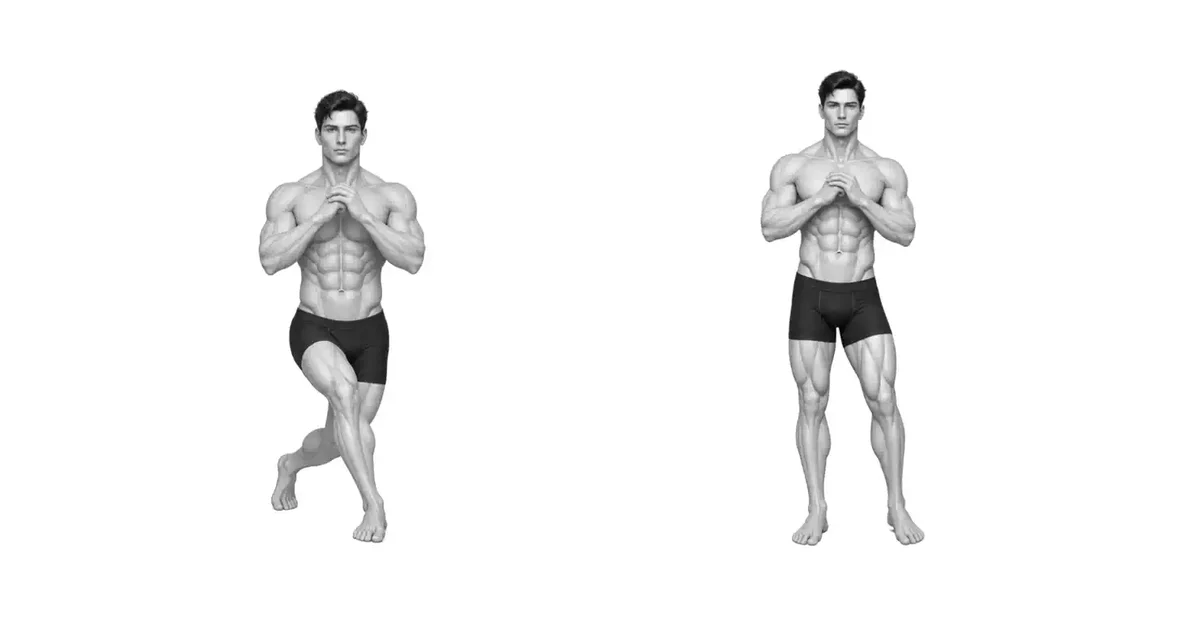
- 4
Return to the front by pushing with the front foot
Push into the floor with your entire front foot, bringing your back foot to the starting position. Do not twist your torso or kick strongly with your back foot.
SMALL CROSS-BACK
Crossing distance is determined by knee and pelvis alignment, not stimulation
The farther you place your feet, the better your workout will be. It is sufficient if the front knee remains in the direction of the second toe and the pelvis is straight ahead.
If you feel any twist in your knees or hips, immediately reduce your crossover width or switch to a regular reverse lunge.
Key point: Cue to use right away: “Small diagonal, front knee towards toes.”
PELVIC CONTROL
Move on your front leg with your torso and pelvis facing forward.
If your pelvis rotates when you step backwards, your front knee is likely to twist. Think of both pelvic bones facing the front wall.
If balance is difficult, hold the support with one hand and learn the front foot pressure before the crossing angle.
TROUBLESHOOTING
Fix the cause of a mistake, not just its appearance
Excessive crossing of hind feet
- What you see
- The front knee bends inward and the pelvis rotates significantly.
- Likely cause
- Large crossover range confused with glute stimulation.
- How to correct it
- Move your back foot outward and repeat, starting with small diagonal steps.
Inside front foot collapses
- What you see
- Outside of foot or heel floats and knee moves in.
- Likely cause
- Lack of lateral stability at current range.
- How to correct it
- Press the foot tripod, reduce depth and weight.
Return by twisting the torso
- What you see
- The shoulders turn and the back foot kicks back.
- Likely cause
- Depth difficult to control with front legs.
- How to correct it
- Place your pelvis and chest in front and push toward the center with your front foot only.
REGRESSION & PROGRESSION
Match the difficulty before adding load
Reverse Lunge
Learn front knee alignment in a straight backward step.
Support Kersh Tab
Practice pelvic control with shallow diagonal steps.
Bodyweight lunge
Adjust the left and right intersection width and depth.
Dumbell Kersey Lunge
Slight increase only when alignment is maintained.
BEGINNER PROGRAM
A practical starting framework
Reverse lunge is optional for those who are comfortable and stable. If you have discomfort in your knees or hip joints, do not insist on the Kersey variation.
Count
6–12 times each
small cross, descent 2 seconds
Set
2–3 sets each
60–120 seconds recovery after both sides
Frequency
1–2 times a week
Different unilateral lunges and volume control
- If your front knee and pelvis remain in front, increase the number of repetitions first.
- If torsion or in-foot collapse occurs, reduce crossing width and depth.
- If you have joint pain, substitute regular reverse lunges.
Frequently asked questions
Is it more effective on the side of the buttocks?
Lateral stability needs may increase, but don't sacrifice joint alignment for stimulation. Side lunges or step-ups are also good alternatives.
Can I continue if my knee is uncomfortable?
Twisting pain is not a normal muscle irritation. If it persists even after reducing the crossing width, stop exercising.


