
HANDSTAND PUSH-UP
A high-level bodyweight movement that improves shoulder strength and coordination by pressing your own weight
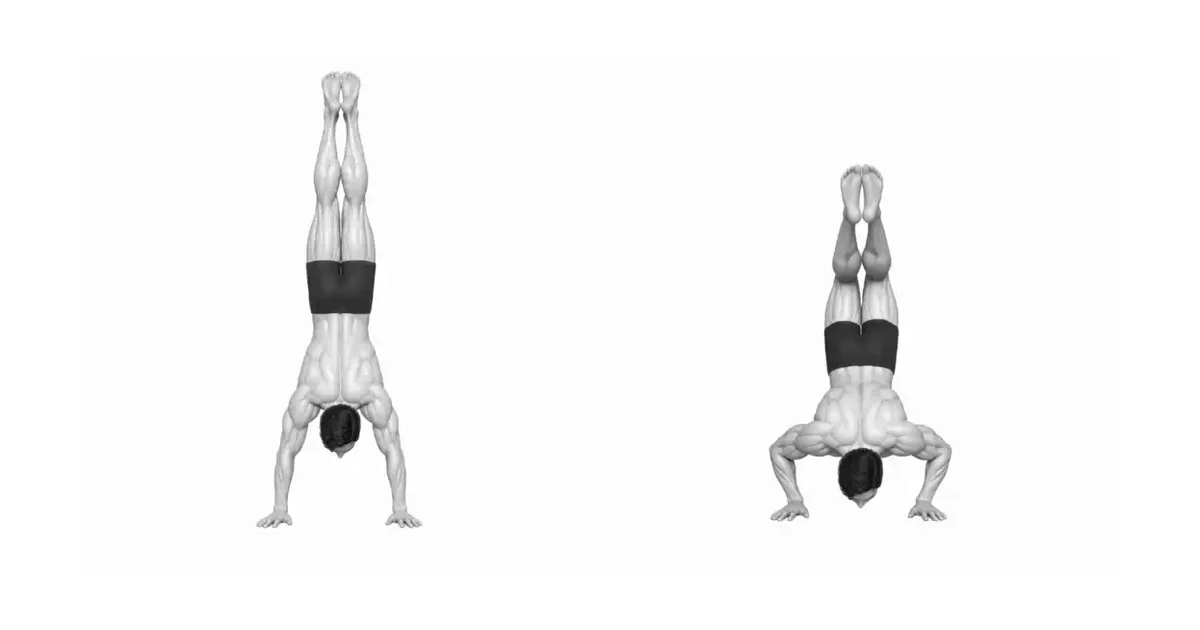
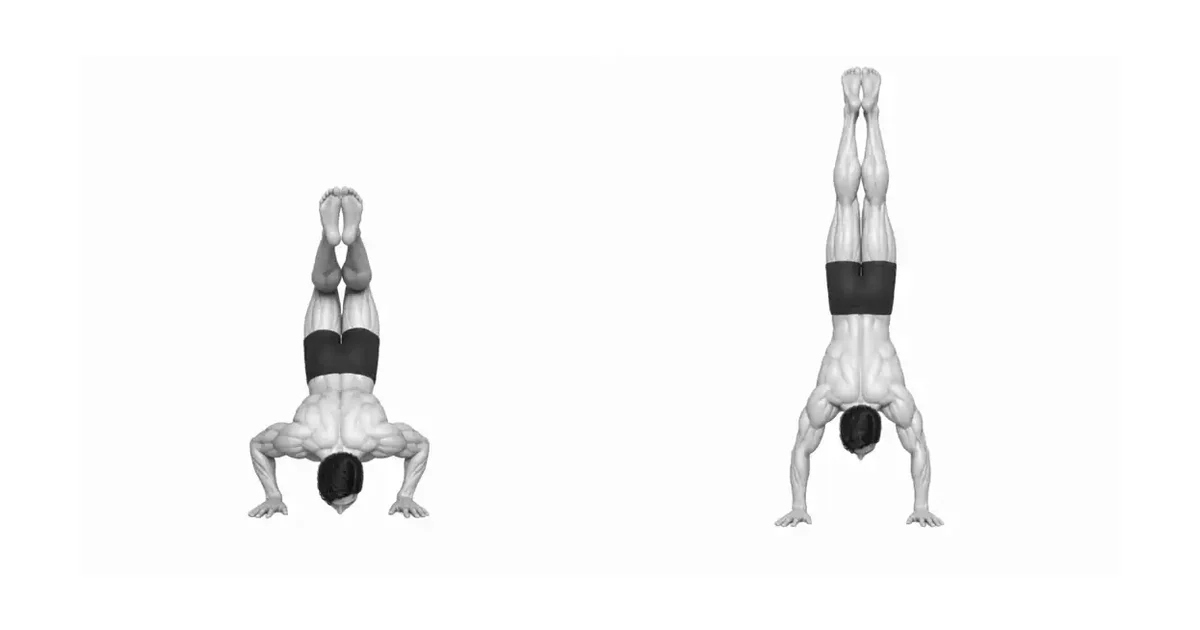
Stand facing a wall and place your hands on the floor about 6-8 inches away. Kick up into a handstand, resting your heels against the wall. Brace your core and maintain a straight line from heels to hands. Inhale as you bend your elbows and lower your head toward the floor until it lightly touches. Exhale and drive through your palms to return to the starting position, locking out your arms at the top.
- Primary muscles
- Anterior Deltoid · Lateral Deltoid
- Secondary muscles
- Triceps Brachii · Upper Trapezius · Core
- Difficulty
- Advanced
- Movement type
- Vertical Push
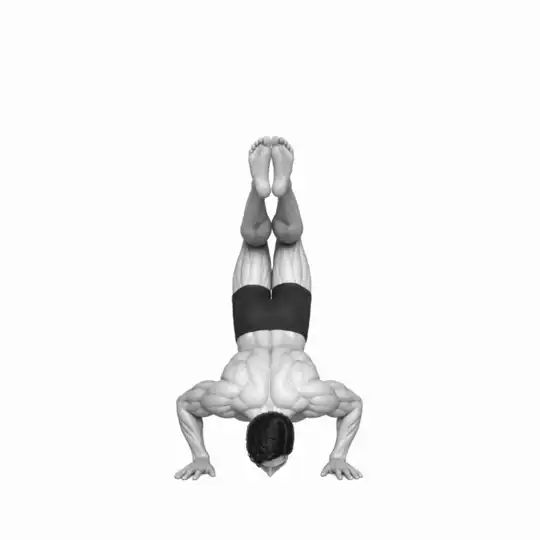
Can I do these without a wall?
Freestanding HSPUs are possible but require extreme balance. For strength building, the wall-supported version is more effective for most people.
STEP BY STEP
4 Steps for One Complete Rep
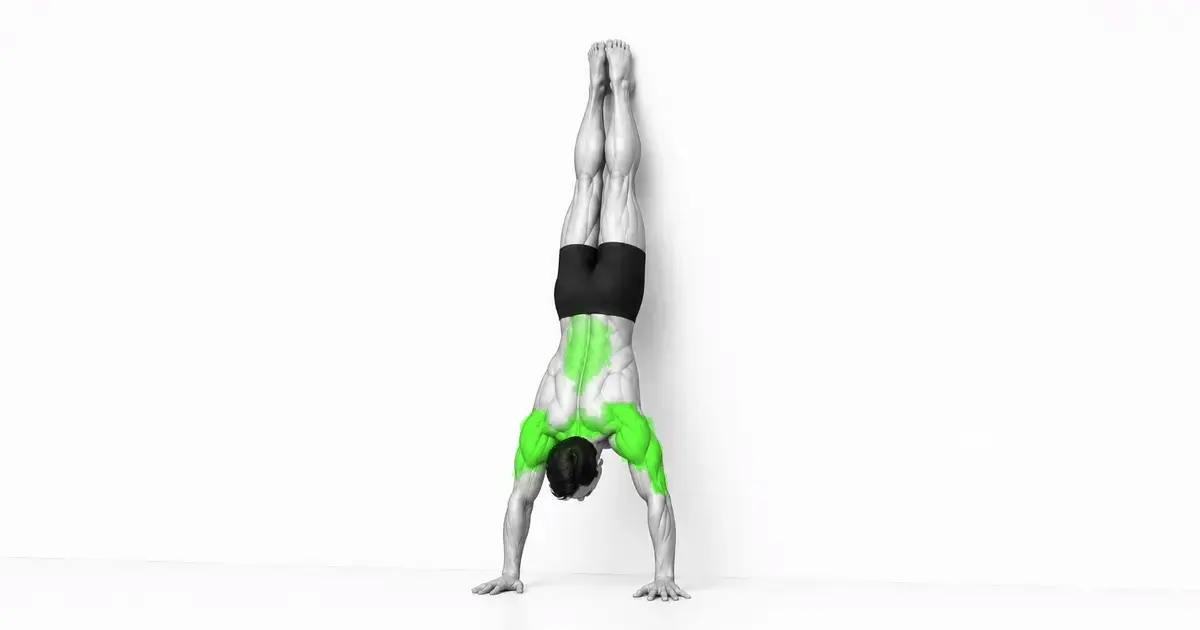
- 1
Wall kick-up
Kick up into a handstand against the wall. Keep your gaze between your hands or slightly ahead to maintain balance.
- 2
Controlled descent
Slowly lower yourself by bending your elbows. Keep your body rigid and avoid letting your back arch excessively.
- 3
Floor touch
Gently touch the top of your head to the floor. Maintain tension in your shoulders and arms.
- 4
Drive to lockout
Push the floor away explosively to return to the top. Focus on fully extending your elbows.
HSPU ALIGNMENT
The Tripod position for power and safety
The most critical technical element of the handstand push-up is the 'Tripod' head and hand placement. You should not lower your head in a straight line between your hands; instead, aim for a point on the floor several inches in front of your hands.
This forms a triangle (the tripod), which provides a much more mechanically advantageous pressing path for the anterior deltoids and reduces stress on the shoulder joints. Ensure your elbows tuck slightly back rather than flaring out to the sides.
RANGE, LOAD & TEMPO
Choose a range and load that keep the Handstand Push-Up repeatable
The useful range of motion ends before your torso or working joints have to change position to move the load. Keep the anterior deltoid · lateral deltoid producing the movement while the triceps brachii · upper trapezius · core support the same alignment from the first repetition to the last.
Use a controlled lowering phase of about two to three seconds and avoid bouncing through the transition. If the final repetitions become shorter, faster, or visibly different from the first, reduce the load or stop the set before technique breaks down.
Key point: Progress the Handstand Push-Up only after every repetition follows the same path without joint pain.
TROUBLESHOOTING
Fix the cause of a mistake, not just its appearance
The 'Banana Back'
- What you see
- Excessive arching of the lower back while against the wall.
- Likely cause
- Lack of core engagement or poor shoulder overhead mobility.
- How to correct it
- Squeeze your glutes and hollow your midsection to maintain a 'hollow body' position throughout the rep.
Elbow flaring
- What you see
- Elbows pointing 90 degrees out to the sides during the descent.
- Likely cause
- Incorrect movement path.
- How to correct it
- Keep your elbows tucked at a 45-degree angle relative to your torso to protect the rotator cuff and increase pressing power.
REGRESSION & PROGRESSION
Match the difficulty before adding load
Pike Push-Up
Keep your feet on the floor with hips high in the air to perform a modified press with only a portion of your body weight.
Box Handstand Push-Up
Elevate your feet on a box or bench to increase the difficulty and verticality of the pike push-up.
BEGINNER PROGRAM
A practical starting framework
The handstand push-up is the ultimate bodyweight shoulder builder. Progress through the levels until you can perform full reps.
Frequency
1-2 times per week
A high-intensity movement that requires significant recovery time.
Volume
3-5 sets of AMRAP (As Many Reps As Possible)
Focus on perfect form; stop when your technique begins to degrade.
- Never crash your head into the floor; maintain control.
- Keep your entire body as rigid as a plank.
- Focus on the 'negative' (lowering) phase to build foundational strength.
Frequently asked questions
My shoulders feel tight.
HSPUs require significant overhead mobility. Ensure you warm up your thoracic spine and shoulders thoroughly before attempting.


