
HIGH KNEES
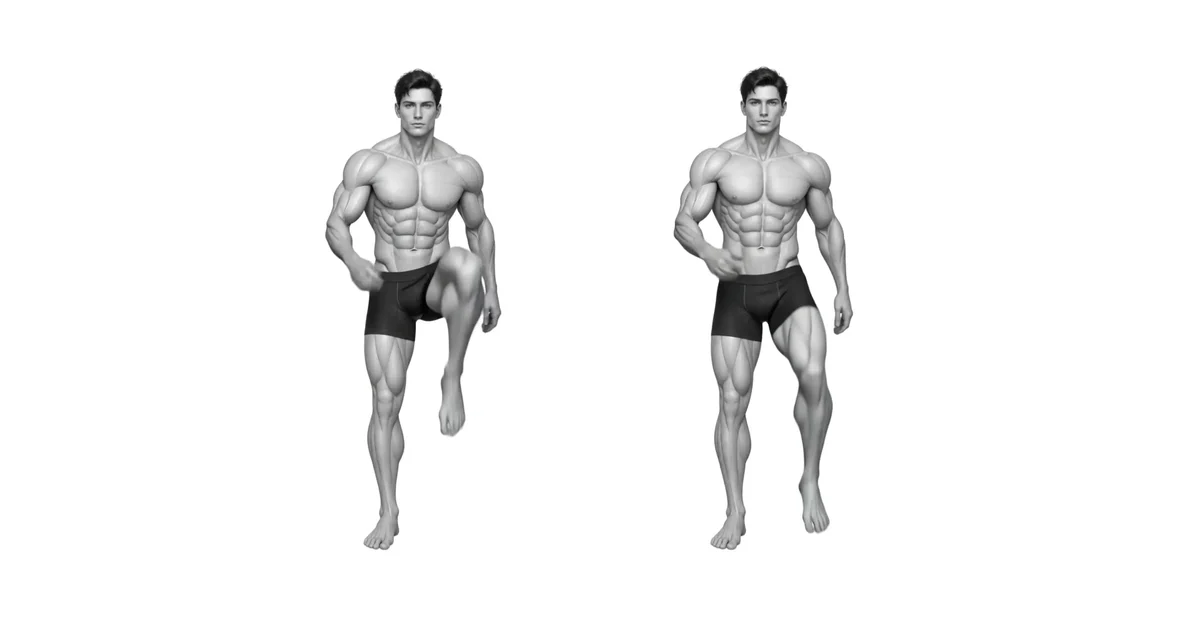
High knees are not a movement that forces your knees to be raised high. This is a rhythmic drill where you raise your torso and quietly return your feet underneath your body.
High knees are a movement that involves lifting your legs alternately while standing in place, practicing rhythm and leg speed. Classic high-knees drills can be modified for different speeds, such as marching, skipping, or fast running. Running cadence research suggests that stride length, impact, and joint load distribution in running can vary with cadence, but this cannot be altered by high-needs set knee heights or speeds. Start with marching based on your current balance, joint condition, and breathing.
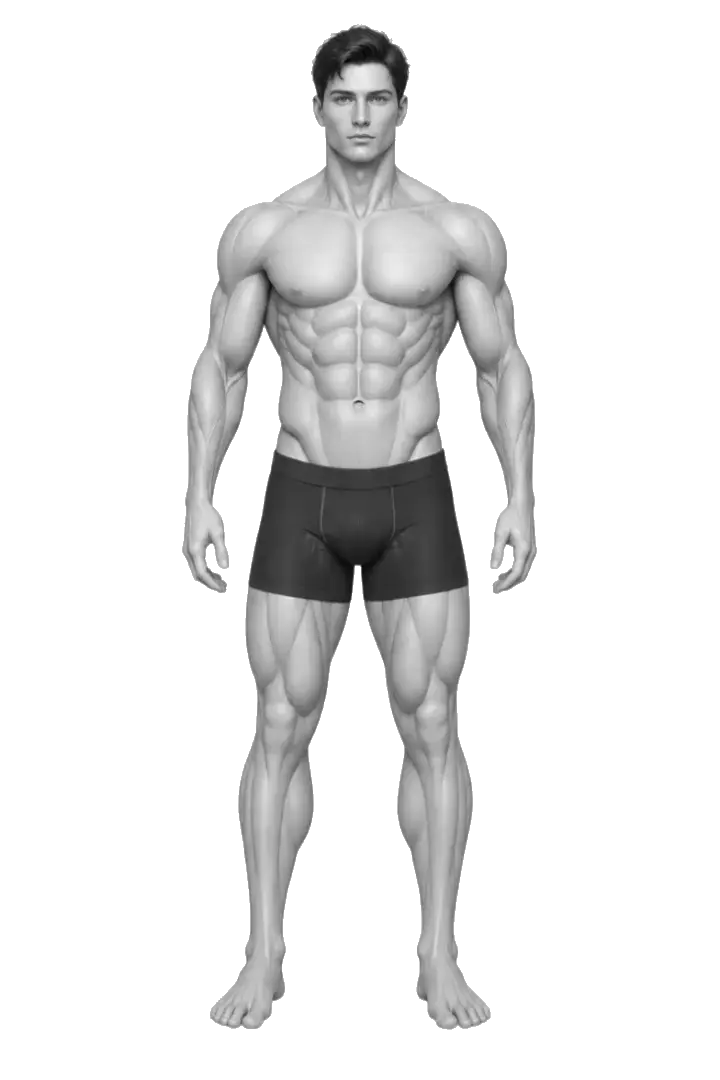
- Primary muscles
- Hip flexors, quadriceps, calves
- Secondary muscles
- Gluteus maximus, hamstrings, core
- Difficulty
- Intermediate
- Movement type
- Running in place drill
Should I raise my knees to hip height?
No. Any height that keeps your pelvis and lower back comfortable and balanced is sufficient. Do not force the height to increase.
STEP BY STEP
6 Steps for One Complete Rep
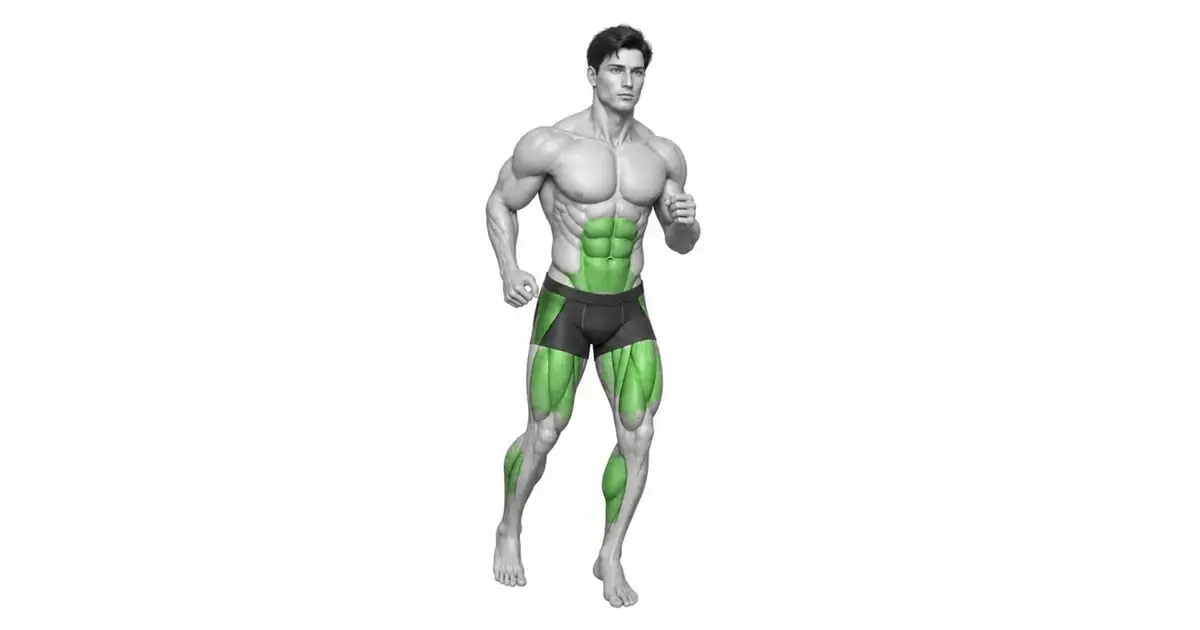
- 1
Check surrounding space and floor conditions
Make sure you have room to move your arms in place and a non-slip floor. Do not start if you have dizziness, chest discomfort, or sharp joint pain.
- 2
Stand comfortably with the feeling of growing taller
Raise your torso without lifting your ribs excessively and look forward. Do not arch your back excessively.
- 3
Raise one knee to a comfortable height
There is no need to force your knees up to hip level. Choose a height that does not cause pelvic tilt or lower back discomfort.
- 4
Move opposite arms naturally together
Allows the leg and opposite arm to move back and forth naturally. Avoid putting excessive force on your shoulders and hands.
- 5
Quietly return your feet under your body
Instead of stepping your feet too far forward, lower them gently down your body. If the impact on your ankles or knees is large, slow down.
- 6
Alternating left and right in a controlled rhythm
Use only rhythms that maintain breathing and balance. If the landing sound becomes louder or the body shakes, return to the marching variation.
RHYTHM
Create body and rhythm before knee height
High knees drills can be changed based on speed, such as marching, skipping, and quick foot shifts. At first, do not compete for knee height, but focus on alternating the left and right feet in the same rhythm with your torso erect.
If only one knee is raised higher or the pelvis is swayed, the speed may be beyond the current control range. Lower your knee height and speed and return to marching.
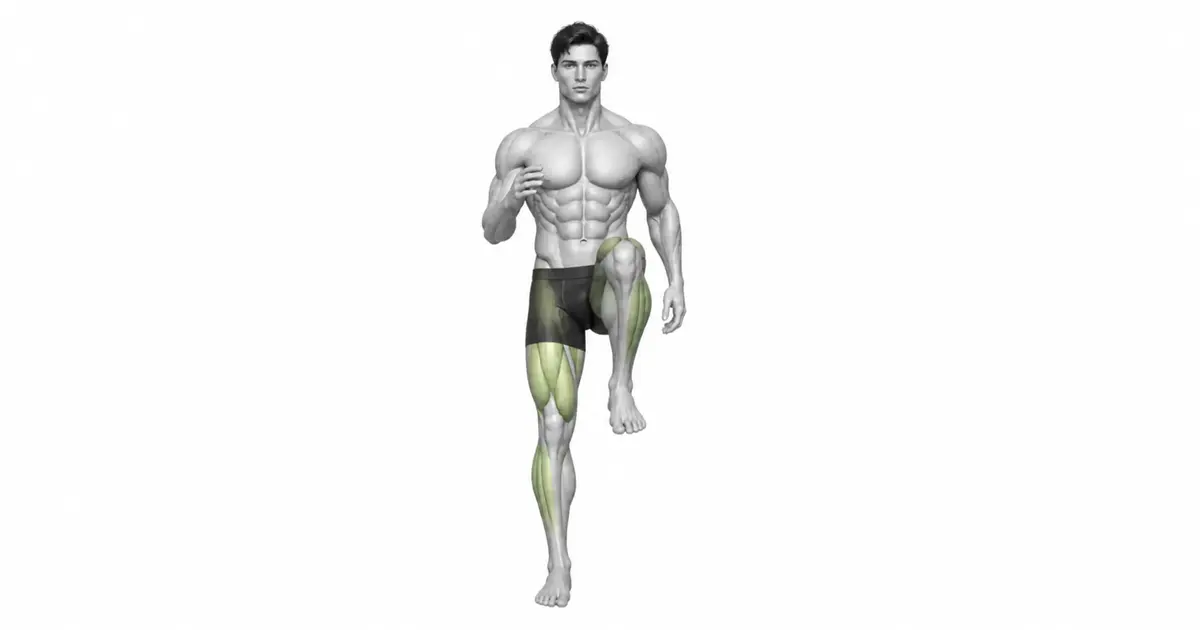
Key point: Practice cue: “Keys up, feet down, rhythm quiet.”
FOOT RETURN
Instead of extending your feet too far, return them under your body
Extending your feet far forward can make balance and shock control difficult. Gently bring your foot back closer to your body and find the feeling of your entire foot touching quietly.
The results of a running cadence study cannot be directly prescribed as an in-place drill. Rather than a specific number of steps per minute, a pain-free, repeatable rhythm is used here.
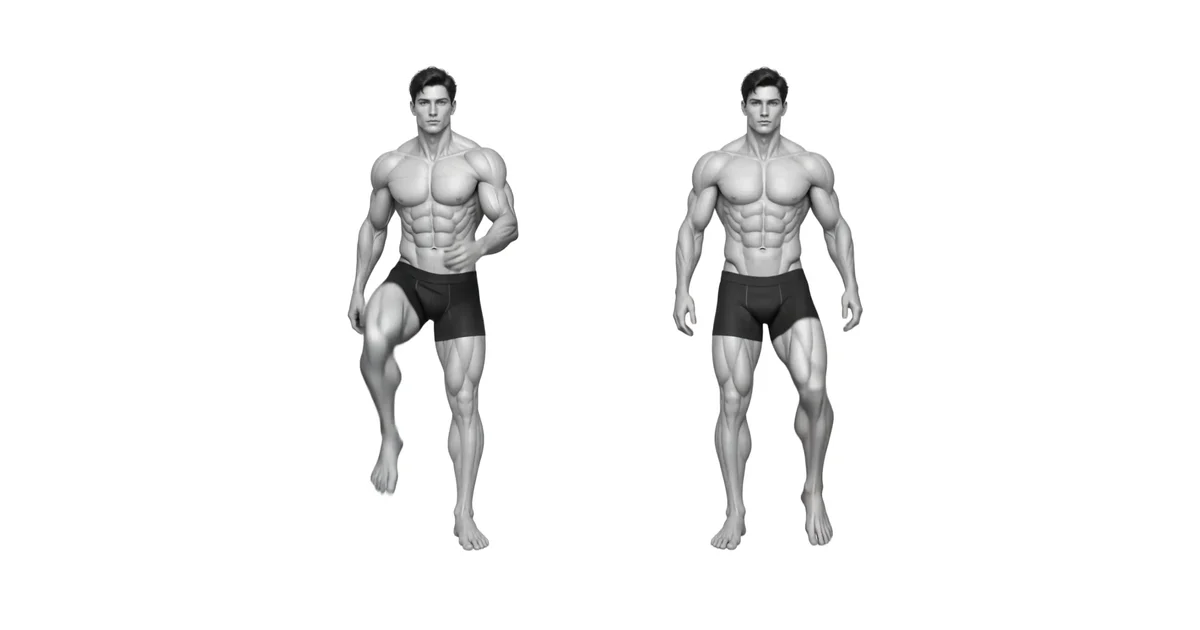
Key point: Things to check: After landing, the body does not lean back or the feet do not fall far in front.
PROGRESSION
Speed, knee height, and time are conducted separately.
When you increase speed, knee height, and exercise time together, it's hard to know which factor is destroying your form. Make one small change at a time.
If you experience ankle, knee, hip, or back discomfort, increased landing sound, loss of balance, or loss of breathing control, immediately switch to a lower-intensity marching variation.
Key point: Progression principle: Add one variable only when the torso, landing, and breathing are maintained for all repetitions.
TROUBLESHOOTING
Fix the cause of a mistake, not just its appearance
Forcefully raising your knees too high
- What you see
- The pelvis is tilted or the lower back is arched excessively.
- Likely cause
- You may be making your knee height greater than your current mobility and control.
- How to correct it
- Lower to a comfortable height and raise your torso.
Extend your feet far forward
- What you see
- Torso swings backwards when landing.
- Likely cause
- You may not be able to get your feet back under your body.
- How to correct it
- Slow down and bring your feet close to your body.
Landing is noisy
- What you see
- There is a sound of the sole of the foot hitting the floor.
- Likely cause
- Speed or endurance may have exceeded current control range.
- How to correct it
- Switch to marching or slow down the rhythm.
Provides strength to shoulders and neck
- What you see
- I clenched my fists hard and my neck got tired first.
- Likely cause
- You may be trying to over-stabilize your arm movements.
- How to correct it
- Keep your hands and shoulders relaxed and shake your arms naturally.
Hold your breath
- What you see
- Excessive force on the face and neck.
- Likely cause
- You may have lost your breath while trying to maintain speed.
- How to correct it
- Breathing lowers to a continuous rhythm.
Ignore the inconvenience and continue
- What you see
- Sharp pain, numbness, dizziness, and chest discomfort may occur.
- Likely cause
- Current strength or strain may not match.
- How to correct it
- Discontinue immediately and consult a specialist if symptoms persist.
REGRESSION & PROGRESSION
Match the difficulty before adding load
Marching in place
Start with one foot on the floor and a comfortable knee height.
Rhythm Marching
Increase shift speed slightly only when torso and landing are stable.
Low high needs
Use small loiter only when quiet foot shift is maintained.
Fast, high needs
Increase time only when balance, breathing, and landing are maintained for all repetitions.
BEGINNER PROGRAM
A practical starting framework
Use 2–4 times per week as a warm-up or short cardio session. For the first two weeks, use short bursts of 15–20 seconds with marching or low high knees, then repeat after sufficient recovery.
Exercise Time
15–20 seconds
Range where torso and landing are stable
Number of sets
2–4 sets
Rest 30–60 seconds between sets
Progress
+5 seconds or smaller speed increase
Add one thing at a time
- If your torso is erect on every repetition, your feet quietly return under your body, and there is no pain, then increase just one variable to the next session.
- If you experience landing noise, torso shaking, loss of breathing control, or joint discomfort, immediately switch to marching or resting.
- Chest discomfort, dizziness, fainting, sharp pain and numbness are different from general exercise fatigue. Do not continue if you have symptoms.
Frequently asked questions
Should I Jump?
No. Marching in place is a valid initial variation. Add a little clearance only when the quiet foot shift is stable.
How many seconds should I do this?
There is no set required time. Start with short intervals, such as 15–20 seconds, and increase slightly only when you can maintain your posture and breathing.
Can I continue if my ankles or knees hurt?
No. Stop immediately and switch to marching or another low-impact activity. If pain persists, do not proceed with the modification.
When can I go faster?
Make small increases in either speed or time only when torso, landing, and breathing are maintained for all repetitions.


