
HIP AIRPLANE
Hip airplane is not a movement of spreading the arms and supporting balance, but is a hip joint control exercise that actively opens and closes the pelvic rotation in a one-legged hip hinge.
Hip airplane, which involves creating a hip hinge position on one leg and then closing the pelvis toward the floor and opening to the side, requires control of the gluteus medius and deep hip rotators. The balance difficulty is so high that bodyweight free performance does not have to be the goal. Hold the wall with both hands or one hand to stabilize your support foot and torso position, and begin with a small pelvic rotation.
- Primary muscles
- Gluteus medius · Gluteus maximus
- Secondary muscles
- Hamstrings, deep hip rotators, ankle stabilizers, core
- Difficulty
- Intermediate
- Movement type
- Pelvic rotation control in unilateral hip hinge
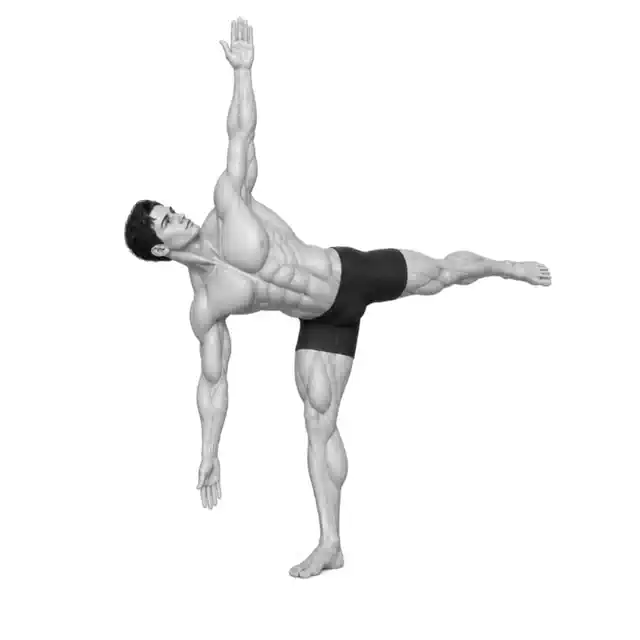
Should the back legs be parallel to the floor?
No. Any height that allows you to control your supporting foot and pelvis is sufficient. Prioritize the unity of your torso and legs over height.
STEP BY STEP
4 Steps for One Complete Rep
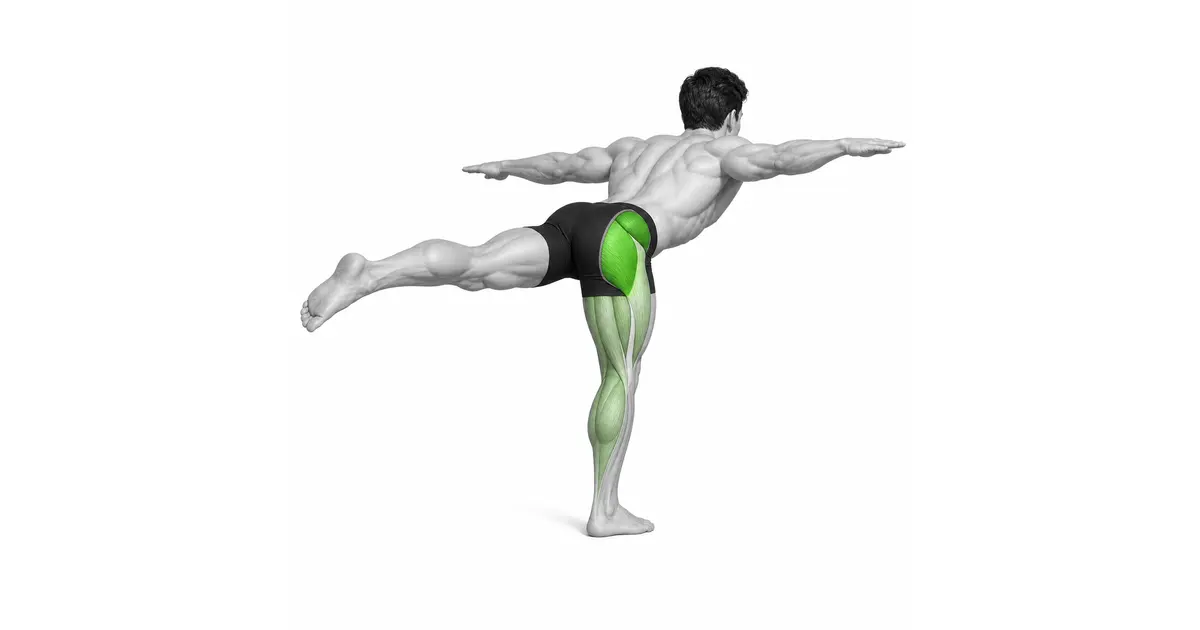
- 1
Hold the support and create a one-foot hinge
Stand on one foot, holding on to a wall or rack. Send your pelvis back, bring your torso and opposite leg closer to one line, and slightly bend your supporting knee.
- 2
Securing the support foot tripod and torso
Place your heel, thumb, and little toe on the floor. Strengthen your stomach and prevent your chest and hind legs from moving separately.
- 3
Slowly close the pelvis toward the floor
Rotate the pelvis on the side of the floating leg toward the inside of the supporting leg. Stop before the supporting knee collapses inward or the arch of the foot disappears.
- 4
Reopening the Pelvis with Supportive Hips
Press into the supporting foot and open the pelvis sideways toward the flying leg. Don't just twist your waist; rotate your pelvis and torso together and then return to center.
ROTATE AT THE HIP
Rotation occurs around the supporting hip joint rather than twisting at the waist
When the ribs and pelvis move in different directions, lumbar rotation increases. Keep your torso and aerial leg as one board.
Even at a small angle, it is enough to support the side of the hip. The goal is not to open it as wide as possible.
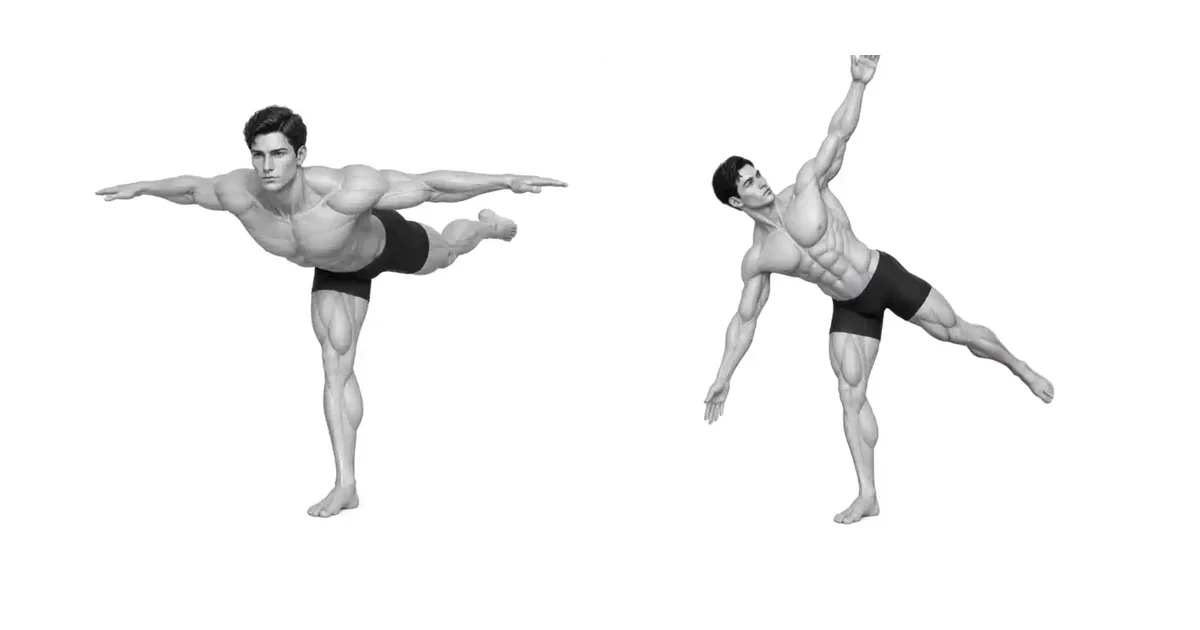
Key point: Cue to use right away: “The torso and hind legs rotate in one rotation, and only the pelvis rotates above the hip joint.”
FOOT & KNEE
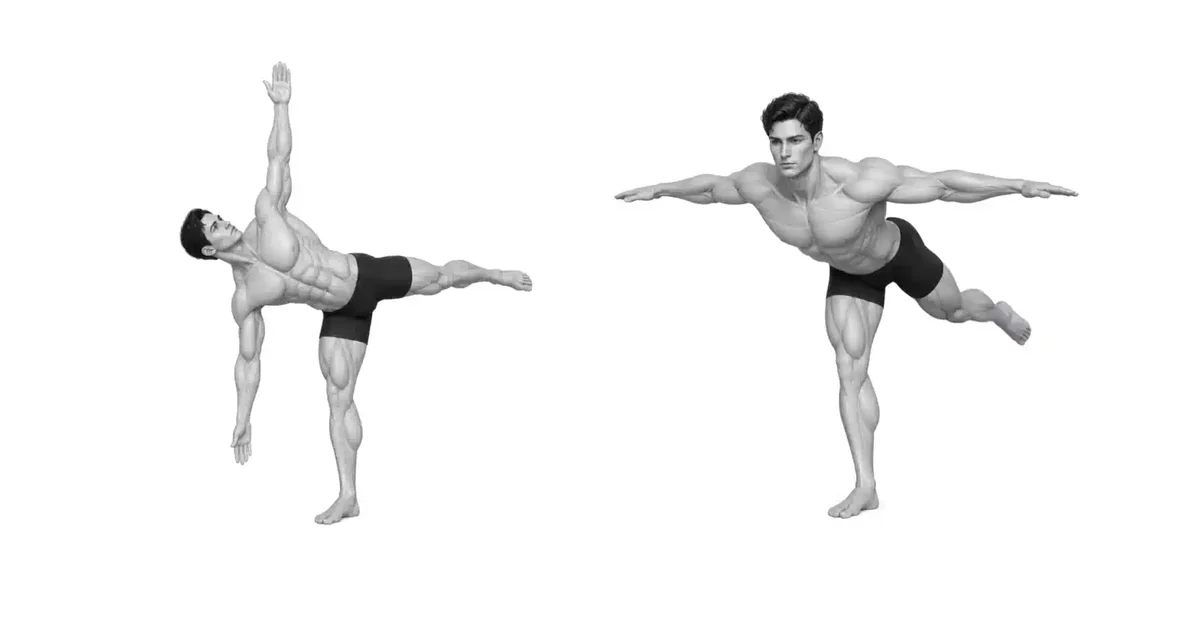
Supporting foot and knee must remain steady to isolate pelvic rotation
It is easy for the knees to drop inward when closing the pelvis and for the feet to roll outward when opening the pelvis. Keep your foot tripod and second toe oriented.
If it wobbles, hold the support stronger and reduce the rotation range by half.
TROUBLESHOOTING
Fix the cause of a mistake, not just its appearance
Twist only the waist to open the pelvis.
- What you see
- Your chest faces the ceiling first and you feel rotational pressure on your lower back.
- Likely cause
- Failed to secure torso and pelvis as one unit.
- How to correct it
- Practice only small hip rotations by overlapping the ribs and pelvis and holding the support.
Support knee collapses inward
- What you see
- When closing the pelvis, the knee moves inward toward the big toe.
- Likely cause
- Rotation range exceeds support hip joint control.
- How to correct it
- Reduce the range and press your entire foot with your knee toward your second toe.
Movement stops for balance
- What you see
- Clutch your toes and just shake without rotating your pelvis.
- Likely cause
- You chose the unsupported variant too early.
- How to correct it
- Grasp the wall with both hands to reduce balance demands and focus on opening and closing the pelvis.
REGRESSION & PROGRESSION
Match the difficulty before adding load
Wall supported single leg hinge
Learn one-foot hinge and foot pressure.
Two Hands Support Hip Airplane
Controls small pelvic rotation.
One-hand support hip airplane
Reduce support assistance.
Free Hip Airplane
Perform only when there is sufficient pelvic rotation and foot stability.
BEGINNER PROGRAM
A practical starting framework
Use fewer repetitions as a warm-up or technique practice before unilateral lower body training. End sets based on hip rotation quality, not balance failure.
Count
3–6 times each
Count open/close as 1 time
Set
2–3 sets each
45–90 seconds recovery after both sides
Frequency
2–4 times a week
Focused on light skill practice
- Once your feet and knees are stable, adjust either the rotation range or support assistance.
- If you experience back twisting, foot arch collapse, or loss of balance, immediately increase the support.
- Does not make free performance a required goal.
Frequently asked questions
Does the effect decrease if I hold on to a wall?
Rather, you can practice your target hip joint rotation more accurately by reducing balance disturbances.
How wide should I open my pelvis?
Open only to an angle where the supporting knees and feet do not shake and the lower back does not twist.


