
INCLINE TREADMILL WALK
Incline treadmill walking is not an exercise in which you hang on to a handle and hold on to a high incline, but rather an aerobic exercise in which you actively climb an incline with your torso erect and with short strides.
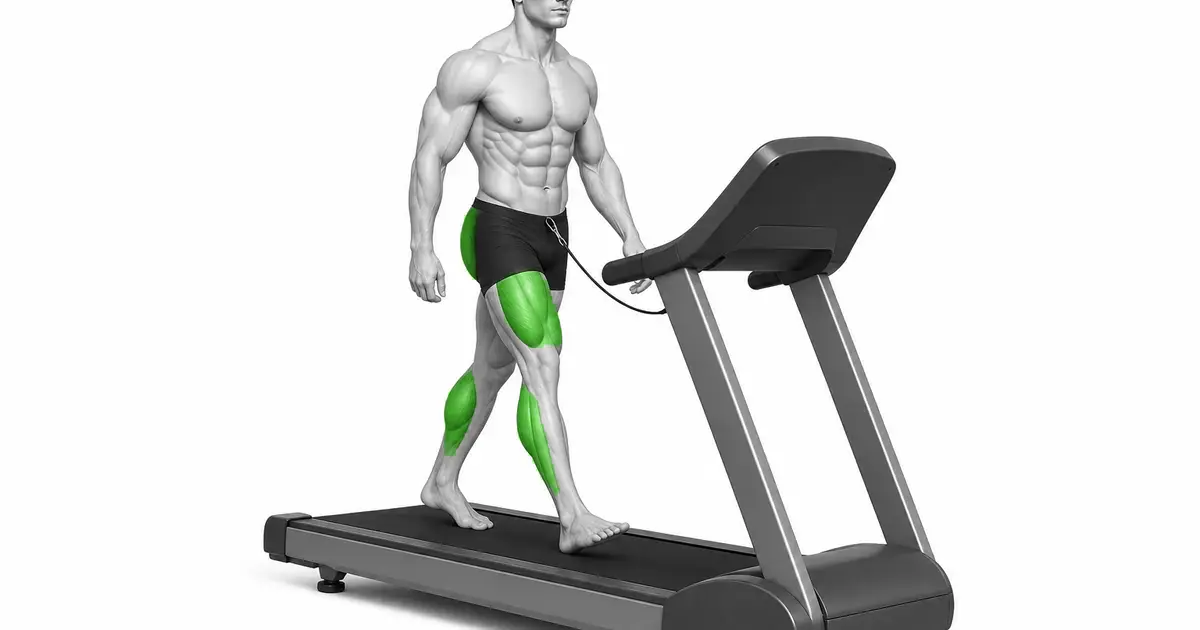
By increasing the treadmill incline, you can increase cardiopulmonary, gluteal, and calf load even without running. However, if you increase the incline and speed significantly at the same time, it is easy to lean on the handlebars or slide your feet behind the belt. Fasten the safety clips and warm up with a flat walk before increasing the incline in small increments. The strength is sufficient to allow you to place your entire foot in the center of the belt even with your hands resting.
- Primary muscles
- Gluteus maximus, calf, quadriceps
- Secondary muscles
- Hamstrings, hip flexors, core
- Difficulty
- Beginner
- Movement type
- Continuous walking on slope
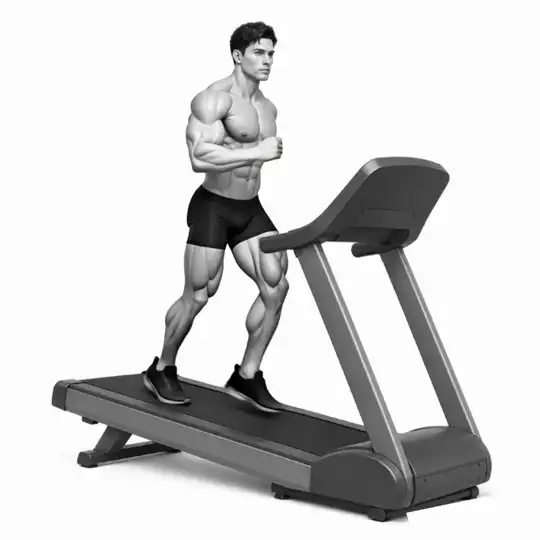
Is higher slope better?
No. The incline is appropriate so that you can maintain your entire foot and natural stride without leaning on the handlebars.
STEP BY STEP
4 Steps for One Complete Rep
- 1
Preparing for safety clips and flat warm-ups
Rises from the side rail and secures the safety clip to clothing. Walk comfortably for 3 to 5 minutes at a 0% incline or low incline.
- 2
Gradually increase incline while maintaining speed
Place the handle and first decide the speed at which you can talk. Increase the incline by 1 to 2 levels to see how your body reacts.
- 3
Full foot step with short strides
Tilt your torso very slightly at the ankles, but do not arch your lower back. Place your feet close to your body and press naturally up to your heels.
- 4
Lower the slope and decelerate slowly
Before ending, lower the incline and reduce the speed to walking level. After the belt has completely stopped, come down to the side rail.
HANDS OFF
Leaning your weight on the handle will change your posture and the actual needs of the set incline
Brief touches to check balance are okay, but do not lift your body with your arms. If you can't let go, lower the incline or speed.
Instead of pulling your body toward the console, swing your arms naturally in the center of the belt.
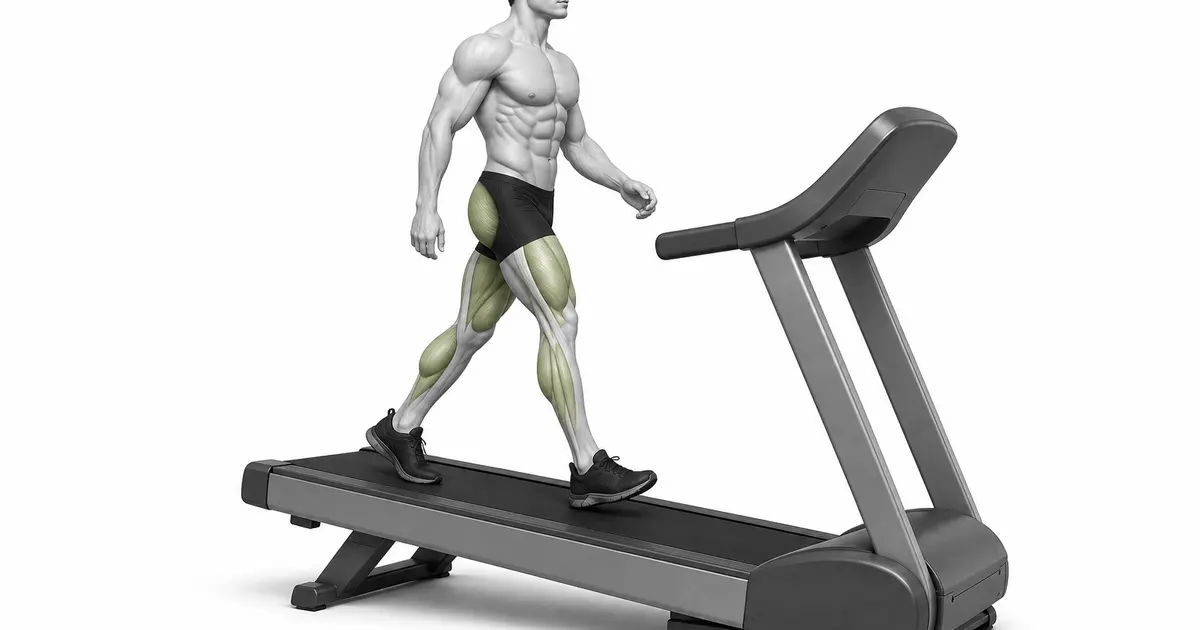
Key point: Cue to use right away: “Even if the incline is low, let go of your hands and climb up with all your feet.”
GRADUAL GRADE
As the incline increases, the demands on your calves and Achilles tendon quickly increase.
Do not increase time and incline at the same time as this may increase calf stiffness compared to walking on flat ground.
If your heel continues to lift or your stride length suddenly shortens, your current incline may be too high.
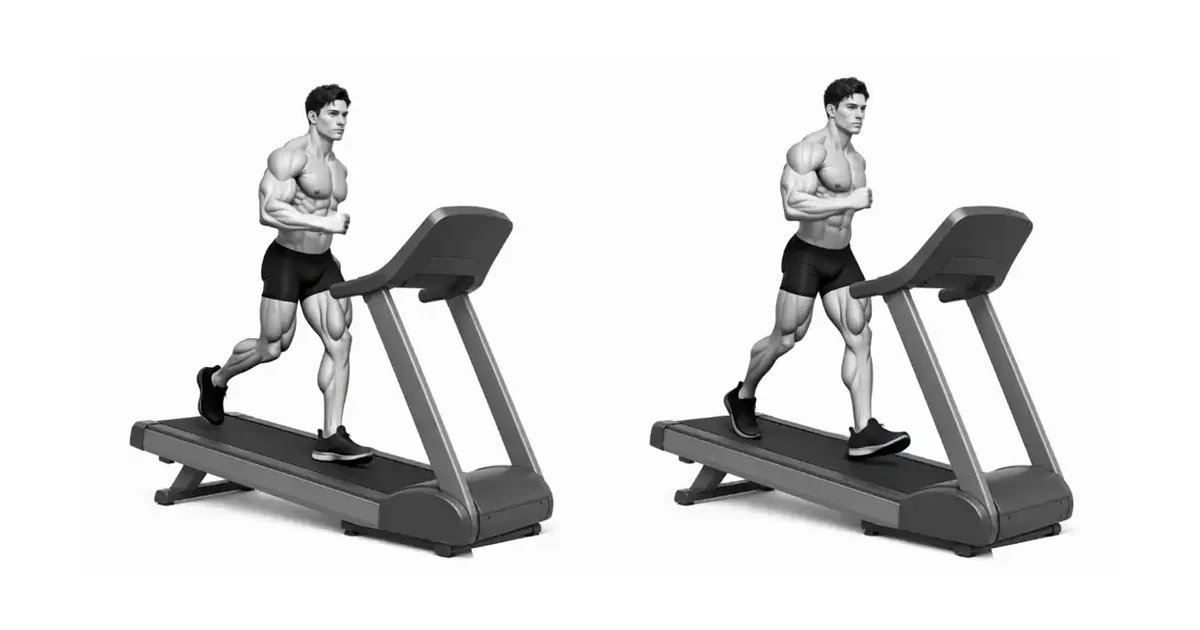
TROUBLESHOOTING
Fix the cause of a mistake, not just its appearance
Walking hanging on handle
- What you see
- Elbows locked, body tilted back, only feet following the belt.
- Likely cause
- The incline or speed exceeds your current stamina.
- How to correct it
- Lower incline and speed to maintain a centered position even when you let go.
Excessively leaning forward from the waist
- What you see
- The back is rounded and the gaze is directed down the console.
- Likely cause
- Compensating for high inclines or accumulated fatigue.
- How to correct it
- Lower the incline, slightly tilt your entire body at the ankles and keep your chest tall.
Large increase in speed and incline simultaneously
- What you see
- The foot is pushed back, the heel is lifted, and the calf tenses sharply.
- Likely cause
- Two load variables changed at once.
- How to correct it
- Return one element to its original level and adjust it one by one after 2-5 minutes of adaptation.
REGRESSION & PROGRESSION
Match the difficulty before adding load
Time and Frequency Zoom
Gradually increase performance time or add more times per week.
Difficulty Variant
Challenge yourself with deeper ranges of motion or higher resistance.
BEGINNER PROGRAM
A practical starting framework
Can be used for 10 to 30 minutes of continuous walking or incline intervals. Gradually increase one variable among time, speed and incline and check your calf and Achilles tendon response the next day.
Frequency
3 to 5 times a week
It is recommended to perform it as a habit in your daily life.
Volume
15~30 minutes
Please move sufficiently without putting too much strain on your body.
- Always check your condition first and do not overdo it.
- Practicing with joy and rhythm is the key to sustainability.
Frequently asked questions
Do you need to take long strides to stimulate your glutes?
Not required. Long strides can throw off your belt position and balance, so step close under your body and use a natural stride that matches the incline.
What should I do if my calf is too tight?
Lower the incline and time and increase your flat warm-up. If pain or morning stiffness persists, rest and consult a professional.


