
LATERAL HOP
Lateral hop is not just a movement that focuses on crossing the line quickly, but a landing training that involves pushing to the side with one leg and aligning with the other leg.
Jump sideways with one foot and land on the opposite foot to train lateral propulsion and unilateral stability of the ankle, knee, and pelvis. If you are greedy for distance, your torso will go over the outside of your landing foot or your knees will collapse inward. Start by taking short hops using a low line on the floor and pausing for 2 seconds after landing.
- Primary muscles
- Gluteus medius, quadriceps, calf
- Secondary muscles
- Gluteus maximus, hamstrings, ankle stabilizers, core
- Difficulty
- Intermediate
- Movement type
- Lateral unilateral jump and landing
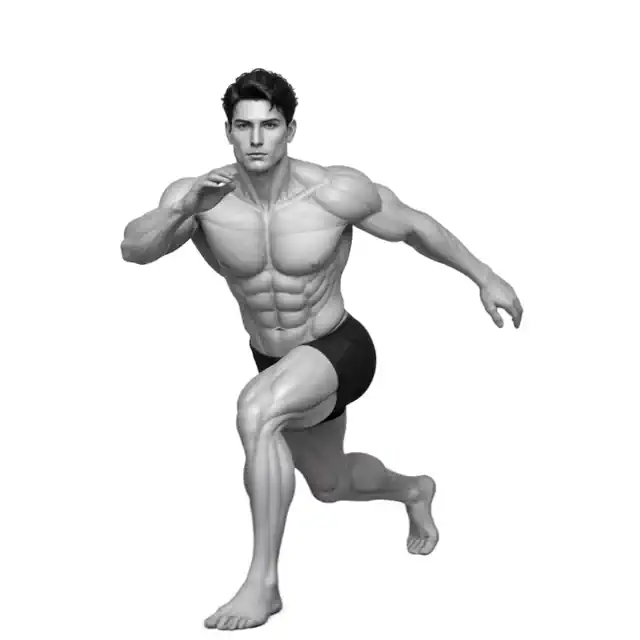
Need to make a quick round trip between lines?
First of all, I like the way you stop at each landing. Reduce downtime only after stability is maintained.
STEP BY STEP
4 Steps for One Complete Rep
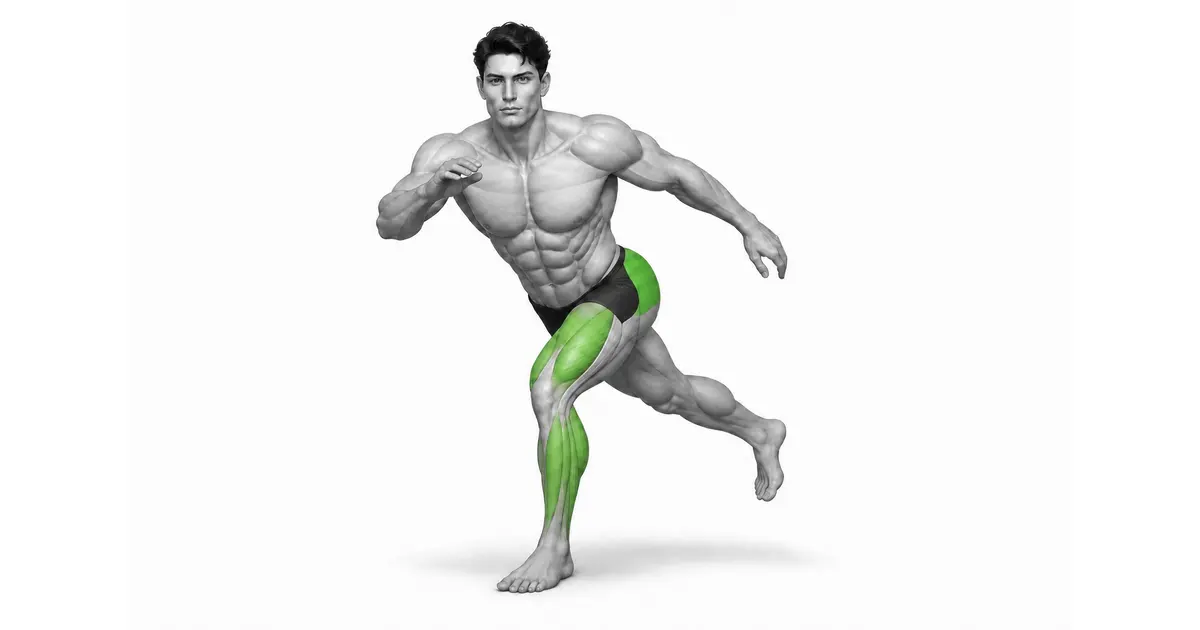
- 1
Determining low lines and short distances
Mark a line on a non-slip floor and choose a distance less than one step. Make sure there is nothing to trip on around either side.
- 2
Create lateral elasticity on the support foot
Stand on one foot, press the entire foot down and slightly bend the knee and hip joint. Keep your pelvis close to horizontal and your arms ready for balance.
- 3
Move the floor by sliding it to the side
Jump sideways, pushing the floor with your support foot in the opposite direction. Do not tilt your torso excessively and allow your entire body to move together.
- 4
Receive with opposite foot and pause for 2 seconds
Land softly on your midfoot, bending your knees toward your toes. Pause until your pelvis and torso are stable, then repeat on the other side.
LAND OVER THE FOOT
You need to stack your knees, pelvis, and torso back on top of the landing foot.
If your torso remains outside your feet, you'll balance yourself with an extra step. Shorten the distance and bring your center of gravity over your landing foot.
The heel, the ball of the thumb, and the ball of the little toe all touch and the knee follows the direction of the second toe.
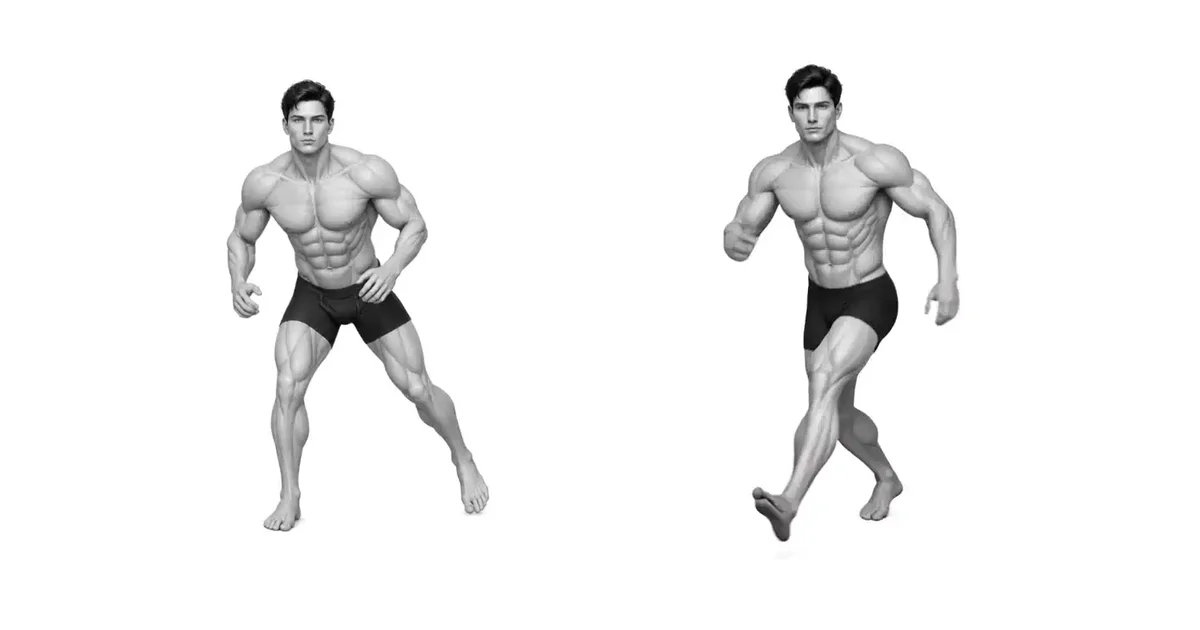
Key point: Cue to try right away: “Push to the side, stop at your feet.”
STABILITY BEFORE SPEED
Round trip speed added after controlling single landing
It is difficult to check ankle and knee errors if you go over them in succession from the beginning. Pause 2 seconds on each landing.
Reduce the pause time when both landing quality is the same, but slow it down again when foot sounds and knee paths change.
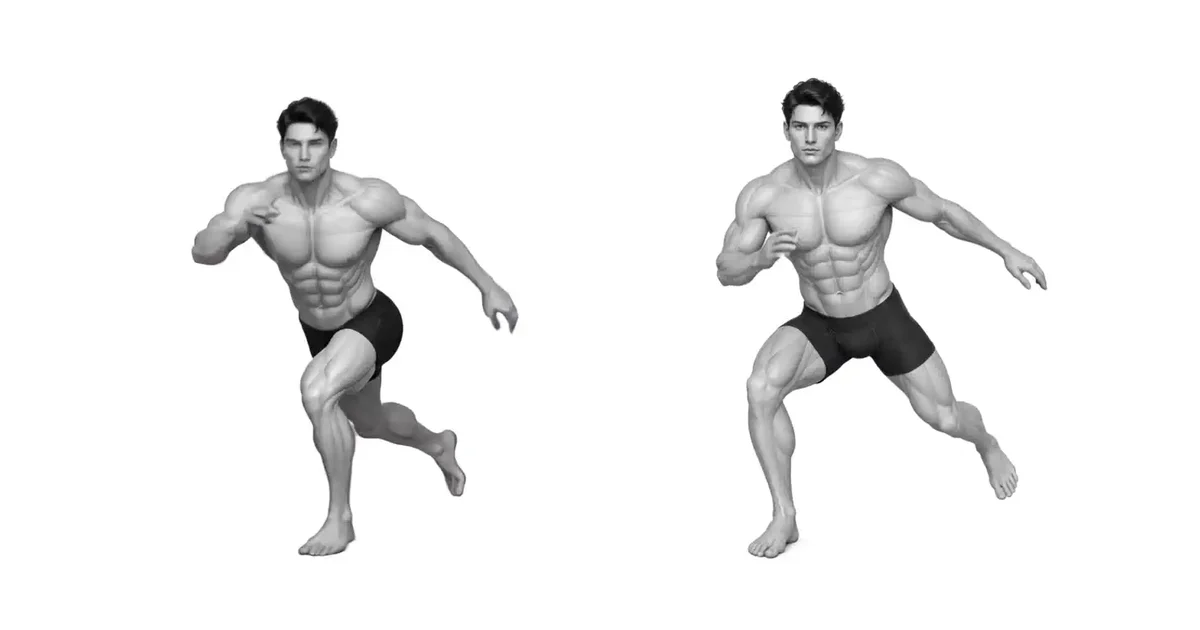
TROUBLESHOOTING
Fix the cause of a mistake, not just its appearance
Moves feet several times after landing
- What you see
- Takes extra steps for balance.
- Likely cause
- Jump distance exceeds unilateral stability capability.
- How to correct it
- Move the line closer and only use a distance that allows you to stop for 2 seconds above your feet.
Knees drop inward
- What you see
- When landing, the knee moves inward toward the big toe.
- Likely cause
- Pelvic control and foot arches could not handle the impact.
- How to correct it
- Lower the distance and return to the step down with your knees toward your toes.
Throw upper body first
- What you see
- The torso leans significantly and the feet follow late.
- Likely cause
- Used upper body kickback instead of lateral propulsion from the supporting foot.
- How to correct it
- Practice short hops with reduced arm swing and pushing off the ground with your supporting foot.
REGRESSION & PROGRESSION
Match the difficulty before adding load
One-side balance hold
Stand steadily on one leg for 20 to 30 seconds.
Side Step and Stick
Move sideways to align without jumping.
Short lateral hop and stick
2 seconds pause on each landing.
Continuous Lateral Hop
Increase responsiveness only when both controls are equal.
BEGINNER PROGRAM
A practical starting framework
Start with a weak side landing and note foot sound and alignment rather than distance. On days like running or jumping sessions, add up the total number of landings.
Count
4–8 times each
1-2 second pause per landing
Set
2–4 sets each
60–120 seconds recovery after both sides
Frequency
1–3 times a week
Weekly jump contact count management
- Increase either distance or speed only when foot-on-foot landing is maintained.
- If you take extra steps, collapse your knees, or make a loud landing sound, immediately lower the difficulty level.
- No maximum distance round trip while fatigued.
Frequently asked questions
How far should I jump?
Any distance that allows you to maintain knee and hip alignment without moving your feet after landing is sufficient.
What if the distances on both sides are different?
Set the distance on both sides based on the short and unstable side and perform from that side.


