
LEG RAISE
Leg raises are not a competition to lower your feet close to the floor, but rather a core exercise that moves the leg lever while controlling the pelvis and lower back.
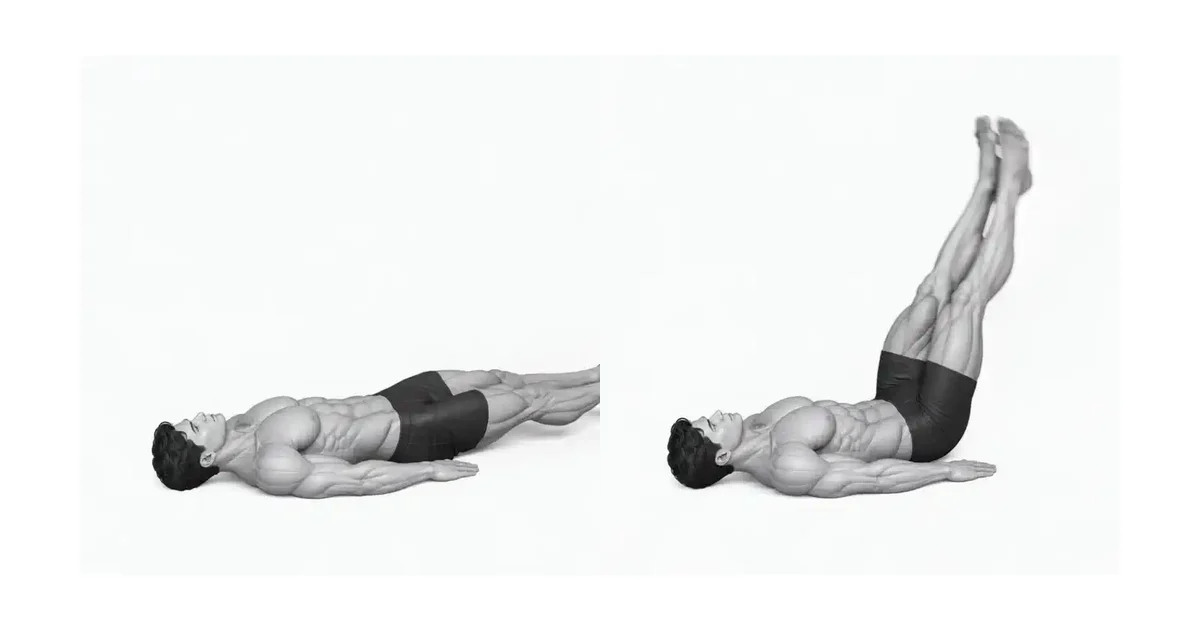
Leg raises, where you lie on your back and raise and lower your legs, your hip flexors move your legs while your abdominal muscles stabilize your pelvis. As your legs go down, the lever that lifts your lower back increases, so depth of contact with the floor is not the goal. Start with a bent-knee variation and change direction just before your lower back and pelvis position changes.
- Primary muscles
- Rectus abdominis · Iliopsoas
- Secondary muscles
- Rectus femoris, transverse abdominis, obliques
- Difficulty
- Intermediate
- Movement type
- Supine hip flexion and posterior pelvic tilt
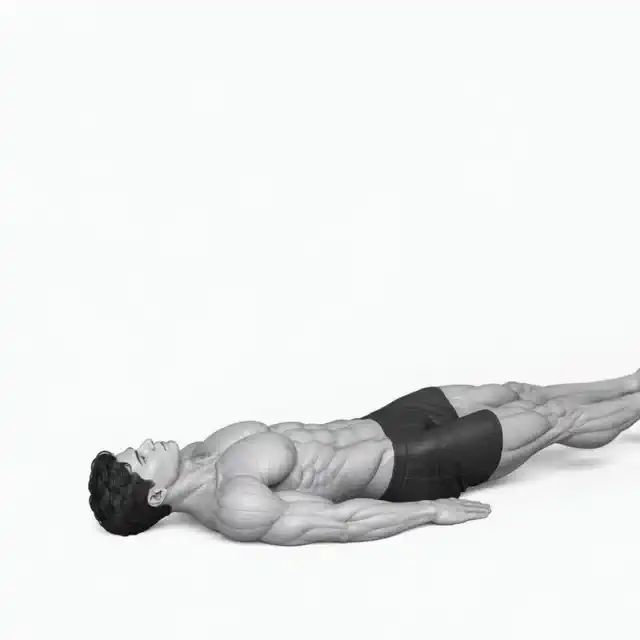
Should I press my lower back completely into the floor?
Rather than pushing too hard, stabilize your ribs and pelvis so your back curve doesn't change during the rep.
STEP BY STEP
4 Steps for One Complete Rep
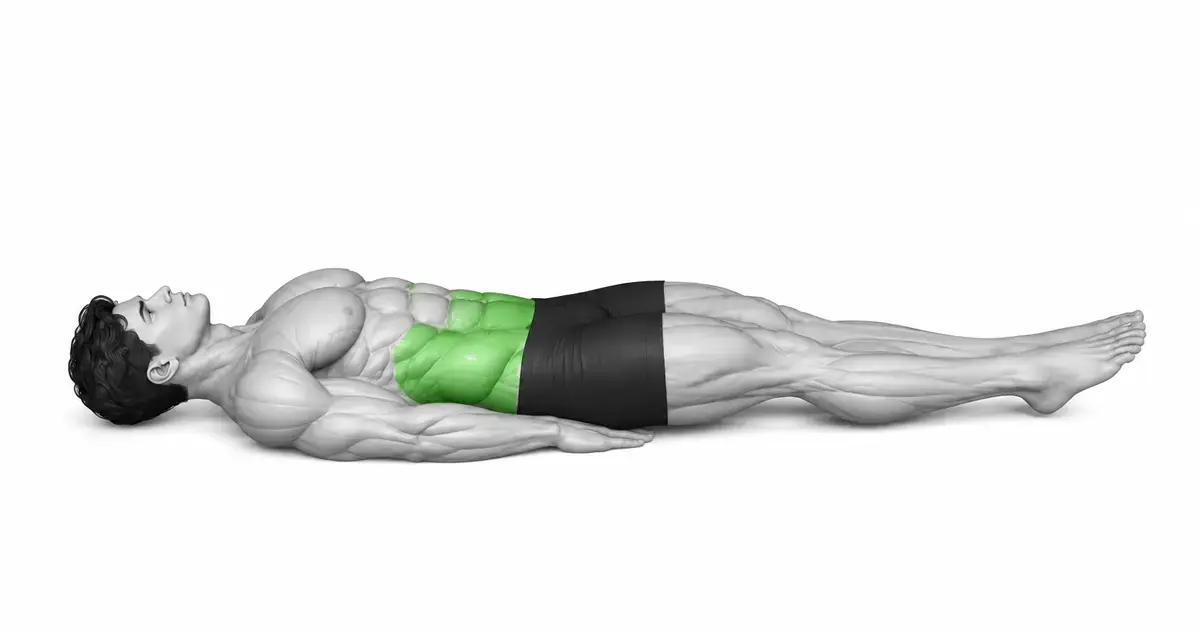
- 1
Fixing rib and pelvic position
Lie on your back and take a long breath, lowering your lower ribs. Gently roll your pelvis backwards to comfortably reduce lumbar space.
- 2
Select a leg lever for your current difficulty level
For beginners, bend your knees to 90 degrees and extend your legs further when you have enough control. Place your hands lightly on the floor, not on the sides of your body or under your pelvis.
- 3
Slowly lower your legs toward the floor
Lower both legs together over 2 to 4 seconds. Stop just before your lower back rises or your ribs lift, and do not forcefully increase the depth.
- 4
Maintaining the pelvis to return to starting position
Exhale, tighten your abdomen and raise your legs again. At the top, don't throw your feet behind your head or kick back with your hips.
RANGE FROM THE PELVIS
Your lower back and pelvis determine how much you lower your legs.
The closer your feet get to the floor, the greater the anti-extension demands placed on your abdomen. Below the waist lift point is not currently an effective range.
You can practice the same alignment by bending your knees or moving to one side at a time to shorten the lever.
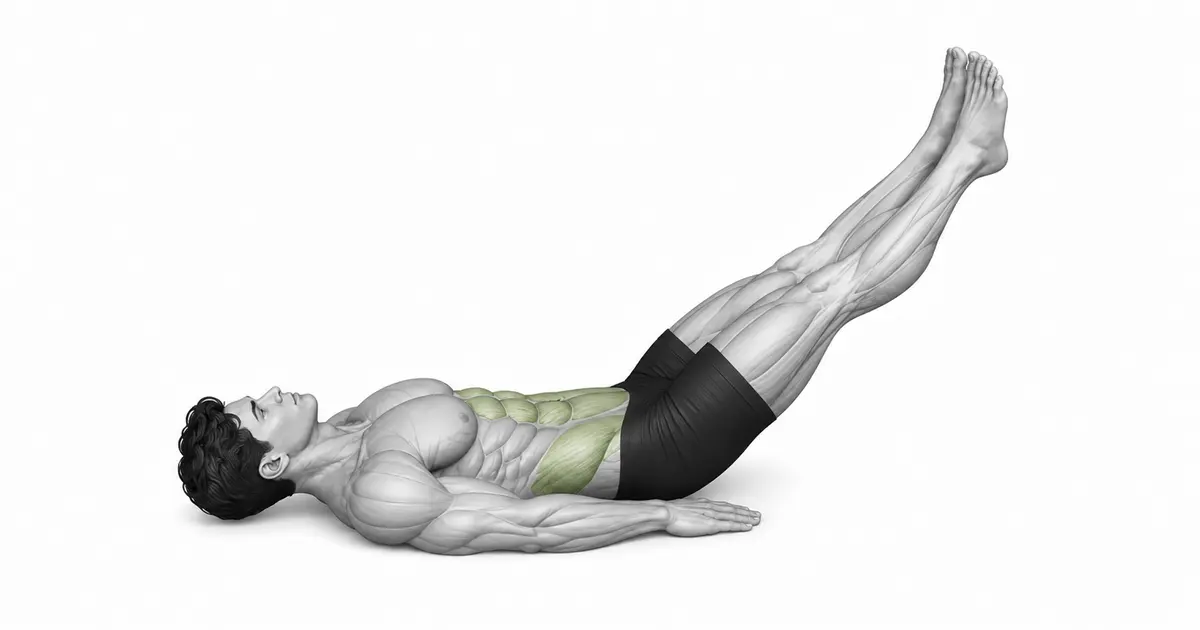
Key point: Cue to use right away: “Stop before the waist rises and return to the abdomen.”
HIP FLEXORS & ABS
It is normal for the hip flexors to work and the abdominal muscles hold the pelvis in place.
The main joint that moves the leg is the hip joint, so the participation of the iliopsoas and rectus femoris cannot be completely eliminated. The role of the abdominal muscles is to prevent the lower back and pelvis from hyperextending.
If you only have cramps in the front of your thighs or your lower back hurts, bend your knees and reduce the range.
TROUBLESHOOTING
Fix the cause of a mistake, not just its appearance
Lower your feet to the floor and relax your lower back.
- What you see
- Increases waist space at the bottom and eliminates abdominal tension.
- Likely cause
- Range of motion was prioritized over pelvic control.
- How to correct it
- Bend your knees and change direction at a level that keeps your back straight.
Recoil throw of leg from top
- What you see
- Hips lifted high and feet crossed behind head.
- Likely cause
- Used hip flexion velocity and inertia.
- How to correct it
- Stop the top near the vertical and focus on a 2-4 second descent.
Excessive force on neck and shoulders
- What you see
- The chin is lifted and the shoulders are tense towards the ears.
- Likely cause
- Replaced torso stability with upper body tension.
- How to correct it
- Place your head on the mat, exhale and realign your abdominal and pelvic position.
REGRESSION & PROGRESSION
Match the difficulty before adding load
Your chin lying down
Bend your knees and stabilize your pelvis with the short lever.
Bent Knee Leg Raise
Lower your legs with knees at 90 degrees.
Straight Leg Raise
Extend your legs while keeping your back straight.
Slow Leg Raise
Increase anti-extension control with a 4-5 second descent.
BEGINNER PROGRAM
A practical starting framework
Note the alignment of the lower range than the number of iterations. Once your lower back rises faster, end that set and bend your knees for the next set.
Count
6–15 times
Descent 2~4 seconds
Set
2–4 sets
45–90 seconds recovery between sets
Frequency
2–4 times a week
Other hip flexion exercises and controls
- If your back and pelvis are maintained, straighten or lower your legs a little more.
- If you experience back pain, recoil, or pain in the front of the hip joint, immediately reduce the lever and range.
- Feet touching the floor is not used as a criterion for progress.
Frequently asked questions
Should I touch my feet to the floor?
No. The correct range is to change direction at a height before your waist rises.
Can I only feel the front of my thighs?
Hip flexor involvement is normal. However, if you lose control of your lower back or experience cramps, bend your knees and reduce the range.


