
OVERHEAD PRESS
A standing overhead press that lifts a barbell vertically to improve shoulder and upper body stability
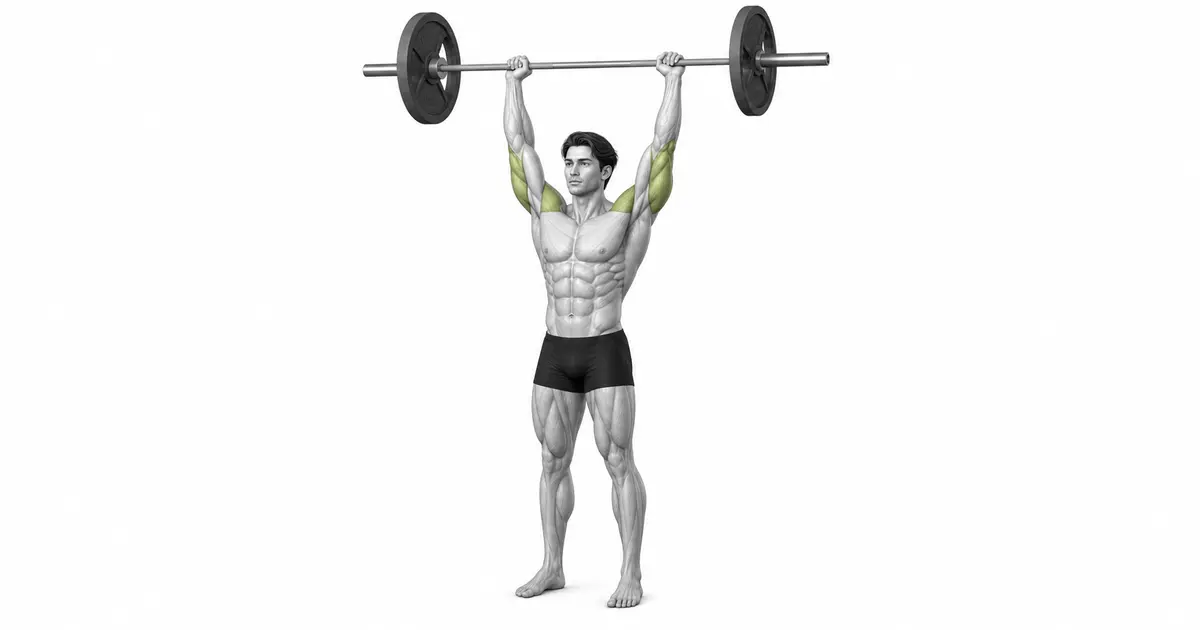
The overhead press begins by setting the bar at collarbone height in the rack and taking a firm grip. Stand with feet shoulder-width apart, brace your core and glutes to lock the trunk, tuck your chin slightly, and press the bar straight up so it passes close to your face. Do not hyperextend your low back or bounce the bar with momentum; control the return to the collarbone over 2–3 seconds.
- Primary muscles
- Deltoids
- Secondary muscles
- Triceps Brachii · Upper Trapezius · Core
- Difficulty
- Intermediate
- Movement type
- Standing Overhead Barbell Vertical Press
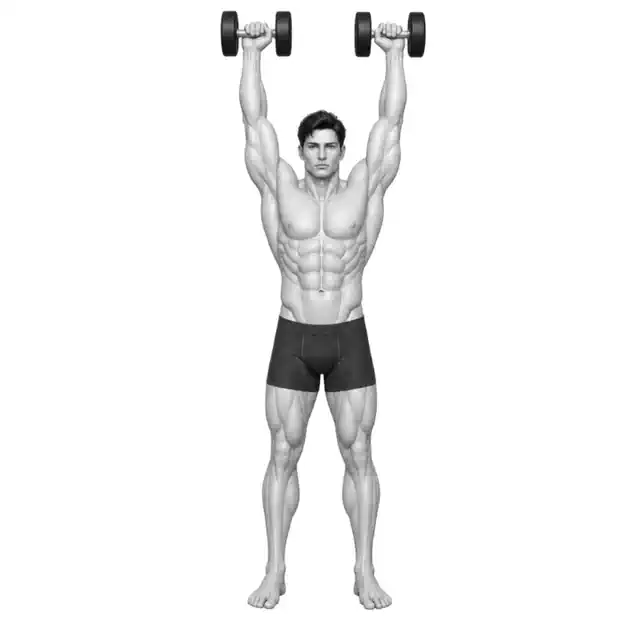
How is this different from a seated press?
The standing overhead press requires lower body and core to coordinate total-body stability alongside the upper body, resulting in greater core strengthening benefits.
STEP BY STEP
5 Steps for One Complete Rep
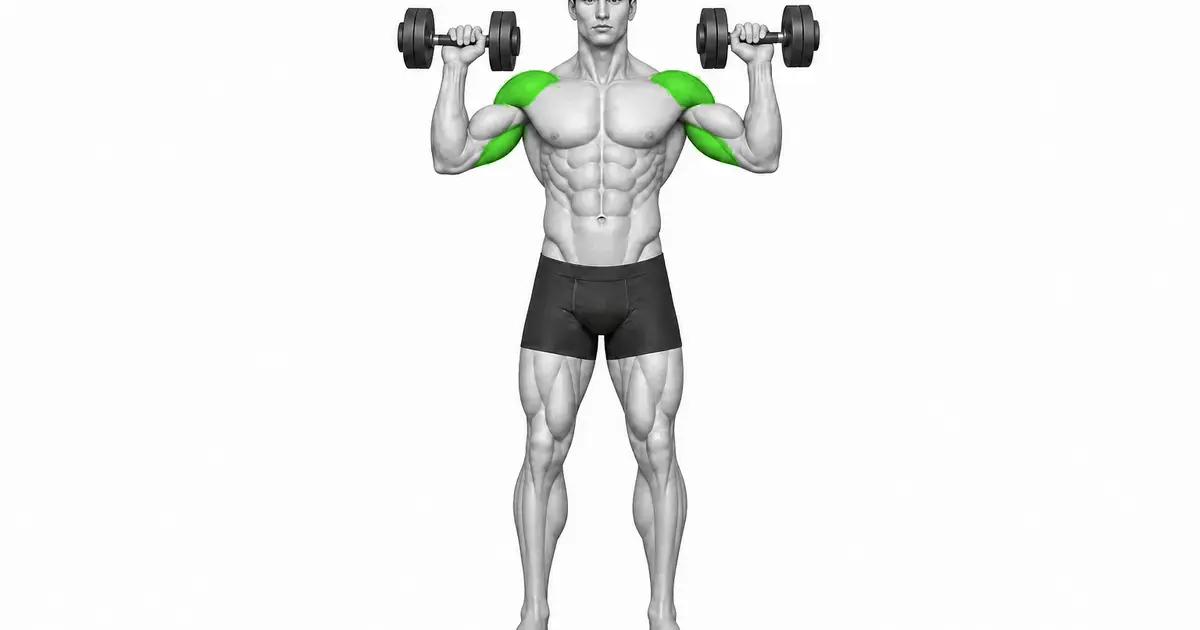
- 1
Grip the bar firmly at collarbone height
Grip the bar slightly wider than shoulder-width on the rack and rest it across the front of your collarbones. Press the bar against the lower palm to prevent wrist backward bending.
- 2
Plant feet and brace core stably
Place feet shoulder-width apart and drive them firmly into the floor. Engage abdominal and glute muscles to lock the trunk against swaying.
- 3
Tuck chin and press the bar vertically
Tuck your chin back slightly and press the bar straight up so it narrowly brushes past your face. Once the bar clears your head, move it back over the center of your head.
- 4
Lock out elbows completely at the top
Extend the arms straight overhead while maintaining vertical alignment of upper body and core. Avoid excessive shrugging.
- 5
Return to collarbone under control
Control the bar back down to the front of your collarbones over 2–3 seconds. Shift your chin back slightly out of the way to clear the vertical bar path.
VERTICAL PATH
The vertical bar path and chin movement are key
In an overhead press, the bar must travel in a straight line in front of the face. If the chin blocks it, the bar drifts forward, placing excessive strain on the low back.
Give way by tucking the chin back as the bar rises, and shift the bar slightly back over your centerline once it passes your head. Losing the vertical path reduces shoulder isolation.
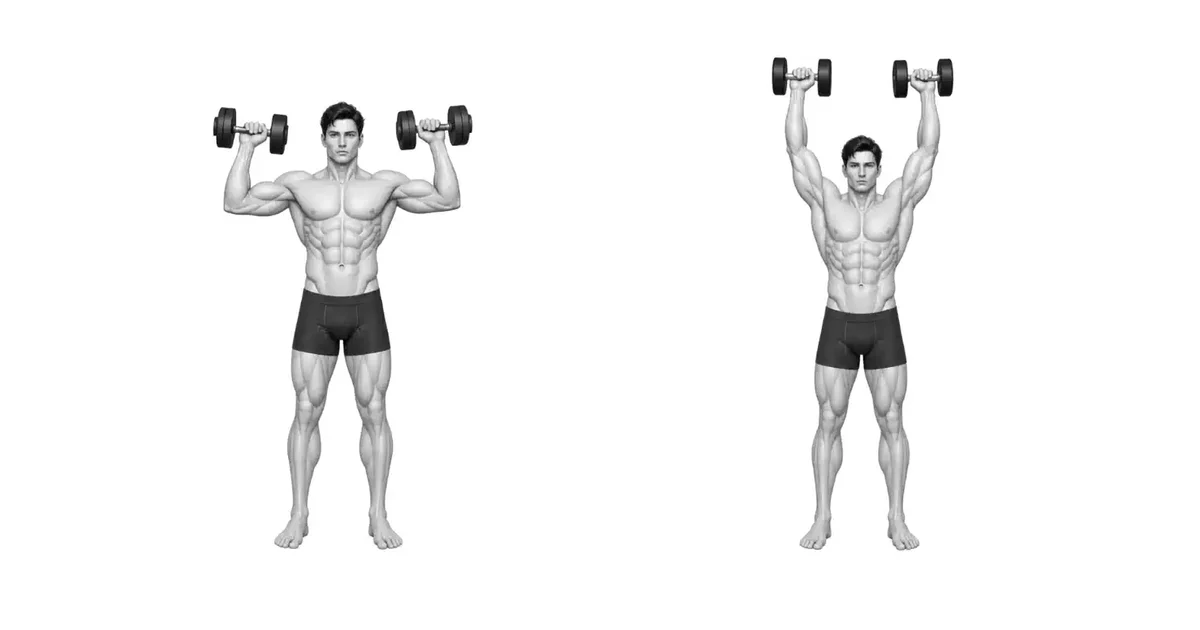
Key point: If the bar arcs outward away from the face, it places unnecessary load on shoulders and low back.
CORE & SPINE
Prevent low-back hyperextension and lock core tightly
When pressing heavy loads, it is common to cheat by arching the lower back backward. This induces lumbar lordosis and causes low-back injury.
Brace your abdomen and glutes to keep the pelvis neutral, and perform the press with your core locked so your ribcage does not flare.
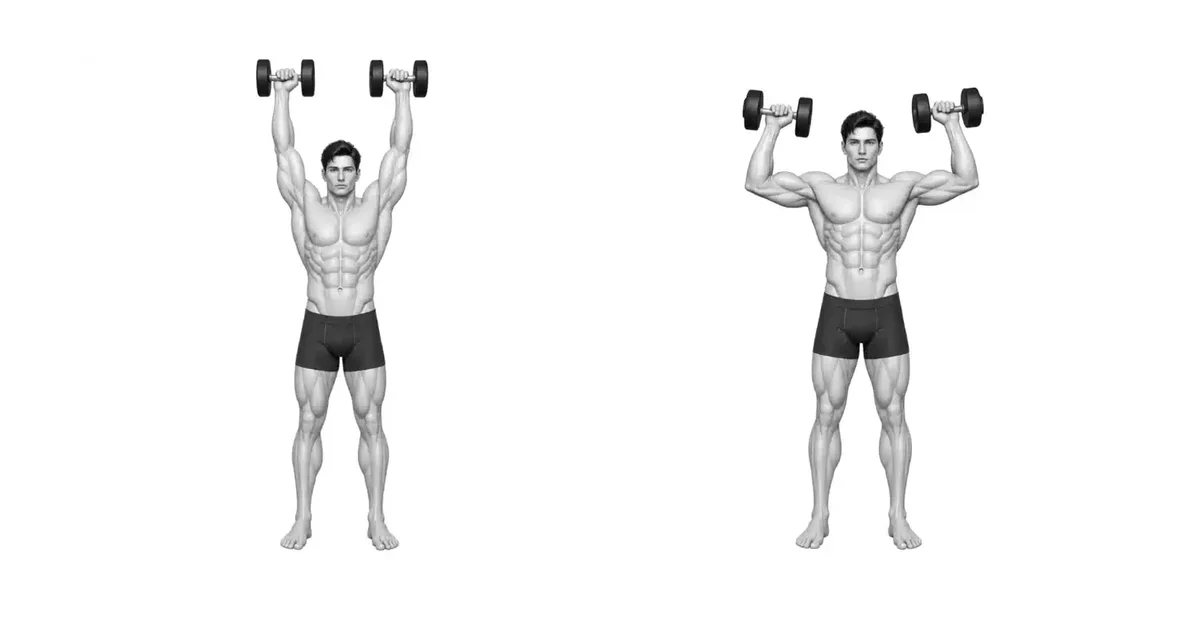
Key point: A standing press that excessively arches the lower back is not proper overhead press technique.
LOAD & SAFETY
As a compound upper body movement, mind shoulder and wrist strain
The overhead press provides powerful stimulation to deltoids and upper traps, but carries risks of shoulder impingement or wrist bending. Maintain wrist neutral and start with a load that allows proper range of motion.
Check rack safety bar positions between sets, and stop immediately if pain or grip slippage occurs.
Key point: Reduce load if wrists bend excessively or sharp pain arises in the front of shoulders.
TROUBLESHOOTING
Fix the cause of a mistake, not just its appearance
Excessive low-back arching
- What you see
- The upper body leans backward, turning the lift into a standing incline press.
- Likely cause
- Shoulder strength may be insufficient or core brace may have failed.
- How to correct it
- Reduce load and maintain strong tension in glutes and abs.
Bar drifting away from face
- What you see
- The bar travels upward in a forward arc.
- Likely cause
- Failing to tuck the chin or incorrect grip path.
- How to correct it
- Tuck chin back so the bar brushes closely past the face.
Wrists bending backward
- What you see
- Bar weight rests on upper fingers and wrist joint rather than lower palm.
- Likely cause
- Grip position biased toward fingers.
- How to correct it
- Press the bar deep against the lower palm near the wrist.
Using momentum to bounce bar
- What you see
- Knees bend and rebound (push press) to lift the weight.
- Likely cause
- Strict overhead press load may be too heavy.
- How to correct it
- Eliminate lower body movement completely and press with strict upper body strength.
Excessive shoulder shrugging
- What you see
- Shoulders rise high toward ears at the lockout.
- Likely cause
- Loss of scapular upward rotation control at top.
- How to correct it
- Lock out elbows while controlling shoulders from hiking unnecessarily high.
REGRESSION & PROGRESSION
Match the difficulty before adding load
Seated dumbbell press
Learn overhead pressing path with dumbbells in a seated position first.
Empty bar overhead press
Check chin position and vertical path with a light empty bar.
Standard overhead press
Perform strict vertical press from collarbones to overhead with locked core.
Small load increase
Increase weight only when low-back hyperextension and momentum are absent.
BEGINNER PROGRAM
A practical starting framework
Use this 1–2 times per week as the first exercise in shoulder training, starting with 3–4 sets of 5–8 repetitions. Adjust load slightly only when core lock, vertical chin path, and a 2–3 second rebound-free return are maintained across every repetition.
Reps
5–8
Strict vertical path & core brace
Sets
3–4
Rest 90–120s between sets
Progression
Small load increase
Only without low-back arching or momentum
- Add load next session only when core brace, vertical path, and a 2–3 second rebound-free return remain for every repetition.
- Stop immediately and reduce load if low-back arching, wrist bending, or sharp shoulder pain appears.
- Record rack height, grip, load, sets and repetitions, and return time together.
Frequently asked questions
I feel like the bar will hit my nose.
Tuck your chin slightly at the start, and tilt your head back slightly as the bar passes to secure a straight-up bar path.
How can I reduce wrist pain?
Do not rest the bar on your fingers; press it deep into the lower palm near the wrist and use wrist wraps.


