
REVERSE LUNGE
Reverse lunge is not an exercise where you throw your foot far back, but rather a lunge that lowers your pelvis by keeping your front foot fixed and creating a support surface with your back foot.
Stepping backwards allows you to lunge while maintaining your front foot position, which can feel like a lower landing impact and lower deceleration demand than a forward lunge. Still, if your stride is short or your feet are in one line, your balance and knee alignment will suffer. Keeping your entire front foot on the floor, drop your back knee down and return to center with your front foot.
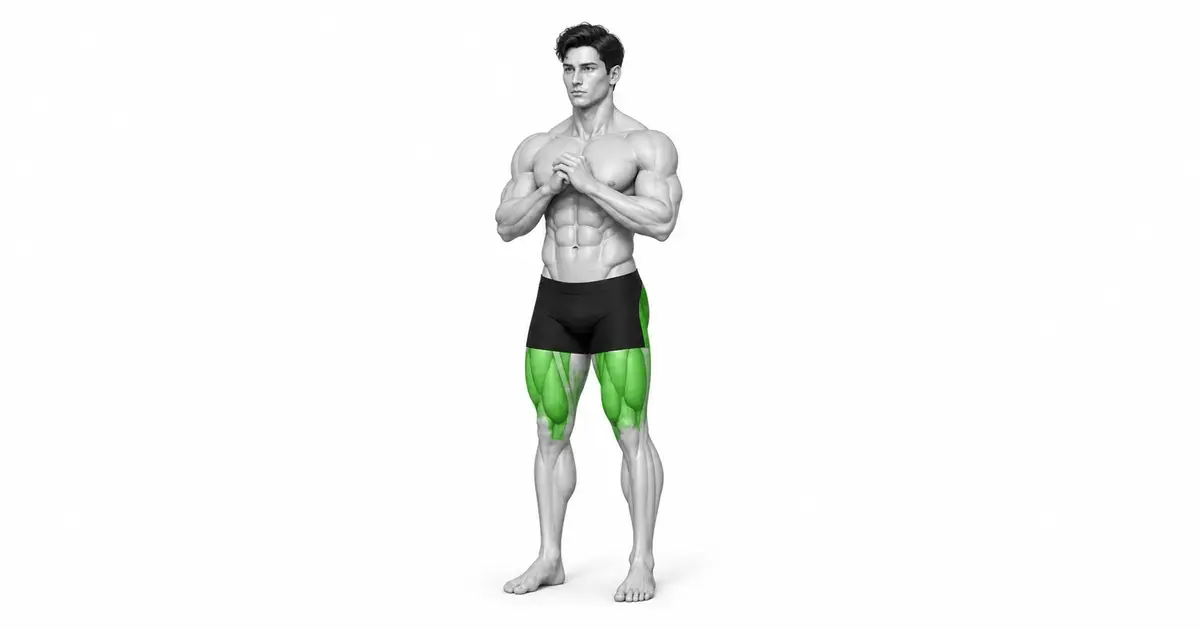
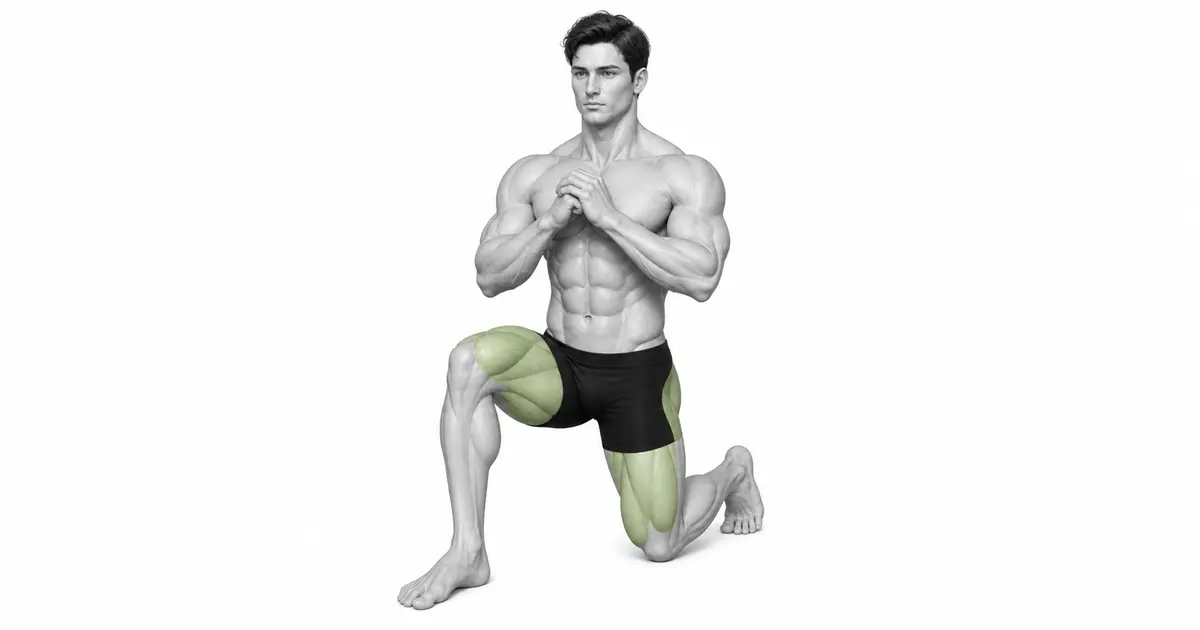
- Primary muscles
- Quadriceps and gluteus maximus
- Secondary muscles
- Hamstrings, gluteus medius, adductors, calves, core
- Difficulty
- Beginner
- Movement type
- Rear Step Lunge
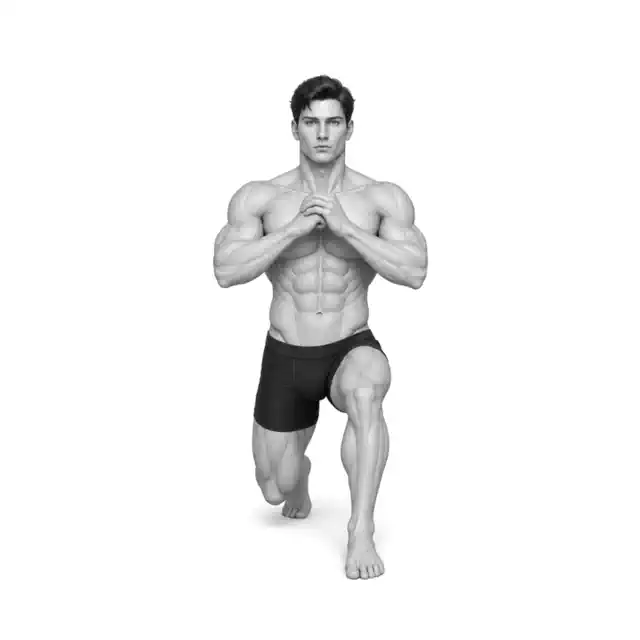
Are reverse lunges better for your knees?
Some people feel more comfortable with a fixed front foot, but this is not automatically safer for everyone. Pain-free stride length and knee path are the criteria.
STEP BY STEP
4 Steps for One Complete Rep
- 1
Check front foot position and rear space
Place your feet hip-width apart and press three points of your front foot into the floor. Make sure there are no obstacles or slippery areas behind you.
- 2
Step back at hip width
Send one foot back and touch the floor with your front heel. Keep your feet spaced left and right so that they do not overlap, like a tightrope walker.
- 3
Lower your back knee down
Inhale, bend your front knee and hip joint, and lower your back knee toward the floor. Keep your front knee pointed toward your toes.
- 4
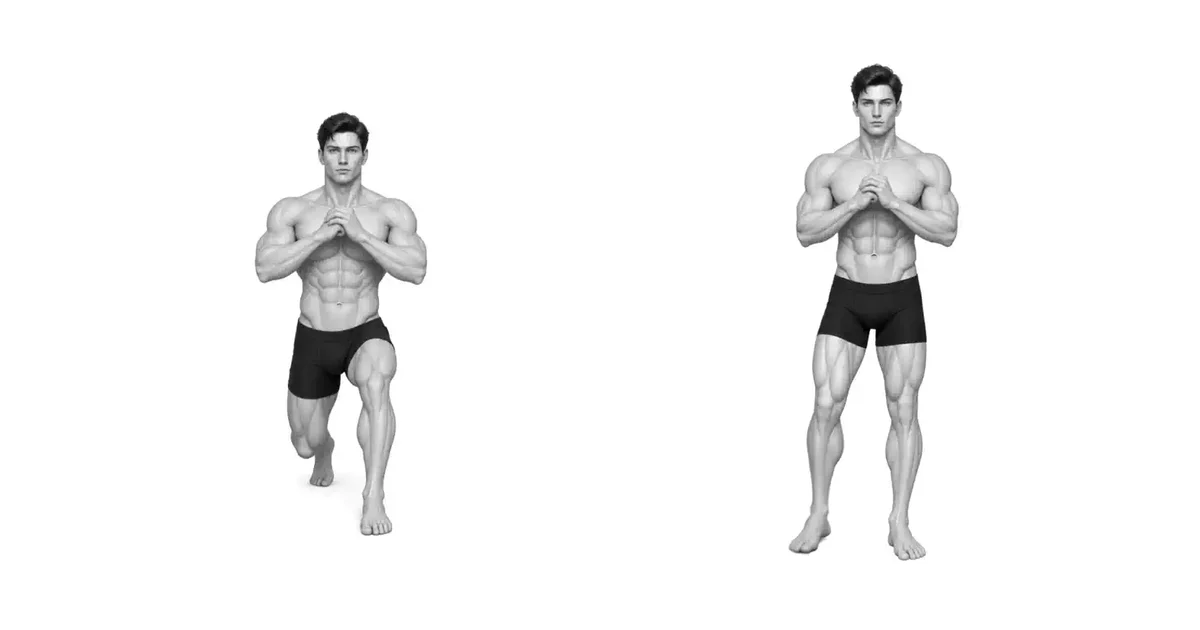
Push with front foot to return to starting position
Push into the floor with your entire front foot and bring your back foot back to the original position. Instead of throwing your upper body or kicking hard with your back foot, stand up completely and start the next repetition.
FRONT-LEG CONTROL
The moving foot is the back foot, but the reference for force is the front foot
If you put a lot of weight on the foot you stepped behind, you will kick with your back foot when returning to the center. Continue to feel pressure through the heel of your front foot and both front feet.
If the stride length is too short, the front and back knees bend abruptly, and if the stride length is too long, the front of the pelvis is pulled excessively. Find a distance where your back knee can go down.
Key point: Cue to use right away: “Step backwards, return to front foot”
BASE OF SUPPORT
Place both feet on two parallel rails instead of one line.
Crossing your feet behind the center line narrows your support surface, making it easier for your pelvis to rotate and your knees to collapse inward. Keep your hips on the same side as you go backwards.
If you have difficulty with balance, hold the wall or rack with one hand and learn to align your front legs first, then use less help with your hands.
TROUBLESHOOTING
Fix the cause of a mistake, not just its appearance
The foot stepped backwards crosses the center line.
- What you see
- Both feet overlap in one line and body sways left and right.
- Likely cause
- I lost left and right width by only looking at the distance behind.
- How to correct it
- Imagine two parallel rails and place your back foot on the same side rail.
Front knee collapses inward
- What you see
- Knee moves inward towards big toe when descending or returning.
- Likely cause
- Forefoot pressure is concentrated on one side, or stride length and load are not matched.
- How to correct it
- Reduce the weight and depth and keep your front knee toward your second toe.
Come back with a kick in the back
- What you see
- The back calf is excessively tense and the body springs forward.
- Likely cause
- The weight is on the back foot or at a depth that is difficult to control with the front leg.
- How to correct it
- Place your upper body on the front foot and practice pushing the center with only your front foot.
REGRESSION & PROGRESSION
Match the difficulty before adding load
Supported Split Squat
Stabilize your feet to learn the front knee and pelvic path.
Support Reverse Lunge
Practice back steps with one hand to assist with balance.
Bodyweight reverse lunge
Makes the stride length and return equal on the left and right.
Dumbell reverse lunge
Increases the amount slightly without shaking the body.
BEGINNER PROGRAM
A practical starting framework
Start on your weak side, create a bodyweight range where your front foot is still and your back step position is the same for each repetition, then add dumbbells.
Count
6–12 times each
Descent 2 seconds, return to front foot
Set
2–4 sets each
60–120 seconds recovery after both sides
Frequency
1–2 times a week
Different unilateral movement and volume control
- If the back step and front knee path are consistent, increase the number of repetitions first.
- If you experience front foot shift, knee collapse, or rear foot kickback, reduce the weight and depth.
- Do not start with dumbbells without checking the space behind you.
Frequently asked questions
Does the upper body have to be fully upright?
You can lean forward slightly, but make sure your torso and pelvis are tilted together, not just your back. Maintain your balance on your front foot.
Do I need to alternate between both sides?
You can alternate or finish one set first. Alternating methods may be more convenient for learning balance, and unilateral continuous methods may be more convenient for managing muscle fatigue.


