
SIDE LUNGE
Side lunge is not a movement of opening and closing to the side, but rather a side lunge where the body weight is placed on one hip joint and pushed back to the center.
Unlike a front squat, move to the side and bend one knee and hip while keeping the other leg long. If your stride is too wide, it will be difficult to align your shins over your feet. Place your entire foot on the floor and send your pelvis backward to control the tension of your adductors and the strength of your front leg.
- Primary muscles
- Gluteus maximus, quadriceps femoris, adductors
- Secondary muscles
- Hamstrings, gluteus medius, calves, core
- Difficulty
- Beginner
- Movement type
- Side Lunge
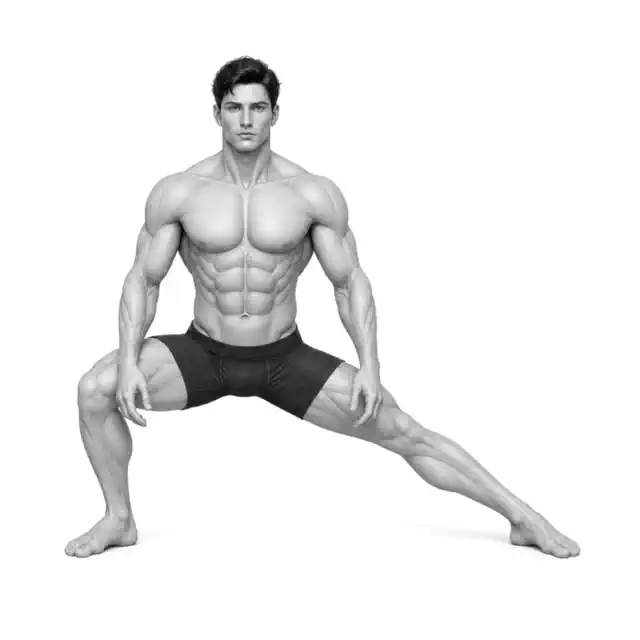
Should the opposite knee be fully extended?
Keep it long, but don't over lock it. Prioritize alignment of the moved foot and knee over the opposite leg.
STEP BY STEP
4 Steps for One Complete Rep
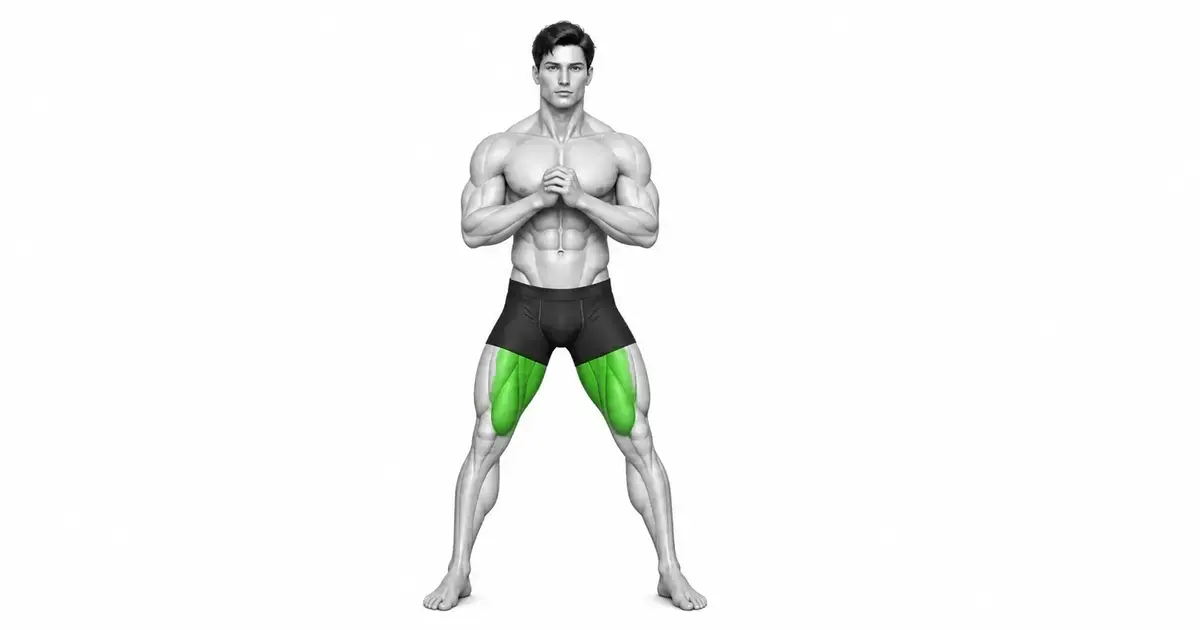
- 1
Determining Controllable Lateral Strides
Stand hip-width apart and step one foot to the side. Keep your toes roughly parallel to the opposite foot and place your entire foot on the floor.
- 2
Send the pelvis on the moved side backwards
Inhale and bend your knees and hips and send your hips back. Keep your knee in line with your toes and the opposite leg long.
- 3
Controlling Upper Body and Foot Pressure
Keep your spine long and your torso naturally tilted at the hip joints. Pause at a depth before the heel lifts or the knee sinks into the foot.
- 4
Push center with moved foot
Exhale and push the entire foot into the floor to return to the starting position. Do not pull yourself up with the opposite leg or raise your upper body first.
LATERAL BASE
A stride that allows you to place your shins on your feet is better than the widest stride.
If you step too wide, your pelvis may stop between your feet and your knees may collapse into your feet. Maintain pressure on the heel of the moved foot and both forefoot.
There may be gentle tension in the opposite inner thigh, but any groin sting may require you to shorten your stride and depth.
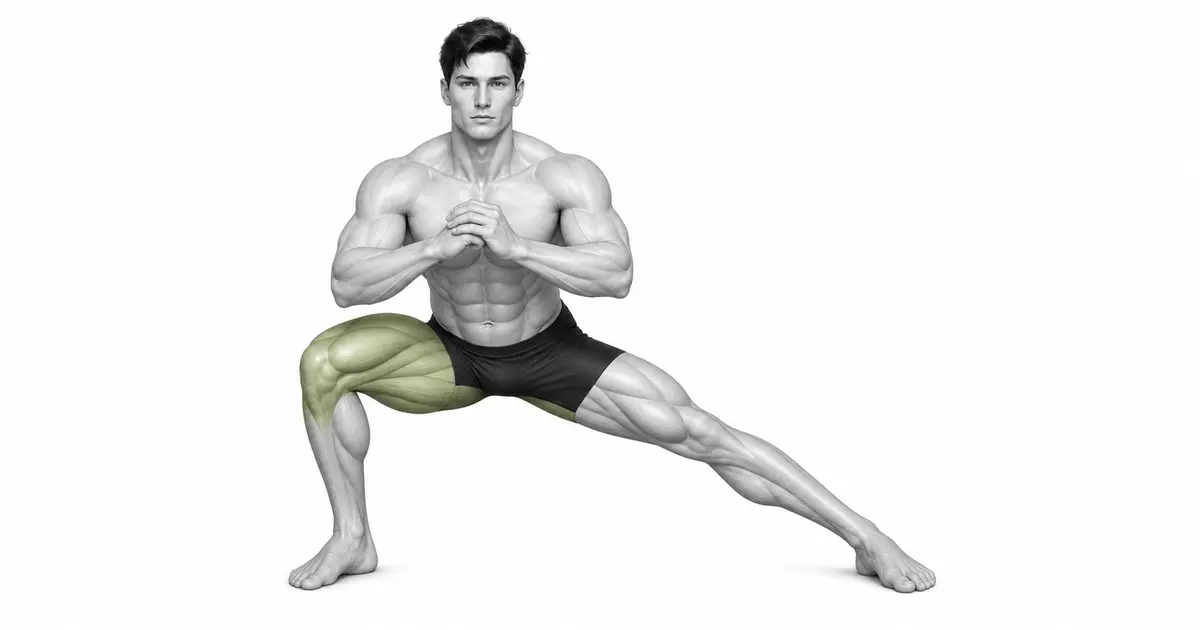
Key point: Cue to use right away: “Step with your entire side foot and hips back.”
PUSH TO CENTER
Center return is created by pushing the foot of the bent leg into the floor
Throwing your torso toward the center causes your feet to slip and your knees to become misaligned. Pause briefly at the bottom, then push the floor to the side with your moving foot.
If the left and right depths are different, adjust to the weak side range and, if necessary, practice fixed wide stance side squats first.
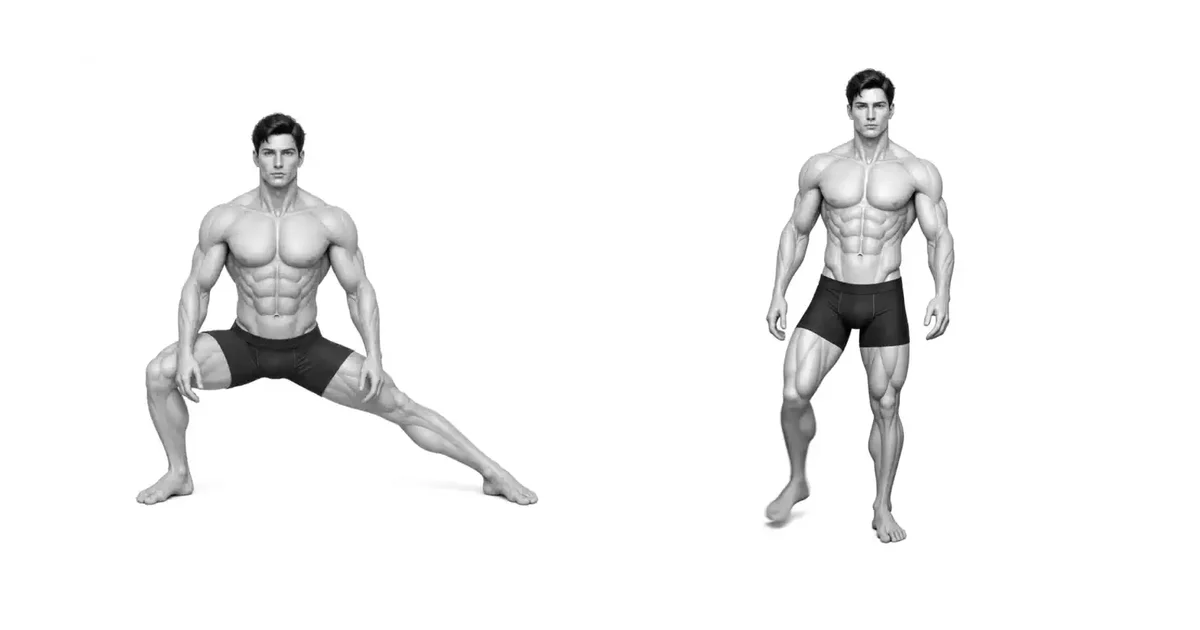
TROUBLESHOOTING
Fix the cause of a mistake, not just its appearance
Stride too wide
- What you see
- Shins tilt and knees drop into the feet.
- Likely cause
- Distance and stretching sensation are used as the criteria for depth.
- How to correct it
- Start by shortening your stride so that your knee remains above your second toe.
The inside of the moved foot collapses.
- What you see
- Only the thumb side is pressed and the outside of the foot and heel are lifted.
- Likely cause
- Only the pelvis was sent to the side without foot pressure.
- How to correct it
- Press the foot tripod again and reduce the depth to return to a full foot.
Return by throwing the upper body to the center
- What you see
- At the bottom, the torso moves first and the feet slide.
- Likely cause
- Inability to push with bent leg or fatigue.
- How to correct it
- Raise the bottom, pause for 1 second, and push the center only with the foot you moved.
REGRESSION & PROGRESSION
Match the difficulty before adding load
Wide stance weight transfer
Fix your feet and learn to move your pelvis left and right.
Bodyweight side lunge
Makes stride length and foot pressure consistent.
Goblet side lunge
Stabilizes the torso with a load in front of the chest.
Dumbbell side lunge
Increase slightly when the left and right ranges are the same.
BEGINNER PROGRAM
A practical starting framework
This is a different movement from the front squat, so first check the stride length and groin comfort on your body and match the number of repetitions on both sides.
Count
6–12 times each
Bottom 1 second, center return control
Set
2–4 sets each
60–120 seconds recovery after both sides
Frequency
1–2 times a week
Different lunge volumes and adjustments
- If full foot and knee orientation is maintained, increase the number of repetitions first.
- If you experience groin stabbing or foot collapse, reduce your stride length and depth.
- Does not perform sideways movements on slippery floors.
Frequently asked questions
How far sideways should I go?
A distance that allows the entire moved foot to stick together, the knee to remain in the direction of the toes, and the distance to push to the center is sufficient.
Is this a groin stretching exercise?
The contralateral adductors may be lengthened, but the primary goal is lateral lower body strength and control. Do not use sharp stretching as a criterion for depth.


