
SIDE PLANK
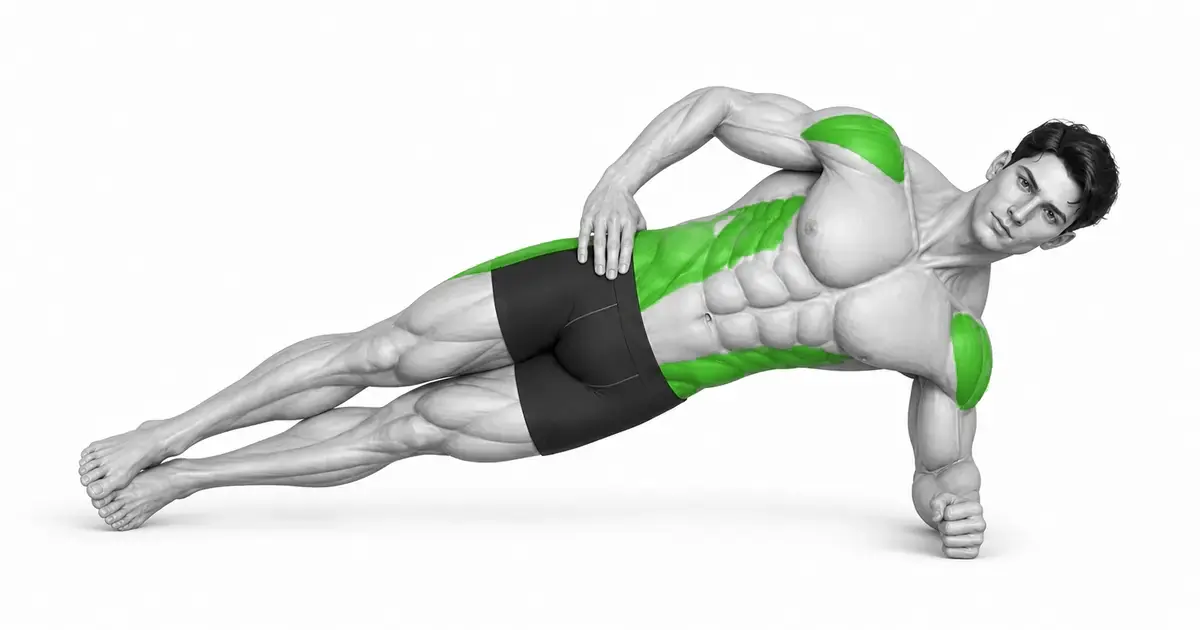
Side plank is not a movement that raises the pelvis, but a side anti-flexion movement that keeps the body in one line with the lower side and hips.
When you support your body on one forearm and the side of your foot, your obliques and gluteus medius work against gravity to keep your pelvis from sagging toward the floor. If your elbows are too far from your shoulders or your upper pelvis is turned backward, it puts pressure on your shoulders and lower back. Start in a regression position with your knees bent and stack your shoulders, hips, feet, or knees in one line.
- Primary muscles
- Obliques and transversus abdominis
- Secondary muscles
- Gluteus medius, quadratus lumborum, deltoid, serratus anterior
- Difficulty
- Intermediate
- Movement type
- Lateral antiflexion isometric
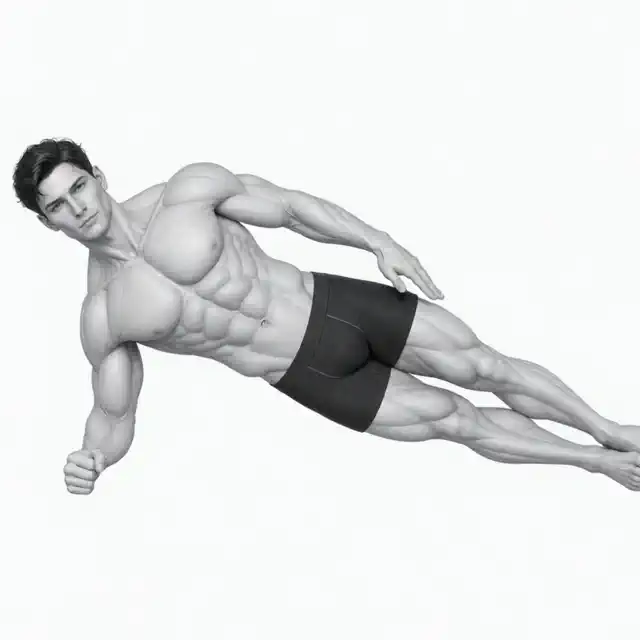
Should I put my feet on top of each other?
Can be stacked or staggered back and forth. Staggered makes for easier balance and is useful for learning pelvic alignment.
STEP BY STEP
4 Steps for One Complete Rep
- 1
Aligning Elbows and Support Points
Lie on your side and place your lower elbow directly under your shoulder. An easy variation involves bending your knees, while a basic variation involves straightening your legs and placing your feet on top of each other or crossing them.
- 2
Stacking shoulders and pelvis vertically
Push your lower forearms into the floor and face forward without letting your upper shoulders and pelvis roll backwards. Place your head in the same line as your spine.
- 3
Pelvis lift to the lower side
Exhale and tighten your lower sides and glutes to lift your pelvis. Stop when your shoulders, pelvis, feet, or knees approach a line.
- 4
Breathe briefly, hold and come down
Continue pushing into the floor with your forearms and take short breaths. Slowly lower yourself to the mat before your pelvis sags or your shoulders collapse.
STACK VERTICALLY
The upper shoulders and pelvis should be stacked vertically so that they do not fall backwards.
As the torso rotates toward the ceiling, the anti-flexion demands on the lower flank change. It's easy to learn alignment by placing your back against a wall and lightly aligning your shoulders and pelvis.
Place your upper hand on your pelvis to directly check the forward and backward rotation.
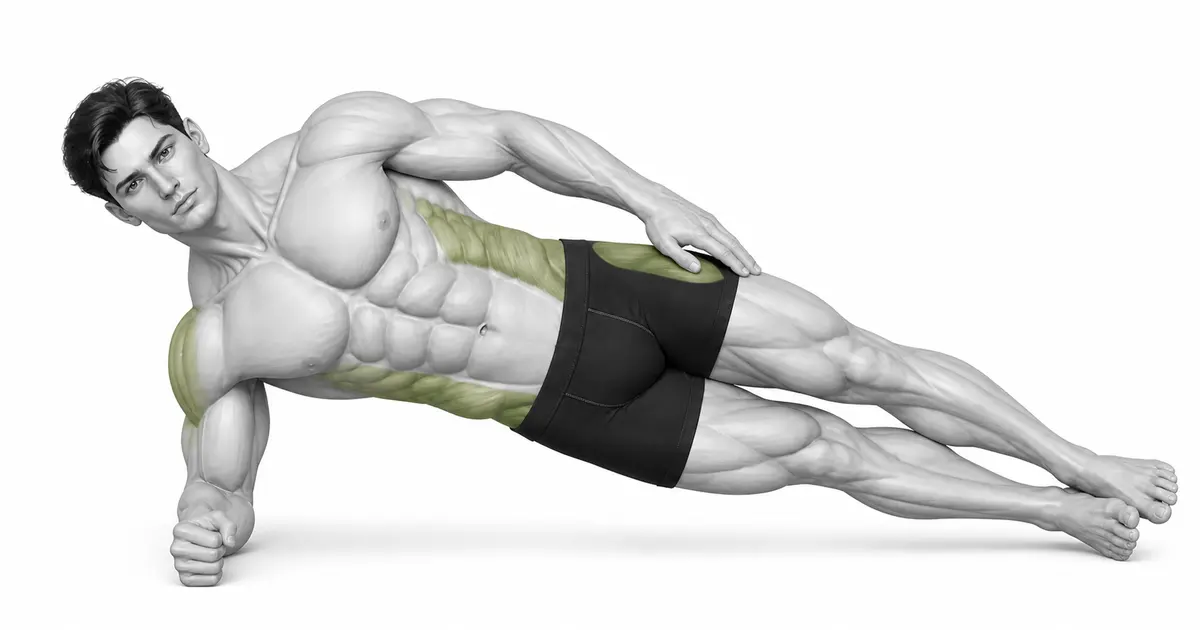
Key point: Cue to use right away: “Lift your hips with your elbows above your shoulders and below your sides.”
PUSH THE FLOOR
Instead of leaning on your lower shoulder, push your forearms into the floor to create space
When your scapula is raised toward your ear, it puts more pressure on your neck and shoulder joints. Place your elbows under your shoulders and push away from the floor to lengthen your neck.
If you have shoulder discomfort, lower the load with knee support or place your forearms on an elevated bench.
TROUBLESHOOTING
Fix the cause of a mistake, not just its appearance
Pelvis sagging toward the floor
- What you see
- My body bends like a bow and I feel pressure in my lower back.
- Likely cause
- Sides and glutes are relaxed or overtime.
- How to correct it
- Return to knee support and again create one line for a short period of time.
Upper pelvis rotated backwards
- What you see
- Belly button points toward the ceiling, foot pressure dissipates.
- Likely cause
- Body opened to avoid balance rather than vertical alignment.
- How to correct it
- Place your upper hands on your hips, with both pelvic bones facing forward.
Lower shoulders collapse toward ears
- What you see
- The neck becomes shorter and pressure is concentrated on the shoulder joint.
- Likely cause
- I leaned on my joints instead of pushing against the floor with my serratus anterior muscles.
- How to correct it
- Pull your elbows under your shoulders and push your forearms into the floor to lift your upper body.
REGRESSION & PROGRESSION
Match the difficulty before adding load
Bench Support Side Plank
Raise upper body height to lower load.
Knee Side Plank
Learn pelvic stacking with short levers.
Foot Support Side Plank
Maintains one line throughout the body.
Star Side Plank
Raise the upper leg to increase gluteus medius demands.
BEGINNER PROGRAM
A practical starting framework
Start with the weak side and equalize the time on both sides. Rather than holding on for too long, quit before your pelvis and shoulders become out of alignment.
Time
10–40 seconds each
Calculate alignment hold time only
Set
2–4 sets each
30–90 seconds recovery after both sides
Frequency
2–5 times a week
Short quality set
- If vertical pelvis and shoulders are maintained, increase time by 5 seconds.
- Stop immediately if pelvic sagging, torso rotation, or shoulder pressure occurs.
- Once it gets easier for more than 40 seconds, adjust the lever or leg variation over time.
Frequently asked questions
Is it normal to feel a burning sensation on the side of your back?
Widespread fatigue of the flank muscles is expected. Sharp pain in the spine or shoulder is not considered normal.
Is it ineffective if I put my knee on it?
No. You can train the same pelvic stacking and anti-flexion, just with a shorter lever.


