
SLED PUSH
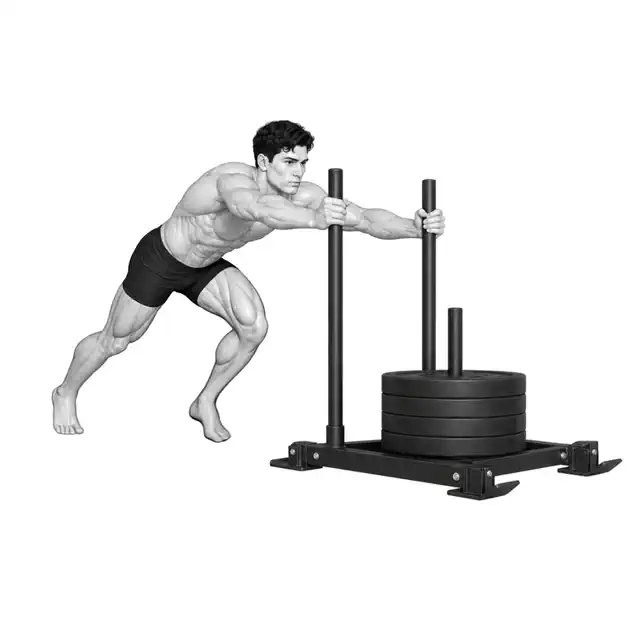
Sled push is not an exercise in which you bend your back and hold on, but rather a full-body propulsion exercise in which you tilt your torso tightly and push the ground back with your feet to move the sled forward.
Pushing a weight sled allows you to place a high load on your lower body and cardiopulmonary system without a significant eccentric drop. However, if the floor friction changes, the difficulty of the same disc changes significantly, and if it is too heavy, only a round waist and short toe steps are left. Check the track with an empty sled, connect your arms and torso tightly, and create a rhythm with your entire foot pushing the ground back.
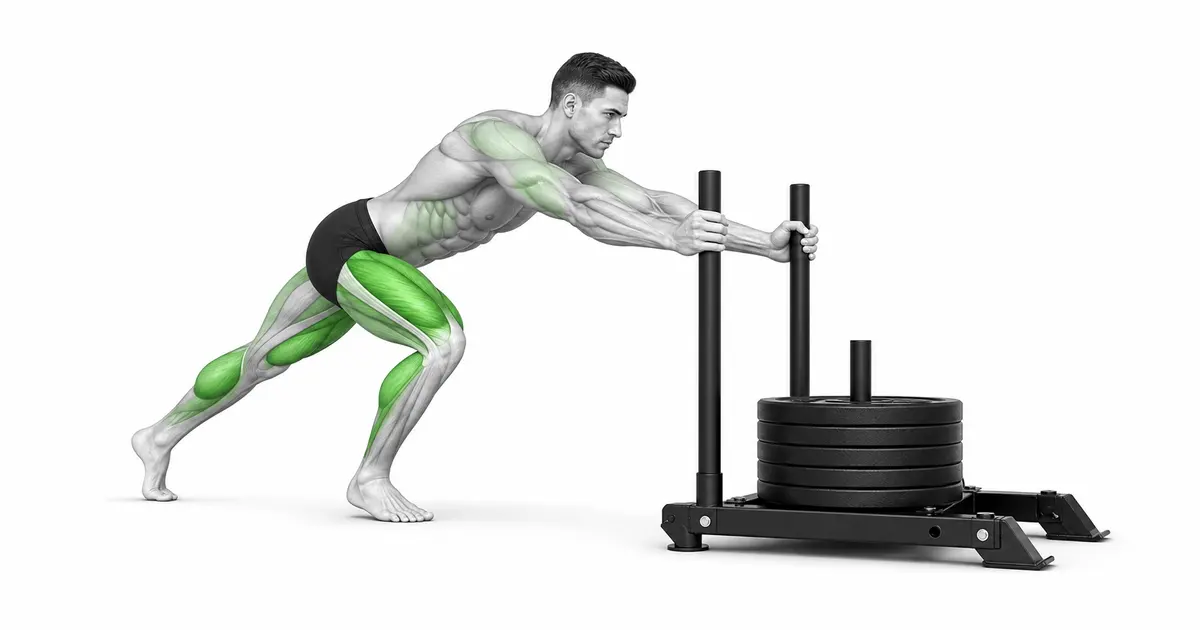
- Primary muscles
- Quadriceps, gluteus maximus, calves
- Secondary muscles
- Hamstrings, triceps, serratus anterior, core
- Difficulty
- Advanced
- Movement type
- Forward horizontal push
How heavy should I load it?
Depends on track friction and goals. Use loads that maintain torso alignment and meaningful steps.
STEP BY STEP
4 Steps for One Complete Rep
- 1
Verifying track and sled loading
Clear the path of movement of people and obstacles and check floor friction. Start by pushing the empty sled and load the plates evenly.
- 2
Align handle and body angle
A high handle creates a relatively upright posture, while a low handle creates a large tilt. Lean your entire body forward, keeping your arms long and your ribs and pelvis connected.
- 3
Move forward by pushing the ground back with your feet
Push firmly back with one foot at a time, making short, continuous steps. Your knees should follow the direction of your toes and your pelvis should not swing from side to side.
- 4
Reduce speed, come to a complete stop and let go
Decelerate by shortening the steps before the target line. After making sure the sled has come to a complete stop, look around and get out of the handle.
LEAN AS ONE UNIT
Rather than folding your torso, tilt your entire body tightly starting from the ankles.
If your back is rounded and your hips are pulled back, leg force will not be transferred to the sled. Keep your ribs and pelvis overlapped and your arms long.
The heavier the load, the greater the tilt can be, but the spine shape must be maintained.
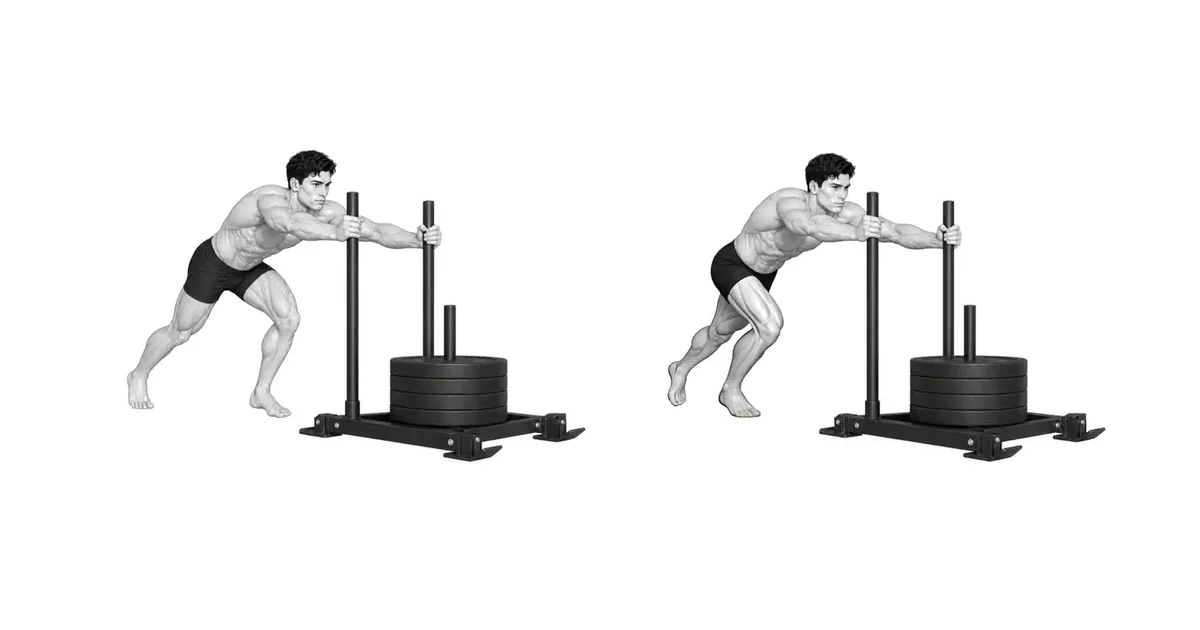
Key point: Cue to use right now: “Lean your body on one side and push the ground back.”
DRIVE THE GROUND
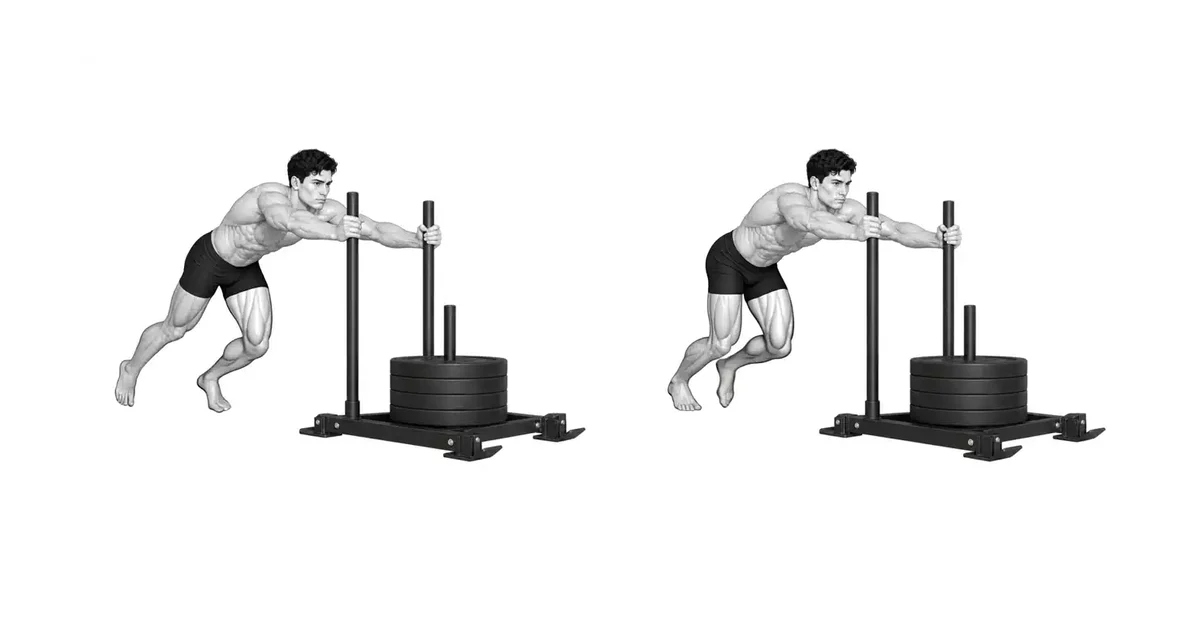
Rather than walking on your toes often, you should push the ground back with each step
Initially, your heel may be high when your front foot strikes, but push strongly through the entire front foot. Do not allow your feet to spread outward.
If the step length almost disappears, the load may be excessive for the intended purpose.
TROUBLESHOOTING
Fix the cause of a mistake, not just its appearance
Round your back and move your buttocks back.
- What you see
- Your back rolls and your chest drops below the handle.
- Likely cause
- The load is excessive or the torso is relaxed.
- How to correct it
- Restore full body tilt by reducing the disc and making your arms and torso into one line.
Feet turn outward and drag briefly
- What you see
- Knee and toe directions are different and there is almost no thrust distance.
- Likely cause
- Load is too heavy or hip alignment is disrupted.
- How to correct it
- Lower the load, keep your knees toward your toes, and push off the ground one step at a time.
Sudden release from target line
- What you see
- Sled continues to move, approaching people or equipment.
- Likely cause
- No deceleration section planned.
- How to correct it
- Slow down before the target line, come to a complete stop and let go.
REGRESSION & PROGRESSION
Match the difficulty before adding load
Increased weight and speed
Gradually increase the weight or increase the speed of the movement while maintaining correct posture.
Continuous performance (complex)
Combine with other movements to strengthen cardiorespiratory endurance and muscular endurance simultaneously.
BEGINNER PROGRAM
A practical starting framework
Distance, time, disc and track surface must be recorded together to compare sessions. For power purposes, use light loads and high speeds, and for strength purposes, use heavy loads and short distances.
Frequency
1-2 times a week
High nervous system fatigue, so allow ample recovery time.
Volume
3~5 sets, 3~6 times
Low reps are recommended to focus on maintaining quality movement and explosiveness.
- If you become tired and lose your posture, end the set immediately.
- Protect your spine by maintaining abdominal pressure with powerful breathing.
Frequently asked questions
What is the difference between high and low handles?
A high handle creates a relatively upright posture, while a low handle creates greater torso tilt and shoulder demands. Choose according to your goals and comfort.
Is this an exercise that puts little strain on the knees?
Eccentric shock may be small, but knee extension load is large. If you experience pain, adjust the load and angle and check with a professional.


