
WALKING LUNGE
Walking lunge is not an exercise in which you quickly walk forward, but rather a lunge in which you stop your center of gravity on your front leg with each step and switch to the next foot.
A series of forward lunges requires not only lower body strength, but also balance and the ability to decelerate while walking. Make sure you have a long enough straight space and lower your hips after reaching your entire front foot with each step. Maintaining consistent left and right stride length and knee path is more important than speed and distance traveled.
- Primary muscles
- Quadriceps and gluteus maximus
- Secondary muscles
- Hamstrings, gluteus medius, adductors, calves, core
- Difficulty
- Intermediate
- Movement type
- Alternating Forward Lunges
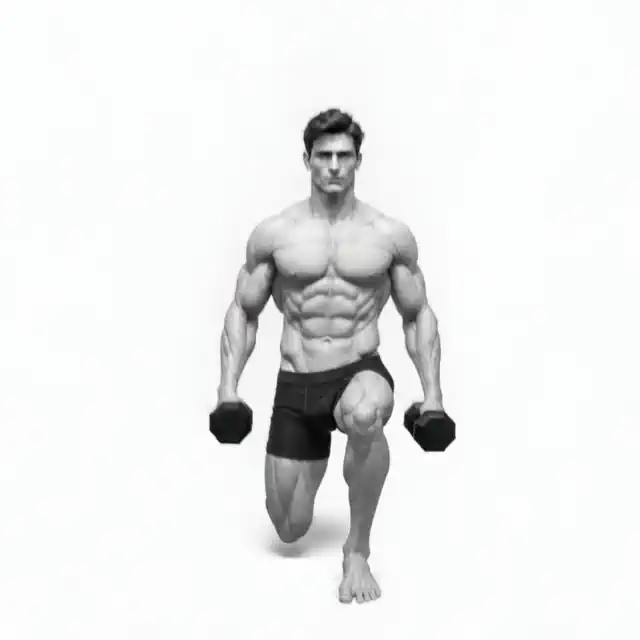
Can the front knee go beyond the toes?
You can move forward if your heels are together, your knees are in line with your toes, and there is no pain. There is no need to force your stride length and put your knees behind you.
STEP BY STEP
4 Steps for One Complete Rep
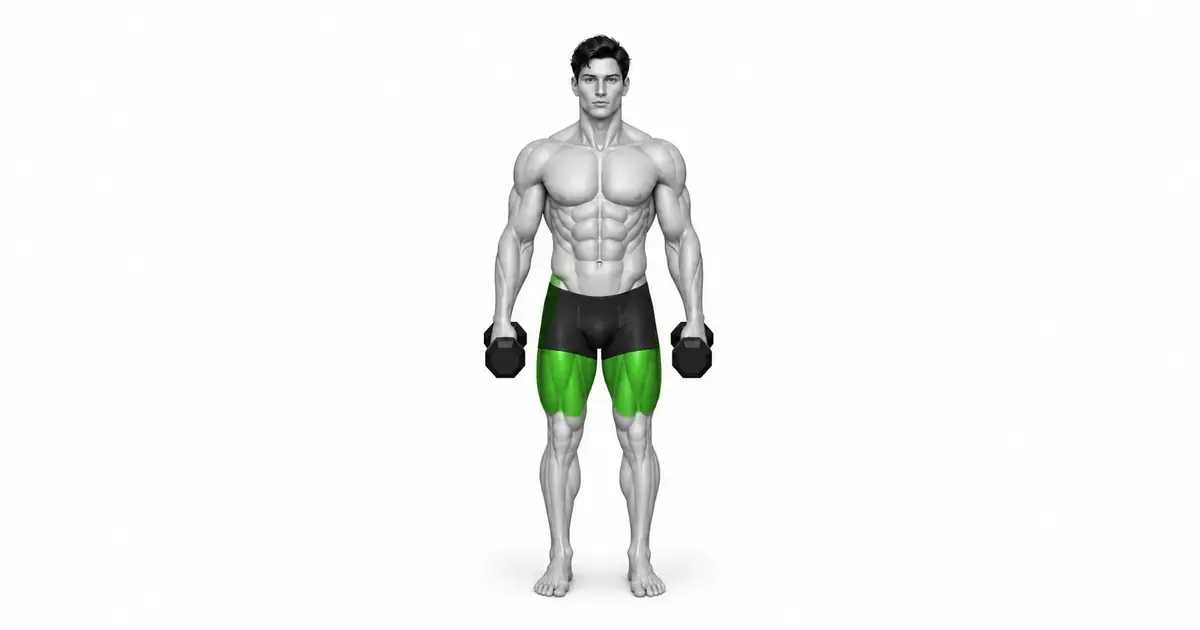
- 1
Checking the linear movement space and dumbbells
Checks the floor for slippage and obstacles and ensures safe space to turn around at the end. For dumbbells, choose a weight that doesn't swing next to your body.
- 2
Take a step while maintaining pelvic width
Step one foot forward sufficiently, but make sure that the left and right feet do not overlap in one line. Place your front foot firmly on the floor from the heel to the front of your foot.
- 3
Lower the pelvis while maintaining the direction of the front knee
Let your front knee follow the direction of your toes and lower your back knee toward the floor. Stop at a depth where your torso and pelvis do not tilt to one side.
- 4
Push with front foot to connect to next step
Push into the floor with your entire front foot to bring your body forward and connect your back foot with the next step. If your balance falters, bring your feet together in the middle and reset.
STEP & BASE
Stride length and left and right width together determine knees and balance
If the stride length is too short, the front knee and ankle may bend abruptly, and if the stride length is too long, the hip joint of the hind leg may be pulled excessively. Find a comfortable distance between your entire front foot and the heel of your back foot.
Placing both feet on one line increases balance demands unnecessarily. Maintain your hip width as if you were walking on two parallel rails.
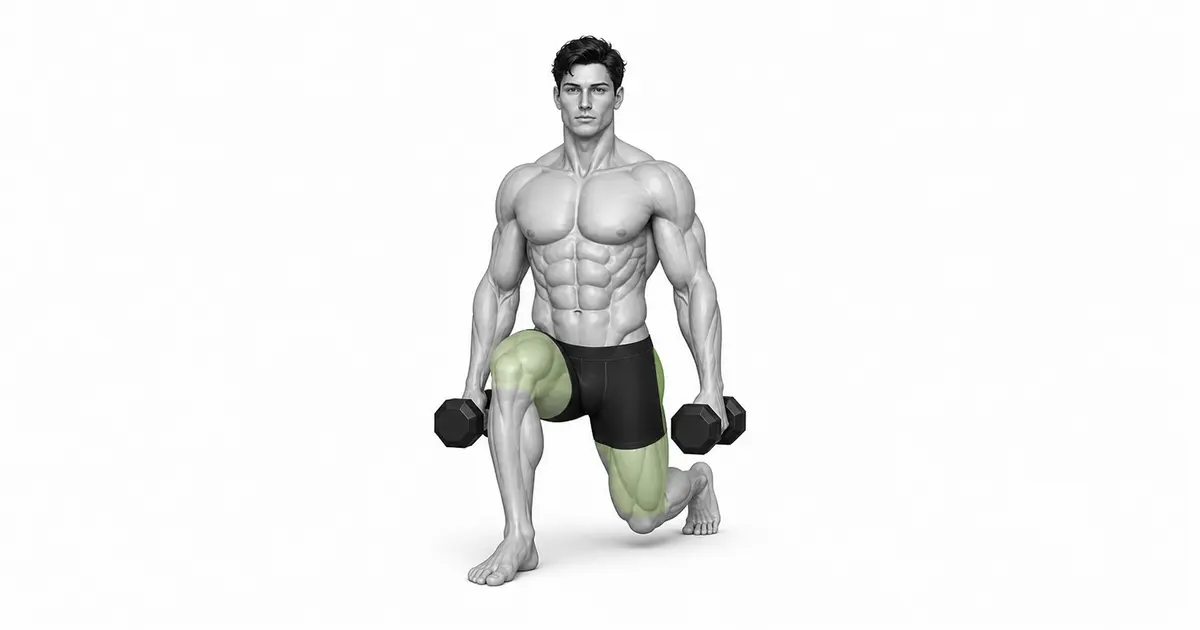
Key point: Cue to try right away: “Walk on both rails, stop on front foot.”
CONTROL THE TRANSITION
Control your balance on your front leg before taking the next step
If you throw yourself right at the bottom, it's easy for the dumbbells to swing and your knees to collapse inward. Stand up on your front foot and take the next step as soon as your pelvis is stable.
While holding the dumbbells at the end of the space, do not turn sharply, but put your feet together, stop, and then change direction with small steps.
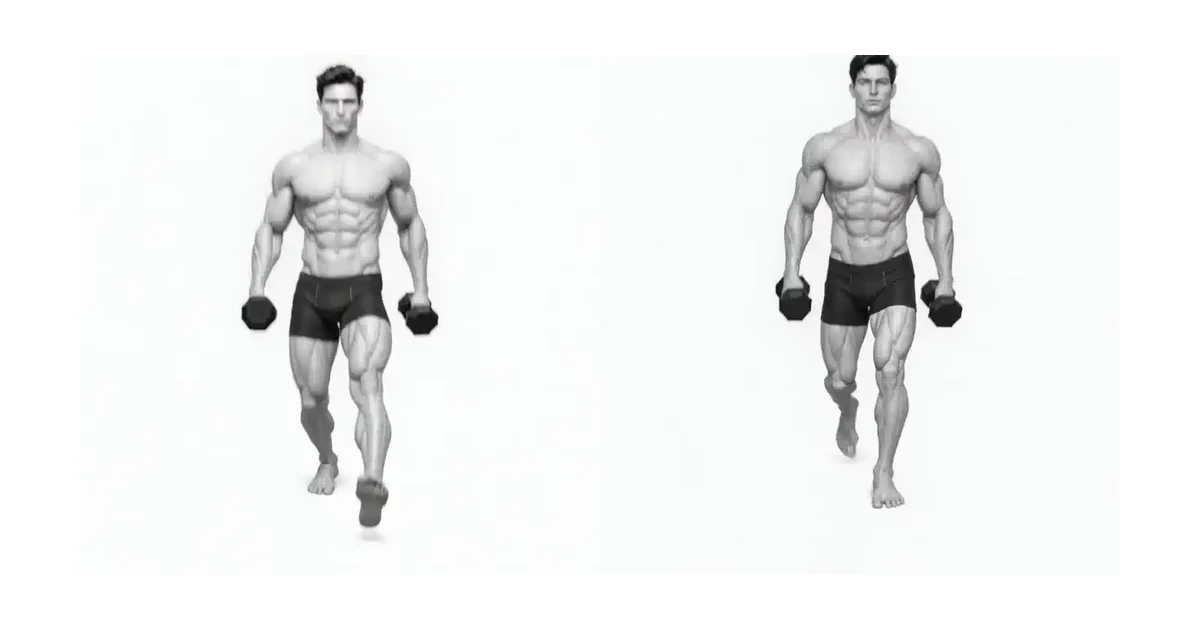
TROUBLESHOOTING
Fix the cause of a mistake, not just its appearance
Place feet on one line
- What you see
- With every step, I sway left and right and my feet cross each other.
- Likely cause
- I tried to take a long step forward, so the support surface on the left and right became narrow.
- How to correct it
- Imagine two rails the width of your hips and place each foot on the same side rail.
Front knee collapses inward
- What you see
- Knee moves inward toward big toe when lowering or transitioning.
- Likely cause
- Weight/speed or stride length exceeds current one-sided control capability.
- How to correct it
- Lower the dumbbells, pause between steps, and bring your knees toward your second toe.
Rebound and throw yourself into the next step
- What you see
- The upper body and dumbbells swing back and forth and the feet land loudly.
- Likely cause
- Focused on movement speed, omitted deceleration and balancing steps.
- How to correct it
- Pause briefly at the top of each rep and slow down to a speed that allows you to maintain a quiet landing.
REGRESSION & PROGRESSION
Match the difficulty before adding load
Supported Split Squat
Learn the knee path in a fixed position.
Reverse Lunge
Practice unilateral control with the front foot stationary.
Bodyweight walking lunge
Makes strides and transitions consistent.
Dumbbell Walking Lunge
Increase slightly when moving the dumbbell without shaking.
BEGINNER PROGRAM
A practical starting framework
Stabilize bodyweight side-to-side strides and transitions, then use dumbbells and record volume based on the number of repetitions on each leg rather than distance.
Count
8–16 steps each
Control your center of gravity with every step
Set
2–4 sets
60–120 seconds recovery between sets
Frequency
1–2 times a week
Different lunge/unilateral exercises and volume control
- If the same stride length as the quiet landing is maintained, increase the number of repetitions first.
- If you experience dumbbell wobble or knee collapse, lower the weight and speed.
- Does not perform in crowded aisles or slippery floors.
Frequently asked questions
How many meters should I walk?
It is more accurate to record the controlled number of repetitions for each leg rather than the space length. Set it as 8 steps left and right and increase it when quality is maintained.
How is it different from in-place lunges?
Walking lunges have a new landing and forward transition each repetition, placing greater demands on balance and deceleration. At first, you can learn alignment with in-place variations.


