
WALL SIT
Wall sit is not a position that makes the thighs parallel to the floor, but is an isometric exercise that maintains lower body tension at a height that maintains foot pressure and knee comfort.
Maintaining a seated position with your back against a wall will place constant tension on your quadriceps and glutes without moving. If your feet are too close to the wall or too low, the burden will be placed on the front of your knees and your heels will pop. Start from a high position and find an angle that allows you to press your entire foot into the floor with your back and pelvis against the wall.
- Primary muscles
- Quadriceps
- Secondary muscles
- Gluteus maximus, adductors, calves, core
- Difficulty
- Intermediate
- Movement type
- Wall support knee/hip joint isometric
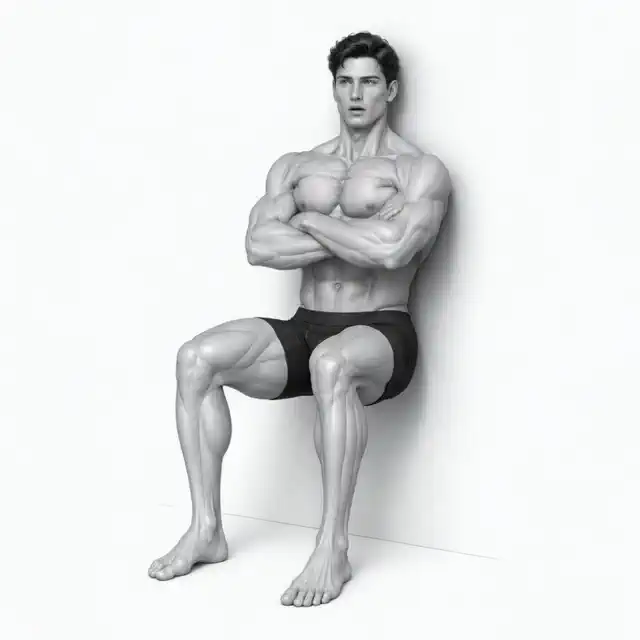
Should your thighs be parallel to the floor?
No. The height is appropriate to maintain foot and knee alignment without pain.
STEP BY STEP
4 Steps for One Complete Rep
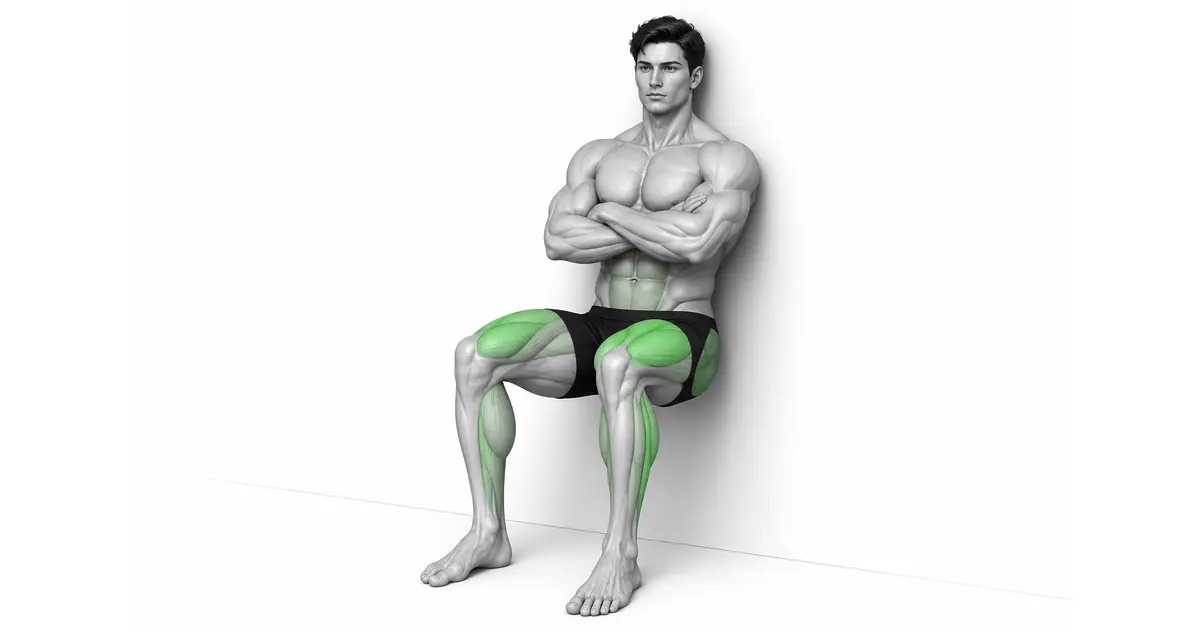
- 1
Positioning feet forward from the wall
Rest your back against the wall and place your feet a foot or two in front of you. Place your feet shoulder-width from your hips and point your toes comfortably.
- 2
Controlled descent along the wall
Bend your knees and go down with your back and pelvis against the wall. Initially, the thighs stop at an angle higher than parallel.
- 3
Maintaining full foot and knee orientation
Press your heel, thumb, and little toe into the floor and place your knee in the direction of your second toe. Do not use your hands to support your thighs.
- 4
Hold your breath and climb up the wall
Take short breaths and maintain alignment. Before your posture collapses, push off the floor with your feet and slowly come up along the wall to finish.
CHOOSE THE HEIGHT
Height is determined by joint comfort and retention quality, not exercise effectiveness
The lower the higher the demands on your knees and quads, but not necessarily better. Choose a height that maintains your entire foot pain-free.
Mark the height on the wall so you can repeat the same level of difficulty in the next session.
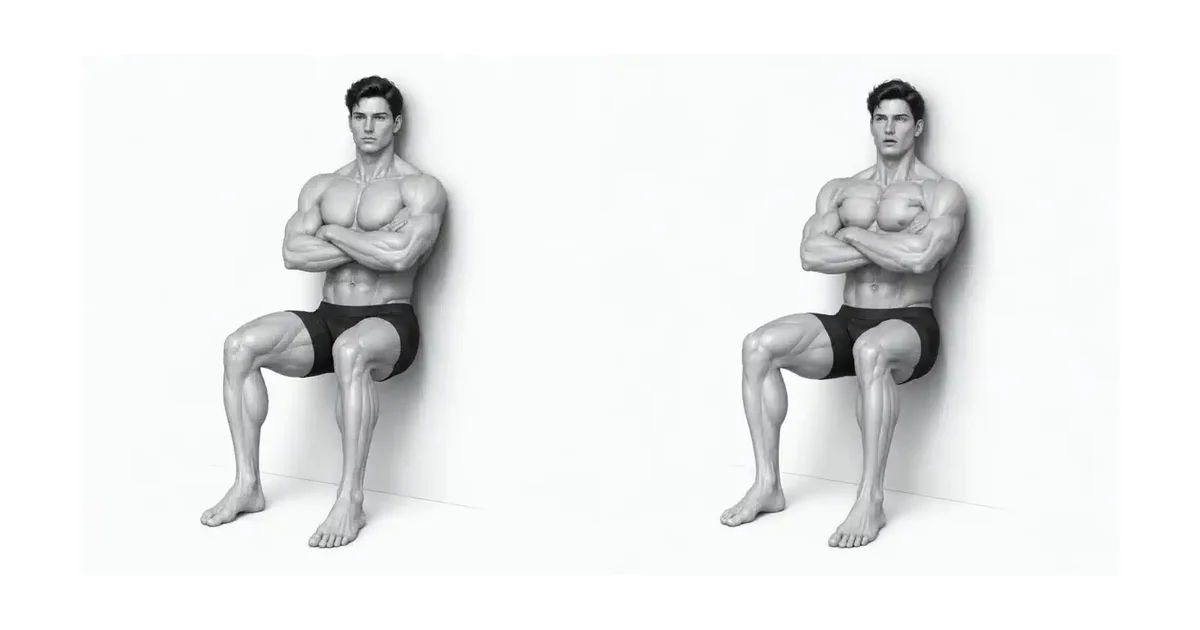
Key point: Cue to use right away: “Press your entire foot and place your back and pelvis against the wall.”
KNEE TRACKING
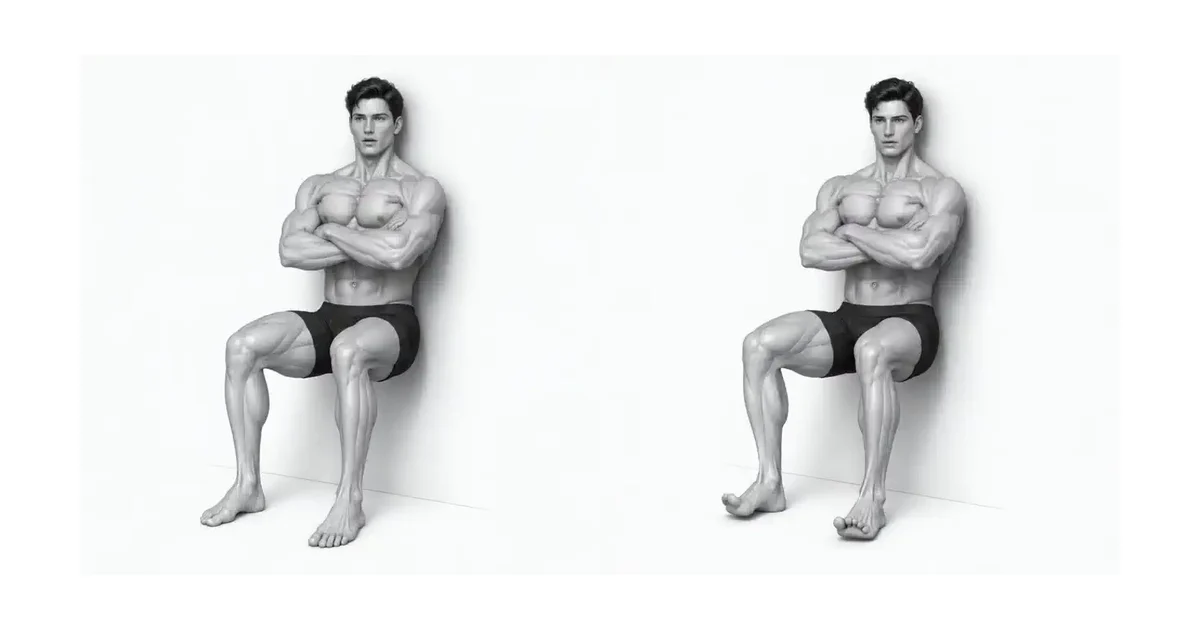
Knees should follow the direction of the toes and not be brought together further inward than the feet.
When you're tired, it's easy for your knees to turn in and your foot arches to collapse. At this time, don't waste time and get up.
Adjust the foot distance to prevent the heel from rising at the bottom or the shin from leaning excessively forward.
TROUBLESHOOTING
Fix the cause of a mistake, not just its appearance
Feet too close to the wall
- What you see
- The knees are pushed forward significantly and the heels are lifted.
- Likely cause
- You did not secure the starting distance before starting.
- How to correct it
- Stand up, move your feet further forward, and sit back down in an elevated position.
Support your thighs with your hands
- What you see
- Arms rest on legs and upper body strength takes the load off.
- Likely cause
- Hold time has exceeded the current difficulty level.
- How to correct it
- Place your hands in front of your chest or next to your body to increase height or decrease time.
Knees gathered inward
- What you see
- In the second half of the hold, both knees drop inside the toes.
- Likely cause
- Fatigue or foot width is out of control.
- How to correct it
- Quit immediately and reduce time on the next set to maintain knee direction.
REGRESSION & PROGRESSION
Match the difficulty before adding load
Increased load and strength
Increase intensity by gradually increasing weight or shortening rest periods.
Complex Variant Behavior
Increase the difficulty level by combining it with other exercises or adding unstable environments.
BEGINNER PROGRAM
A practical starting framework
Record the same height and foot pressure over time. Tremors themselves may occur, but joint pain and loss of alignment are signs of an end.
Frequency
2~3 times a week
Appropriately place it in your whole body or relevant area routine.
Volume
3~5 sets, 8~15 times
Adjust the number of reps and sets according to your goals.
- Always put safety first and listen to your joint pain.
- Perform the entire operation within the scope of your control.
Frequently asked questions
Is it okay if my knees shake?
You may feel a little shaky due to muscle fatigue, but if your knee collapses inward or causes pain, stand up immediately.
How long should I hold out?
Start with a quality set of 10 to 45 seconds and increase the time only when the same height and alignment is maintained.


