WALL SLIDE
Use the wall as feedback while practicing controlled shoulder-blade rotation and overhead reach.
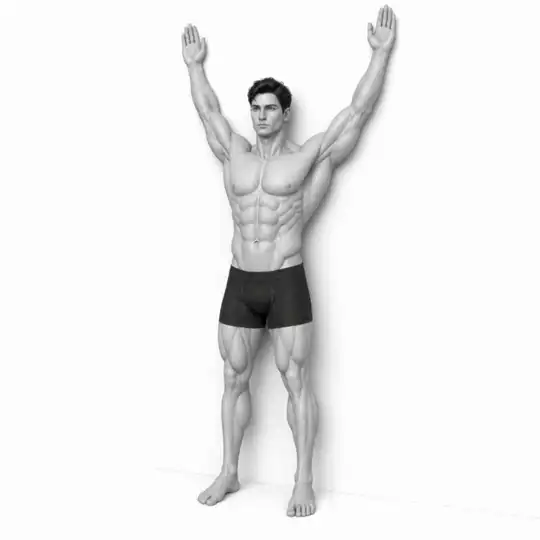
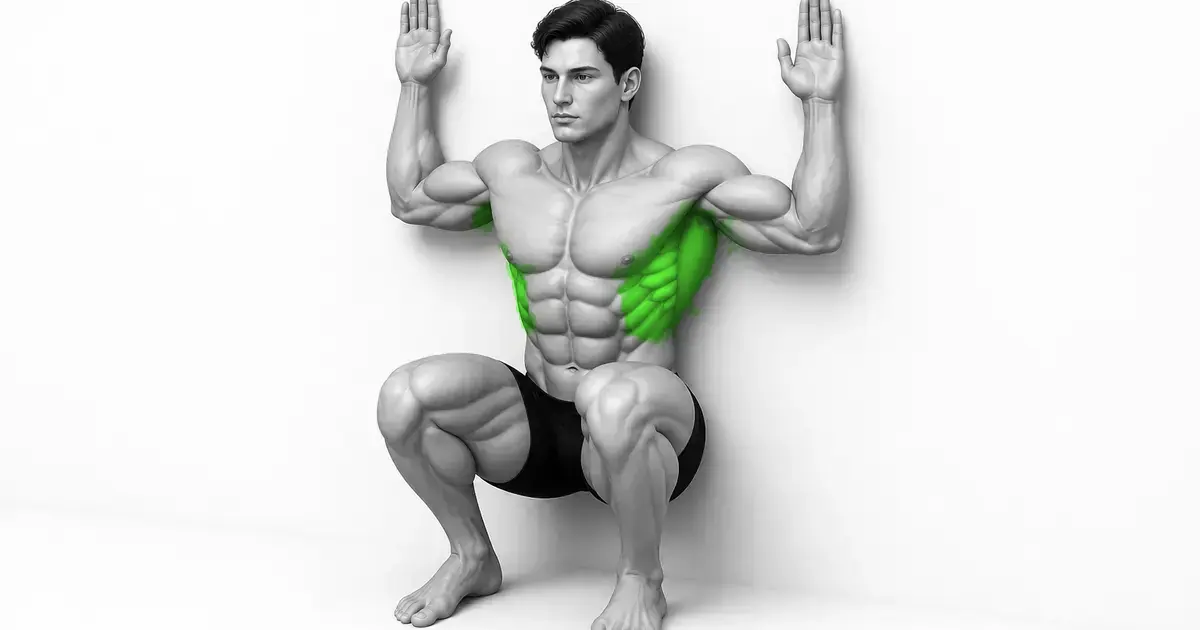
Stand with the head, upper back, and pelvis comfortably supported by the wall. Slide the arms upward while keeping the ribs down; maintain only the wall contact you can hold without pain or compensating through the lower back.
- Primary muscles
- Lower Trapezius · Serratus Anterior
- Secondary muscles
- Rhomboids · Rotator Cuff
- Difficulty
- Beginner
- Movement type
- Scapular Upward Rotation
My arm can't reach the wall, what should I do?
You may not be able to reach it at first. If you practice consistently, working only as far as you can reach, your flexibility will gradually improve.
STEP BY STEP
4 Steps for One Complete Rep
- 1
Hold your body against the wall
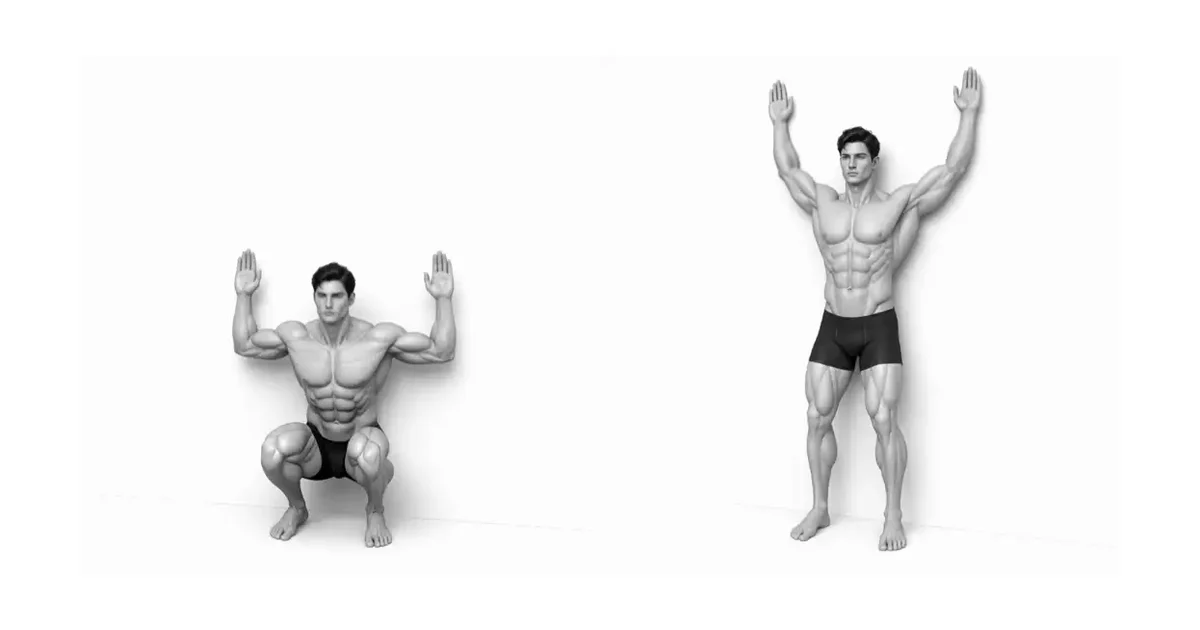
Stand with your back to the wall and place your feet about 10 to 15 cm in front of the wall. Place yourself completely against the wall from head to buttocks.
- 2
Creating a W-shaped posture
Raise your arms and place your elbows and the backs of your hands on the wall. Make sure your arms are shaped like a ‘W’.
- 3
Slide up
Slowly extend your arms above your head. At this time, strengthen your abdomen so that your lower back does not rise.
- 4
Return slowly
Pull your elbows towards your sides and return to the ‘W’ position. Concentrate on the movement of your scapula.
SCAPULAR RHYTHM
Shoulder rhythm for healthy shoulders
The wall slide selectively strengthens the lower trapezius and serratus anterior muscles, which help with upward rotation of the scapula. Many people overuse their upper trapezius muscles when raising their shoulders, but this exercise helps you relearn proper muscle use patterns.
Especially if you have round shoulders or shoulder impingement syndrome, securing scapular stability through wall slides can be very helpful in relieving pain and improving range of motion. It is much more important to maintain contact with the wall rather than forcefully extending your arms.
RANGE, LOAD & TEMPO
Choose a range and load that keep the Wall Slide repeatable
The useful range of motion ends before your torso or working joints have to change position to move the load. Keep the lower trapezius · serratus anterior producing the movement while the rhomboids · rotator cuff support the same alignment from the first repetition to the last.
Use a controlled lowering phase of about two to three seconds and avoid bouncing through the transition. If the final repetitions become shorter, faster, or visibly different from the first, reduce the load or stop the set before technique breaks down.
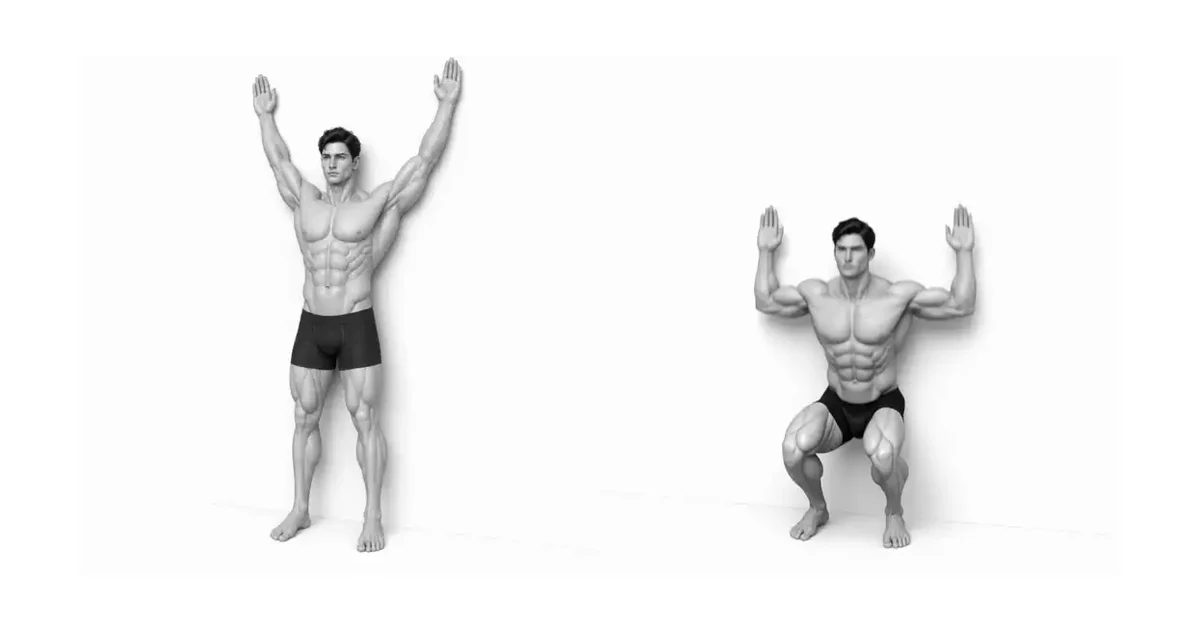
Key point: Progress the Wall Slide only after every repetition follows the same path without joint pain.
TROUBLESHOOTING
Fix the cause of a mistake, not just its appearance
Lower back off the wall
- What you see
- A posture in which the lower back is excessively bent when raising the arm, creating space between the wall and the wall.
- Likely cause
- Attempting to solve the lack of shoulder mobility by compensating for the lower back.
- How to correct it
- Strongly contract your abdominal muscles to press your lumbar spine against the wall, and move your arms only as far as you can raise them.
The back of the hand or elbow hangs off the wall
- What you see
- A phenomenon in which part of the arm falls off the wall during movement.
- Likely cause
- Lack of thoracic spine mobility or reduced ability to externally rotate the shoulder.
- How to correct it
- Move only within the range that does not fall off the wall, and gradually expand the range of motion.
REGRESSION & PROGRESSION
Match the difficulty before adding load
Foam Roller Wall Slide
Performed with a foam roller between the wall and the arm to further increase the activity of the serratus anterior muscle.
Band Wall Slide
Strengthen the shoulder stabilizers by hanging a mini band around your wrist and performing it with resistance applied outward.
BEGINNER PROGRAM
A practical starting framework
Work only through the range where the ribs stay down and the shoulders remain comfortable; wall contact is feedback, not a depth target.
Frequency
Daily or 3-4 times a week
Since it is a corrective exercise, the more often you perform it, the better the effect.
Volume
2~3 sets, 10~15 times
Perform slowly and feel the correct stimulation.
- Do not stop breathing and keep it natural.
- Pull in your chin and keep your neck aligned.
- Focus on precise contact and movement rather than speed.
Frequently asked questions
It is difficult to do it while standing. Can I do it while sitting?
Yes, you can get the same effect by sitting on the floor with your back against the wall.