STABILITY BALL PUSH-UP
The gym ball push-up is not a trick of holding on to a ball, but rather a technique of maintaining the push-up path even on a rolling lower body support point.
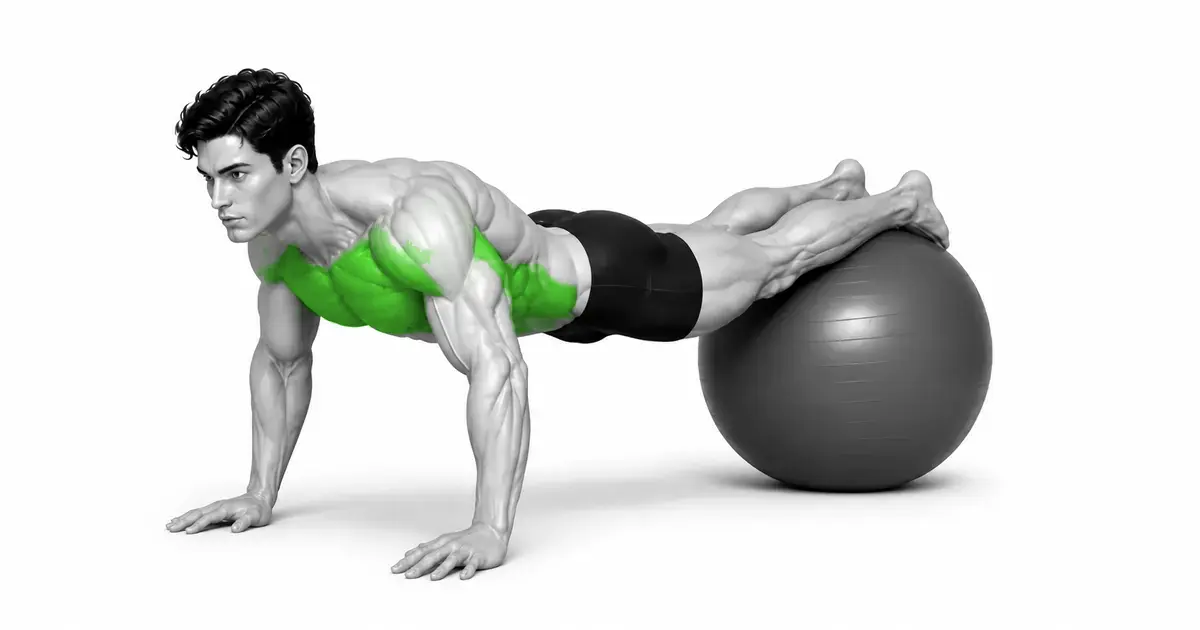
The exercise ball pushup on this page is a variation where you place both hands on the floor and place both shins or ankles on an exercise ball, as shown in the video. As the feet are raised, the burden on the upper body changes, and the ball can roll back and forth and left and right, requiring control of not only the pectoralis major, triceps, and front deltoid muscles, but also the torso and pelvis. However, an unstable ball doesn't automatically make all muscles more active. One study found no significant difference between feet on the ball and a stable bench, while another small study found higher triceps and rectus abdominis activation than regular pushups. Therefore, use it as an option to increase the difficulty and balance demands after regular push-ups rather than because it is ‘more effective’.
- Primary muscles
- Pectoralis major, triceps
- Secondary muscles
- Front deltoid muscle, abdominal muscle, shoulder stabilizer muscle
- Difficulty
- Advanced
- Movement type
- Horizontal push with elevated feet, unstable torso support
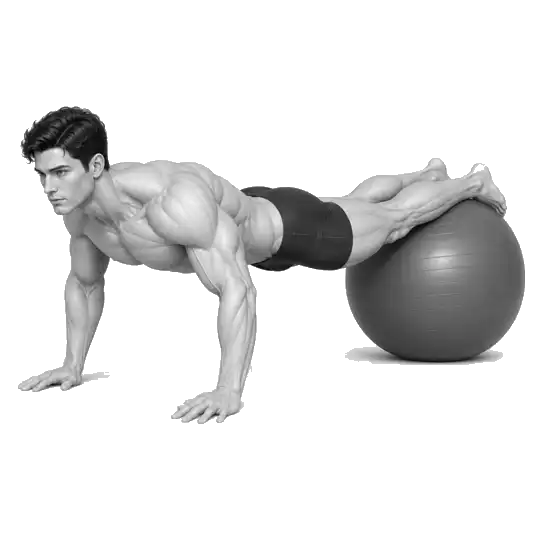
Does putting your feet on an exercise ball provide a greater chest workout than a regular push-up?
This is not necessarily the case. In studies with feet on the ball, pectoralis major activity was similar to normal or stable support, with differences seen in the triceps and rectus abdominis depending on the study. It is more accurate to believe that the quality of posture changes due to instability and foot height rather than muscle stimulation.
STEP BY STEP
5 Steps for One Complete Rep
- 1
Check the ball and floor conditions first
Use a non-damaging gym ball designed to support your body weight and fill it with air to the manufacturer's recommended range. Choose a flat surface where the ball and hands will not slip, and keep a sufficient distance from surrounding walls, equipment, and corners.
- 2
Roll your body over the ball to enter safely
Lie down in front of the ball, place your stomach and thighs on the ball, and place both hands on the floor. Take a step forward with your hands and let the ball roll from your thighs to your shins. At first, place the middle of your shin on the ball, and only as you get used to it, move the support point towards your ankle.
- 3
Align your hands and hips to create a plank
Place your hands slightly wider than your shoulders and press your fingers into the floor. Align your shoulders over your wrists, then brace your abdomen and glutes so your ribs and pelvis stay stacked and your body forms a long straight line from head to heels.
- 4
Center the ball and lower your chest and pelvis together
Inhale and bend your elbows diagonally back from your torso about 30–60 degrees. Lower your chest and hips at the same speed and press lightly on the ball with both legs to prevent side to side movement. Pause at a depth before your shoulders roll forward or your back arches.
- 5
Push off the floor and come down under control
Push your entire palm into the floor, straightening your elbows, and return to the starting position. At the end of the set, rather than lowering your feet quickly, slightly bend your knees and walk backwards with your hands, allowing the ball to roll from your shins to your thighs, then lower your feet to the floor.
BALL CONTACT
The closer the ball is to your shins, the more stable it is, and the closer it is to your ankles, the more leverage it has.
At first, place the ball wide between your shins. The area in contact with the ball is large and the support point is close to the center of the body, making it easy to control left and right shaking. Once you get used to it, you can move the ball a little closer to your ankles, but this doesn't guarantee the same number of repetitions because your hand position and body angle will also change.
If you only place the ball on your toes, the ball can easily fall out with even the slightest movement of your foot. With your legs together, place the top of your foot or ankle over the center of the ball and check before the first repetition that the ball is not drifting from side to side. On days when you change ball positions, do not increase bottom depth or number of reps at the same time.
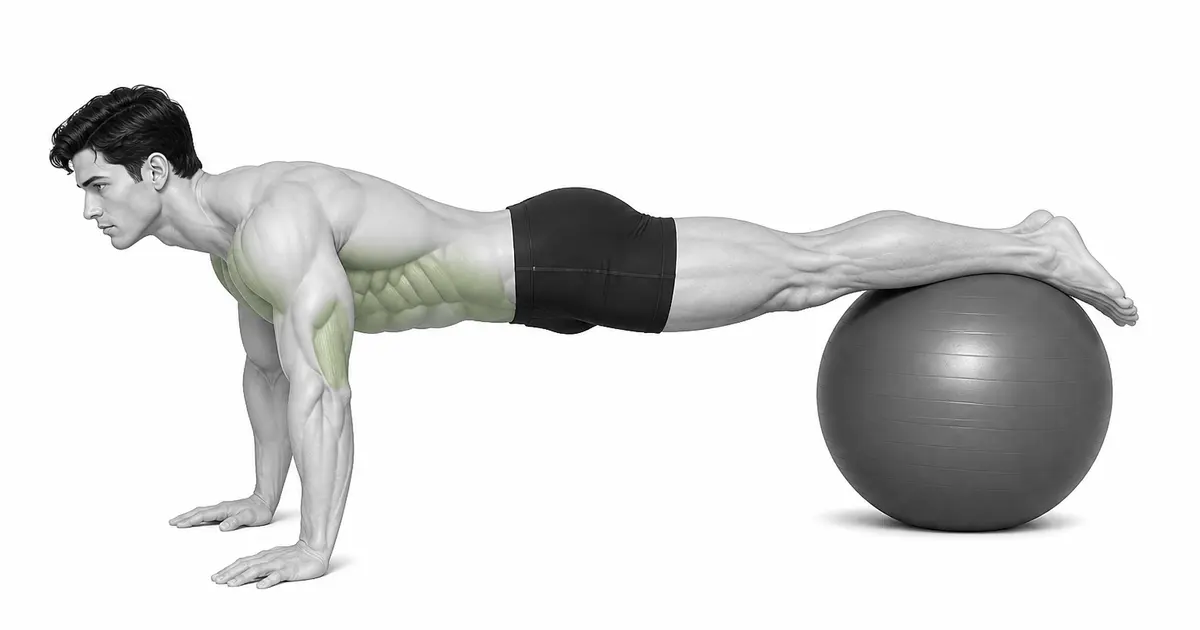
Key point: Criteria to use right away: Support mid-shin → Maintain alignment for 6 times → Move slightly toward the ankle only in the next session.
PLANK ALIGNMENT
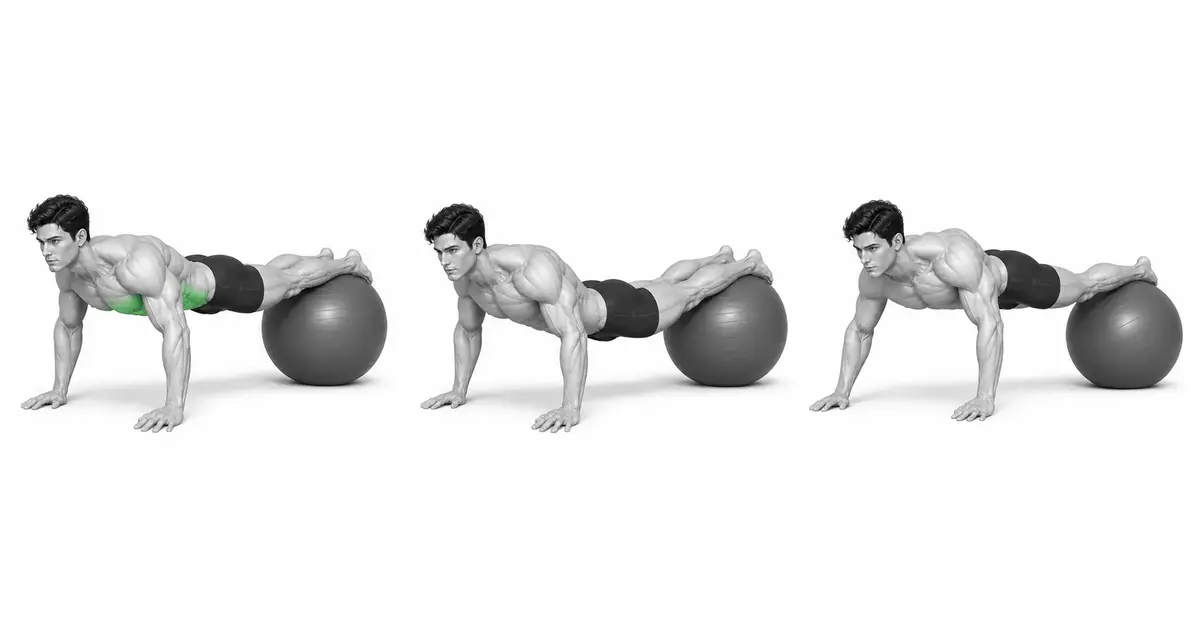
The swing of the ball is controlled by keeping the ribs and pelvis level, not by bending the lower back.
If the ball moves back and forth, it is easy for your hips to rise or your lower back to sag. Rather than tucking in your abdomen, let your ribs rest on your pelvis without holding your breath, and tighten your hips and thighs to keep your legs as one long lever. Repetitions where only the chest goes down first or only the pelvis remains is a signal that the effective range has been exceeded.
When one leg presses harder on the ball, the ball rolls to the side and the pelvis rotates. Align both ankles and lightly bring your thighs together. If you continue to drift to one side, move the ball toward your shins and start again with fewer repetitions than a regular pushup.
SHOULDER & ELBOW PATH
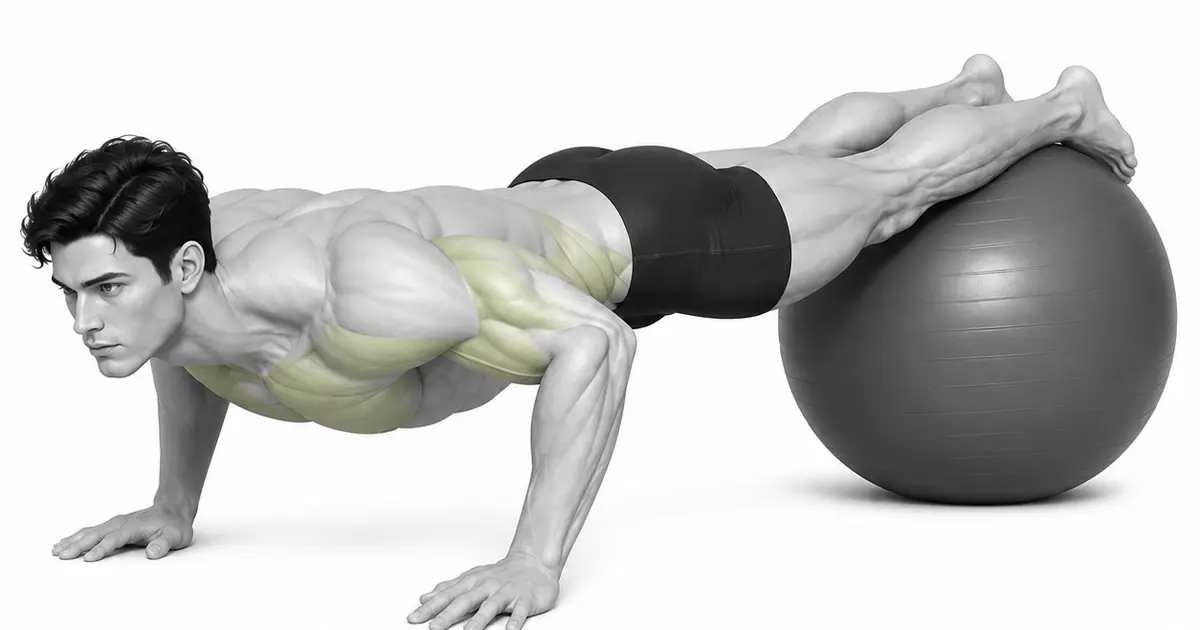
Even if your lower body is unstable, the basic push-up path of your wrists and elbows does not change.
Spread your fingers wide and press the base of your thumb and index finger into the floor. As you descend, your elbows will move diagonally back about 30–60 degrees from your torso, rather than being fully extended at shoulder height. Make sure your elbows follow just above your wrists and that both shoulders drop at the same rate.
As your feet get higher, your weight distribution may shift towards your upper body, so don't force yourself to do the same number of reps as you would with regular push-ups. If your shoulders rise towards your ears or your neck first goes towards the floor, end the repetition and move the ball to a more stable position.
TROUBLESHOOTING
Fix the cause of a mistake, not just its appearance
The ball rolls to one side
- What you see
- As you repeat, only one foot or shin remains on the ball and your pelvis rotates.
- Likely cause
- The pressure on both legs may be different, or the support surface may be too narrow by placing the ball close to the toes.
- How to correct it
- Stop the set, move the ball to the center of your shins, and re-level your ankles and hips.
Sagging lower back and lifting ribs
- What you see
- Your stomach goes down before your chest and your back bends like a bow.
- Likely cause
- Your current support position and number of repetitions may be beyond your torso control or your hips may be tight.
- How to correct it
- Move the ball toward your shins, tighten your hips, and use only the range that allows you to move your chest and hips at the same speed.
My butt rises like a mountain
- What you see
- The ball rolls toward your body and your hips rise higher than your shoulders, closer to the pike.
- Likely cause
- You're trying to stabilize the ball by pulling it with your feet, or you're compensating for arm fatigue with your body angle.
- How to correct it
- Slide your legs back long enough to keep the ball under your shins and reduce the number of repetitions. If you can't return to the plank, end the set.
Elbows apart at shoulder height
- What you see
- At the bottom, the upper arms are spread out to the sides nearly 90 degrees and the front of the shoulders are pressed.
- Likely cause
- Your hand spacing may be too wide or you may be unable to control your upper body load.
- How to correct it
- Return your hands to a position slightly wider than your shoulders and place your elbows diagonally back. If necessary, lower to knee pushups or regular pushups.
As soon as the set is over, jump off your feet first.
- What you see
- As you quickly take one foot out, the ball bounces and your weight suddenly shifts to your wrists and shoulders.
- Likely cause
- You only plan exercise repetitions and do not prepare a safe exit movement.
- How to correct it
- Bend your knees slightly, walk backwards with your hands, return the ball to your thighs, and lower both feet to the floor one after the other.
REGRESSION & PROGRESSION
Match the difficulty before adding load
regular push up
Perform 8–12 reps on a flat surface with the same torso alignment and elbow path.
Push-ups with feet on a low bench
First adapt to the increased upper body load and decline posture at a stable height.
Shin support ball push-up
Place the ball midway between your shins and start with small reps on a wide contact surface.
ankle support exercise ball push-up
Move the support point toward the ankles only when the ball and pelvis are stable from the shin support.
BEGINNER PROGRAM
A practical starting framework
Use 1–2 times a week as an advanced accessory to chest exercises or as a torso control exercise. When you can perform 8–12 regular pushups and pushups with your feet on a stable bench without pain, begin with shin support. Every set has about 2 reps left before the ball starts shaking.
number
5–10 times
End before the balls and pelvis shake
set
2–4 sets
90–180 seconds recovery between sets
speed
2–3 second descent
Push along the same path without recoil
- Once the ball is centered and your torso straight and left and right shoulder level are maintained by the last repetition, add one repetition to the next session.
- Only after you have performed all of your target repetitions steadily do you move the ball slightly from your shins to your ankles. It does not change the support position and depth at the same time.
- If the ball rolls sideways or your feet slip, end the set immediately and recheck the equipment and floor conditions.
Frequently asked questions
Should you place the ball between your shins or your ankles?
Start with the mid-shins, which have a wider contact surface and are easier to control. Only when the ball and pelvis remain steady for 5–10 reps, move it slightly toward the ankles. If you only wear it on your toes, the risk of the ball falling out may increase.
Is the bigger the gym ball the better?
no. As the ball gets bigger, the foot height and body angle change, changing the upper body burden and entry difficulty. Choose a size that ensures your shins are firmly centered and your feet don't get caught on the floor or nearby equipment.
Is this the same exercise as a push-up where you put your hands on an exercise ball?
Although they are called by the same name, they have different levels of difficulty and instability. This guide only covers putting your hands on the floor and your feet on the ball, as shown in the video. Putting your hands on the ball has greater instability at the wrist and upper body support points and should be viewed as a separate progression step.
Evidence and references
- 1. Bezerra et al. — Comparison of muscle activity between regular, hand-supported, and foot-supported gym ball pushups
- 2. Lehman et al. — Comparison of push-up muscle activity with hands or feet on exercise ball
- 3. Escamilla et al. — Comparison of gym ball exercises and core muscle activation
- 4. Kaur et al. - Stable and unstable support surface push-up shoulder muscle activity
- 5. Mendez-Rebolledo et al. — Meta-analysis of shoulder stabilizers on unstable support surfaces.