BARBELL CURL
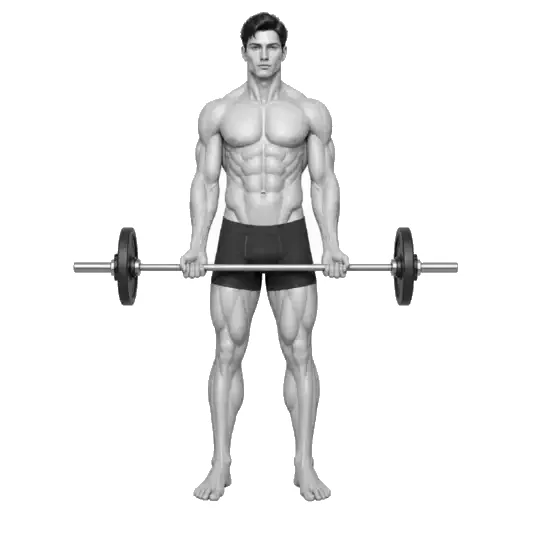
Barbell Curl: Keep the elbows beside the torso and curl the bar without using hip drive or shoulder swing.
Grip the bar at a width that does not allow your wrists to bend backwards. If you are uncomfortable with a fully supinated grip on a straight bar, consider an EZ bar or another variation without forcing your wrist angle. Start with a range and resistance that let you repeat the same path without pain, and reduce the difficulty when alignment changes.
- Primary muscles
- Biceps brachii
- Secondary muscles
- Brachialis muscle, brachioradialis muscle, forearm muscle
- Difficulty
- Beginner
- Movement type
- Elbow flexion
Should the elbows not move at all in barbell curls?
Grip the bar at a width that does not allow your wrists to bend backwards. If you are uncomfortable with a fully supinated grip on a straight bar, consider an EZ bar or another variation without forcing your wrist angle. Beginners should shorten the range or use an easier variation until they can control the same path on every repetition.
STEP BY STEP
6 Steps for One Complete Rep
- 1
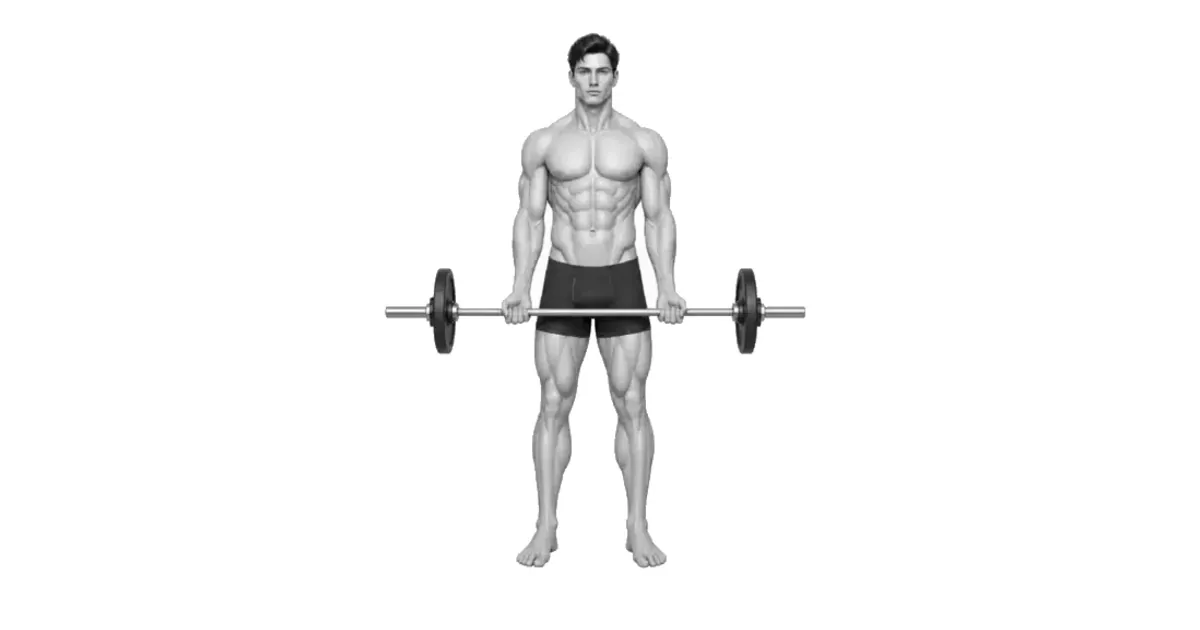
Prepare a light barbell and a safe space
Initially select an empty bar or a light controllable load. When placing the bar, make sure there is space where your feet do not touch it, and if you are currently experiencing pain in your wrists, elbows, or shoulders, do not start with that condition.
- 2
Stand with your feet hip-width apart and your torso upright.
Keep pressure evenly on both feet and do not lock knees. Keep your ribs over your pelvis and do not lean your torso back or throw your pelvis forward to raise the bar.
- 3
Hold the bar with your palms facing forward and your wrists in neutral position.
Grip the bar at a width that does not allow your wrists to bend backwards. If you are uncomfortable with a fully supinated grip on a straight bar, consider an EZ bar or another variation without forcing your wrist angle.
- 4
Keep upper arm close to body and bend elbow
Start with the bar in front of your thighs and raise it by bending your elbows. It is more important to throw the bar with a significant forward movement of the shoulders or swing of the torso than a slight movement of the elbows.
- 5
Stop at arm fold range and do not shrug shoulders
Do not force the bar up towards your upper chest or chin. If your shoulders start to rise towards your ears or your wrists start to bend, stop at a lower range.
- 6
Slowly lower the bar to the front of your thighs and reset
Control your elbows as you come down and return the bar to the range where it touches your thighs. Don't lock your elbows hard or drop the bar, and check your torso and wrist position before the next repetition.
ELBOW PATH
Elbow flexion creates bar movement, and torso recoil cannot replace it.
The main movement of the barbell curl is elbow bending. If you raise the bar with your upper arms relatively stable near your torso, it is easy to check the positions of your wrists, elbows, and torso under the same load.
In the study, skilled participants performed curls under conditions with limited torso and lower body movement. This doesn't mean you should ban all elbow movement, but rather it's a practical criterion to reduce compensation for leaning your torso back to raise the bar.
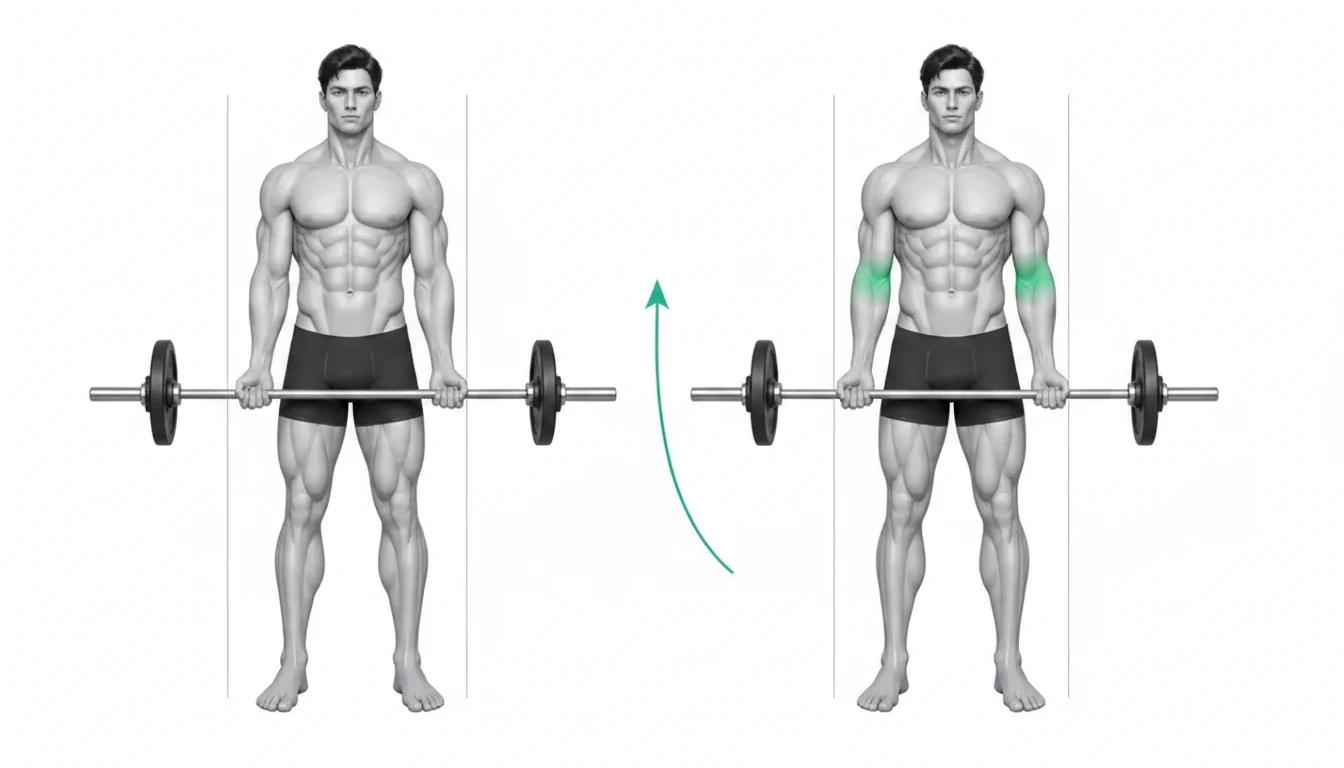
Key point: Practice cue: “Keep your torso long and your elbows on the bar.”
GRIP & WRIST
Grip prioritizes pain-free wrists and repeatable alignment
Forearm grip may influence acute muscle activation of the biceps brachii and brachioradialis, but study samples and conditions are limited. I'm not concluding that one particular bar is better for everyone.
If your wrist bends backwards or you experience discomfort in your little finger, lower the load and adjust the grip width. If discomfort persists, do not force yourself to hold the straight bar.
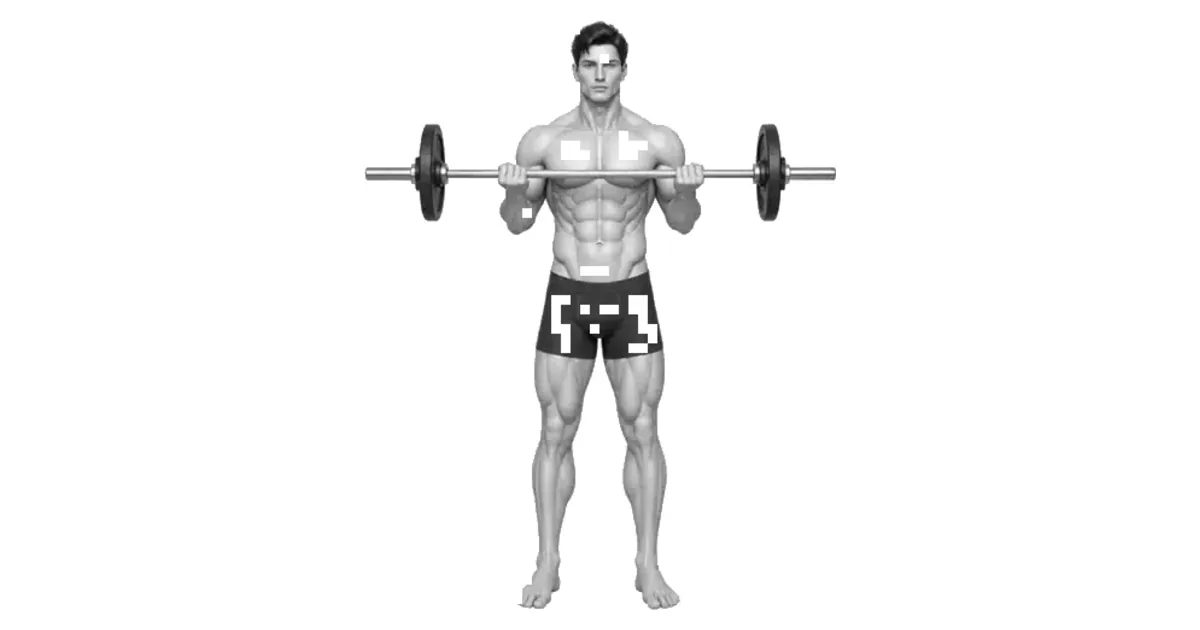
Key point: Points to check: The bar, wrists, and forearms are close to one line, and the grip is not fixed while enduring pain.
LOAD CONTROL
Proceed only with loads that can be controlled up to descent
The rising and falling phases have different needs. If your wrists buckle, elbows hurt, and you need to kick back on the descent, your current load may be beyond your controllable range.
The number of repetitions, load, and speed are not increased together on the same day. When the left-right height of the bar and torso position are maintained for all repetitions, increase only one variable by a small amount.
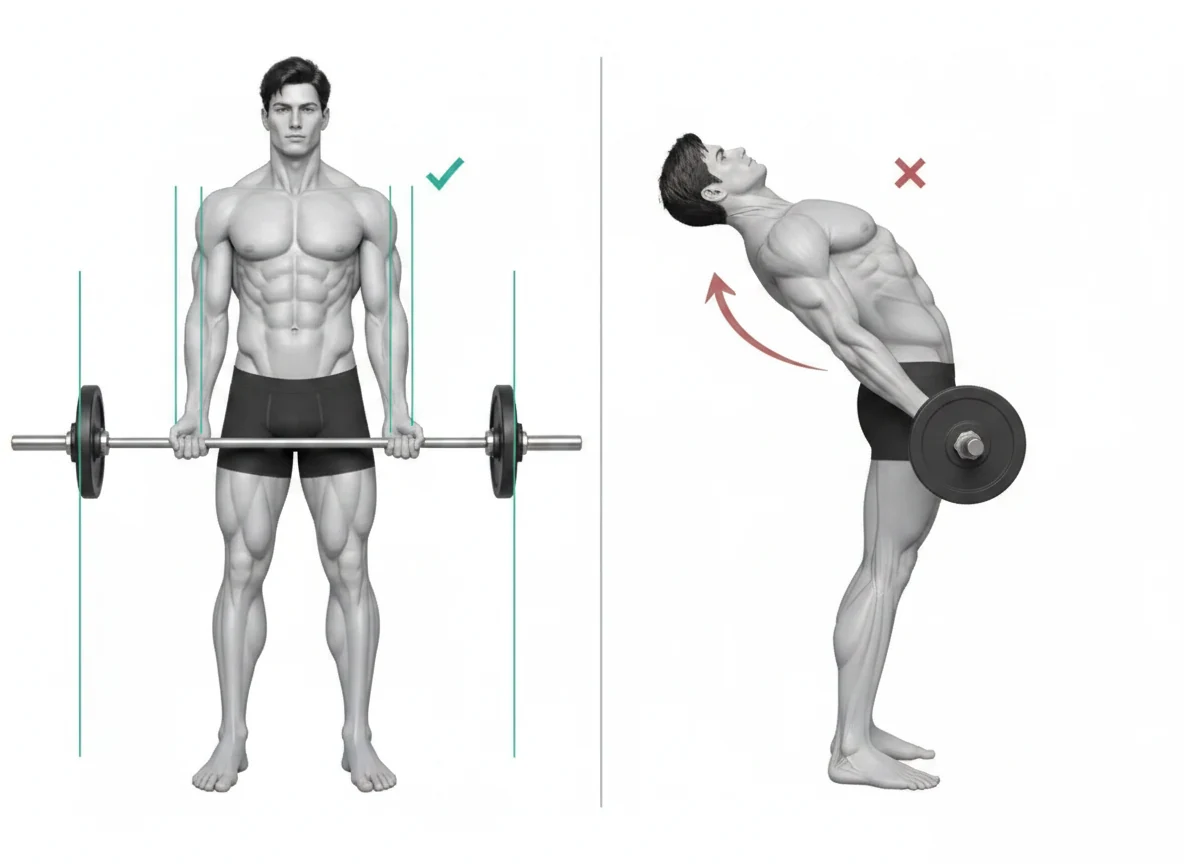
Key point: Progression principle: If recoil occurs, lower the weight and increase it by one variable only when alignment is maintained.
KEY MOVEMENT CUE
Keep the elbows beside the torso and curl the bar without using hip drive or shoulder swing.
This cue gives the biceps brachii a repeatable path while the brachialis muscle, brachioradialis muscle, forearm muscle support the position. Apply it before adding speed, load, or range.
Compare the first and final repetitions from the most useful camera angle. If the joint path, balance, or tempo changes, end the set or reduce the difficulty before repeating it.
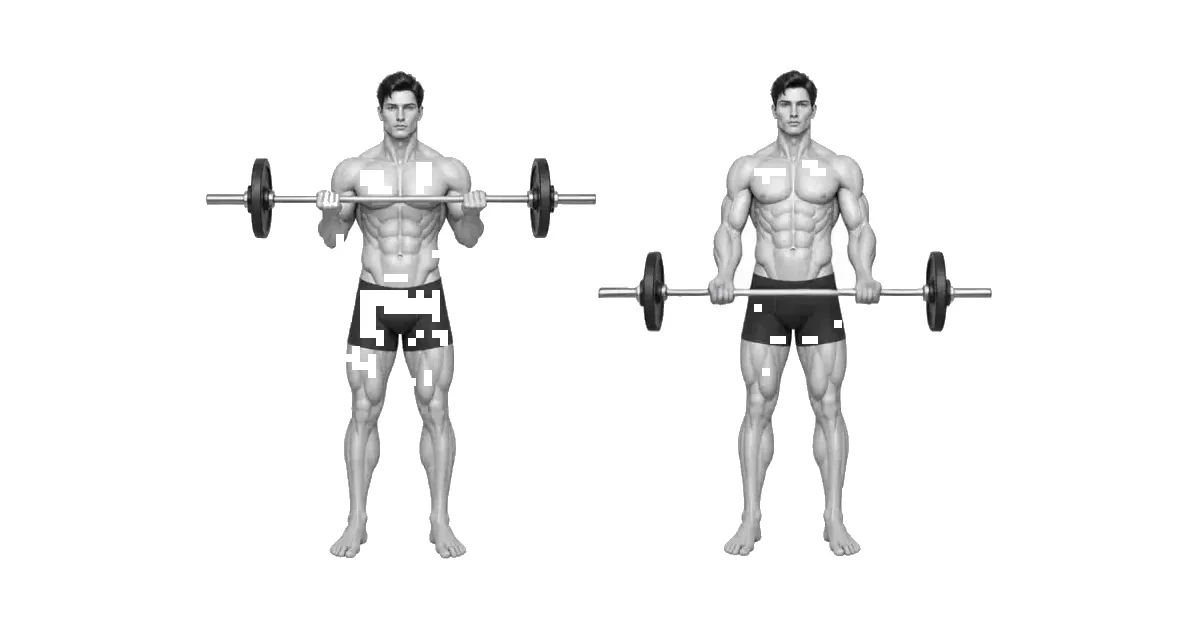
Key point: Practice standard: Keep the elbows beside the torso and curl the bar without using hip drive or shoulder swing.
TROUBLESHOOTING
Fix the cause of a mistake, not just its appearance
Lean your torso back and throw the bar.
- What you see
- As the bar gets heavier, the pelvis pushes forward and the upper body leans back.
- Likely cause
- Load may be greater than what can be controlled by elbow bending.
- How to correct it
- Lower the load and keep your ribs above your pelvis. End the set with as many repetitions as you can do without kicking back. Key cue: Keep the elbows beside the torso and curl the bar without using hip drive or shoulder swing.
Wrist bends backwards
- What you see
- The bar rolls toward the fingers and increases pressure on the back of the wrist.
- Likely cause
- Wrist alignment may be disrupted due to a loose grip or heavy load.
- How to correct it
- Hold the bar deep in your palms and lower the load. If discomfort persists, adjust bar/grip selection.
Shoulders rise to ears
- What you see
- At the top, the neck is shortened and the shoulders are shrugged.
- Likely cause
- You may be raising the bar too high or trying to finish with shoulder movement rather than elbow bending.
- How to correct it
- Lower the upper range and ease your shoulders down.
Lock your elbows strongly
- What you see
- The joint stops at the bottom and the front of the elbow feels uncomfortable.
- Likely cause
- You may be trying to force the maximum range of motion.
- How to correct it
- Stops at a comfortable range where the bar touches your thighs and does not endure joint discomfort.
One bar rises first
- What you see
- Bar tilts and one wrist bends first.
- Likely cause
- Left and right grip, fatigue, and load control may be different.
- How to correct it
- Lower load and re-center bar and hand positions.
Pain is misunderstood as muscle fatigue
- What you see
- There is sharp pain or numbness in the elbow, wrist, or shoulder.
- Likely cause
- Joint or nerve symptoms may have been interpreted as a simple pumping sensation.
- How to correct it
- Discontinue immediately and consult a qualified health care professional if symptoms persist.
REGRESSION & PROGRESSION
Match the difficulty before adding load
Light bar or cable curl
Learn to keep your torso upright and your wrists neutral.
EZ Bar Curl
Check that the straight bar grip is not uncomfortable and adjust the forearm angle.
Straight Barbell Curl
Repeat as long as left and right hand positions and torso control are maintained.
Stopped or slow descending barbell curl
Add speed variation only when you can control the bottom and top without kickback.
BEGINNER PROGRAM
A practical starting framework
Grip the bar at a width that does not allow your wrists to bend backwards. If you are uncomfortable with a fully supinated grip on a straight bar, consider an EZ bar or another variation without forcing your wrist angle. Begin with an easier variation that you can repeat consistently, then increase only one variable at a time: repetitions, range, or resistance.
Number of repetitions
8–12 times
Maintain wrist alignment without torso kick
Number of sets
2–3 sets
Rest 60–90 seconds between sets
Progress
+1–2 times or +1–2kg
Add only one when the bar path in all iterations is stable
- The standard for the next session is that the torso is erect and both wrists and elbows maintain the same path until the last repetition.
- If the bar tilts or you experience body kick, end the set and lower the load or number of reps in the next set.
- Distinguish between muscle fatigue and sharp pain, numbness, and dizziness in the joints. Do not continue if you have symptoms.
Frequently asked questions
Which is better, straight bars or EZ bars?
Acute muscle activity may vary depending on the grip, but no one is superior for everyone. Choose a bar that is comfortable for your wrists and elbows and can be controlled without kickback.
Can I continue if my wrist hurts?
Grip the bar at a width that does not allow your wrists to bend backwards. If you are uncomfortable with a fully supinated grip on a straight bar, consider an EZ bar or another variation without forcing your wrist angle. Progress one variable only after every repetition follows the same path and the joints remain comfortable afterward.
Do I need to fully extend my arms at the bottom?
Let the bar touch your thighs and lower your joints to a comfortable range. There is no need to lock your elbows hard or force them into an uncomfortable range.
Is it okay to have a little torso recoil?
If recoil repeats, the load may be greater than the current control level. Lower the weight or number of repetitions and return to a range where your torso is stable.
Evidence and references
- 1. Marcolin et al. — Biceps brachii and brachioradialis electromyographic activity according to curl deformation
- 2. Coratella et al. — Different hand grips and muscle coordination for bicep curls
- 3. Coratella et al. — Bilateral bicep curl muscle activation according to straight/EZ bar and upper arm movements