BARBELL ROW
Barbell rows are not an exercise in which you lift the bar high, but rather an exercise in which you pull your back while keeping your hip hinge fixed.
The barbell row is a bent-over row where you send your hips back, tilt your torso, and pull the barbell towards your lower abdomen, as shown in the video. Instead of using your lats and upper back symmetrically, you must support your torso in the air, so your erector spinae, glutes, and hamstrings must also continue to hold on. In a study directly comparing row variations, the standing bent-over row had the greatest activation of the entire back, but had the highest back load. If your lower back gets tired first or your torso angle changes every time, lowering the weight or switching to chest-supported rows does not mean giving up on the exercise, but is the right choice for your target muscles.
- Primary muscles
- Latissimus dorsi, trapezius, rhomboids
- Secondary muscles
- Rear deltoid, biceps brachii, erector spinae, glutes, hamstrings
- Difficulty
- Intermediate
- Movement type
- Maintain horizontal pull and hip hinge isometrics
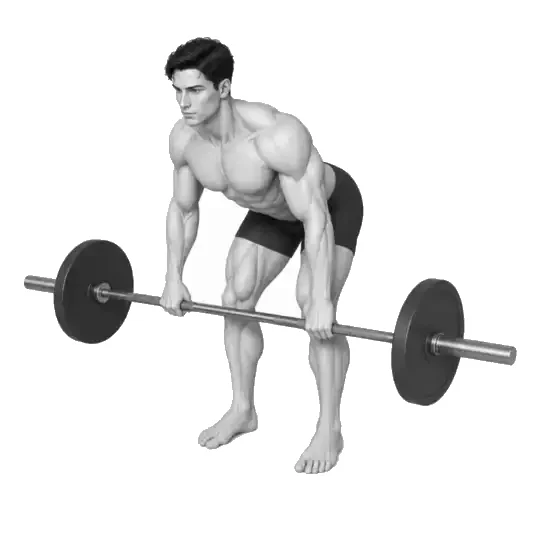
Should your torso be parallel to the floor?
Not necessarily. Depending on your hip hinge abilities and goals, you may want to raise your torso a little higher. The important thing is to maintain your chosen angle throughout one set, keep your back relaxed, and pull the bar close to your body.
STEP BY STEP
5 Steps for One Complete Rep
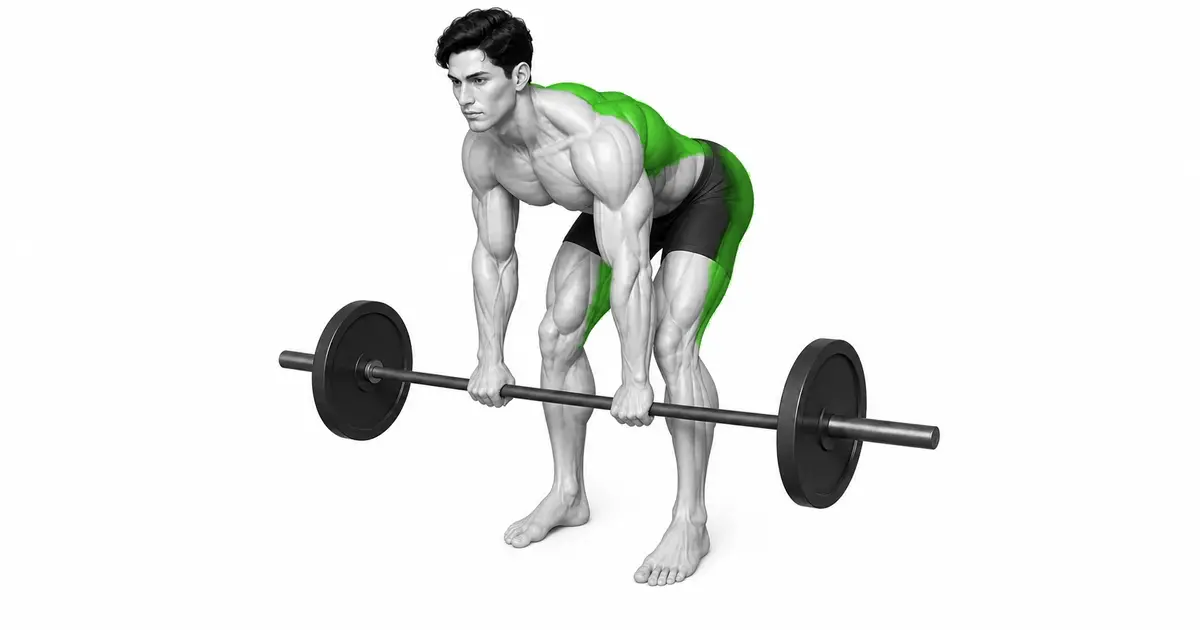
- 1
Check the surroundings of the disc and barbell
Insert the same disc on the left and right sides of the barbell and secure it with collars. Clear some space in front of and behind the bar, and if you start from the floor, use a standard disc or safe block height so that the bar is at mid-shin height.
- 2
Grab an overhand grip slightly wider than your shoulders
Place your feet shoulder-width from your hips and hold the bar with an overhand closed grip with your palms facing your body. At the bottom, choose a width that allows your wrists to be below your elbows and the bar to pass your knees.
- 3
Send your hips back to create a hip hinge
Gently bend your knees, push your hips back, and tilt your torso. Press the entire sole of your foot, overlap your ribs and pelvis to firm your abdomen, and maintain the current shape from your neck to your pelvis.
- 4
Pull the bar towards your lower abdomen, closer to your legs.
Exhale and bring your elbows back. Instead of shrugging your shoulders toward your ears, pull the bar close to your shins and thighs and between your lower abdomen and lower ribs. You don't raise your torso to meet the bar.
- 5
Controlled lowering at the same body angle
At the top, take a moment to balance without arching your back or arching your shoulders too much. Extend your arms for 2–3 seconds and return to the starting point, completing the set before your torso angle or back shape breaks down.
HIP HINGE & BRACE
Create a stationary base with your lower body and torso before pulling your back.
The torso for barbell rows may be close to horizontal or slightly higher, but the angle chosen should be maintained approximately throughout the set. Instead of squatting with your knees, send your hips back and create abdominal pressure by feeling the tension in your hamstrings and the pressure on the soles of your feet.
Bent-over rows place a greater load on the lower back than other rows. Do not force your lower back to be flat and hyperextend, but maintain the natural shape of your spine. If your lower back burns first or your back rounds with each repetition, reduce the weight and number of repetitions or choose a bench-supported variation.
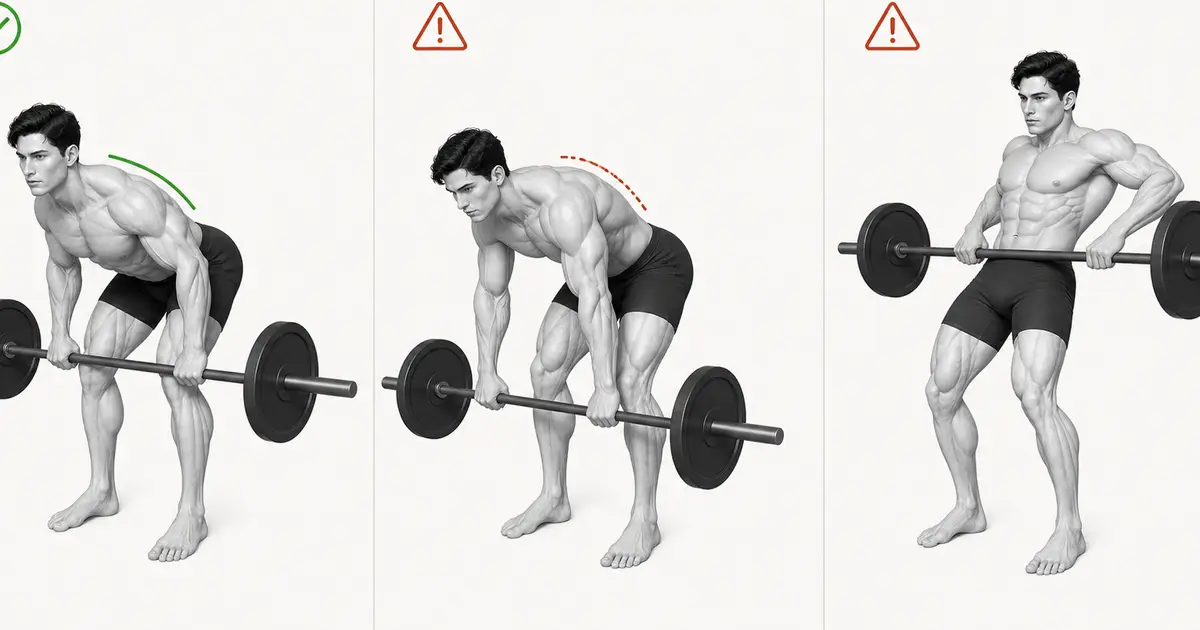
Key point: Check during sets: Do your head height and hip height change significantly from rep to rep?
BAR PATH
The further away the bar is from your body, the more leverage your lower back has to support.
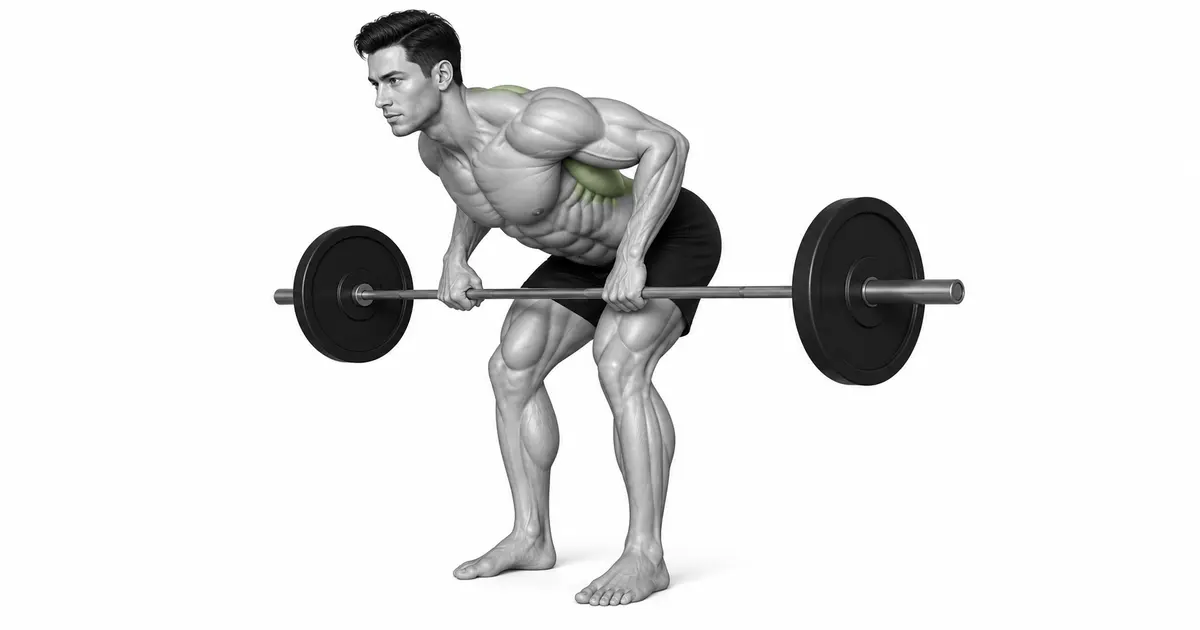
At the bottom, place the bar just below your shoulders, but not too far from your shins. As you pull, the bar moves closer to your legs and touches your lower abdomen or lower ribs, allowing your elbows and shoulders to naturally move back.
If you pull it too high toward your chest, your elbows may spread wide to the side and the role of your rear deltoids and upper back may increase. Although a specific contact point is never the right answer, in basic rows like the one shown in the video, the lower abdominal direction is easier to maintain the torso angle and vertical movement of the bar.
RANGE & CONTROL
Range of motion is not the height of the bar, but the range of control over the shoulders and torso.
If you roll your shoulders forward or arch your back while trying to touch the bar to your body at the top, you have not actually increased the range of your back muscles. Pull only as far as your elbows can pass your torso and your shoulder blades will naturally move back.
Studies comparing the range of motion of front barbell rows have found differences in muscle excitability in some muscles, but the overall effect is inconsistent. Rather than increasing the number with partial repetitions, prioritize the range at which you can control the arm extension and pull it back in at the same torso angle.
TROUBLESHOOTING
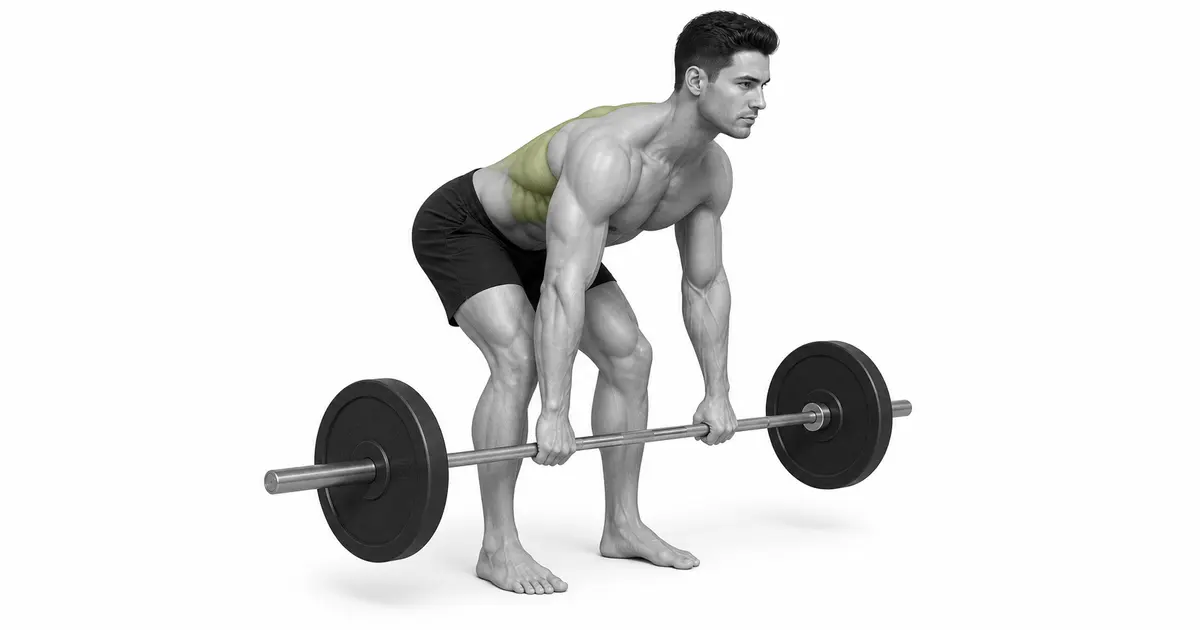
Fix the cause of a mistake, not just its appearance
Raise the upper body for each repetition and throw the bar.
- What you see
- As you pull the bar, your knees and hips straighten and your chest suddenly rises.
- Likely cause
- The weight is heavier than your back can control, or you're filling up the reps even after fatigue.
- How to correct it
- Lower the weight and keep your head and hips at the same level. End the set at the repetition where the angle begins to change.
rounded waist
- What you see
- As you go to the bottom, your pelvis rolls, your lower back curves, and the pressure on your lower back increases.
- Likely cause
- The hip hinge range of motion is insufficient or the bar is placed too low and abdominal pressure is released.
- How to correct it
- Bend your knees a little more and increase your torso angle, or start in a rack. We only use the range that can maintain the natural spine shape without pain.
bar moves away from body
- What you see
- At your side, the bar floats in front of your feet and your shoulders and lower back are pulled forward.
- Likely cause
- Just let your arms hang down or rotate forward so the bar avoids your knees.
- How to correct it
- Send your hips a little further back to create a path for your knees and bring the bar closer to your shins and thighs.
Shrug your shoulders towards your ears
- What you see
- At the top, the neck shortens and the shoulders rise before the elbows.
- Likely cause
- Lift the bar as high as possible or take the weight into your upper trapezius muscles.
- How to correct it
- Lower the weight and bring your elbows back toward your lower abdomen. Keep your neck long.
Roll up the bar with your wrists
- What you see
- At the top, the backs of your hands fold and the bar rolls toward your fingers.
- Likely cause
- Either your grip is loose or your elbows are bent, forcing you into the final range.
- How to correct it
- Close your thumbs and keep your wrists aligned with your forearms. If your grip gets tired first, consider lowering the weight or using an appropriate strap.
REGRESSION & PROGRESSION
Match the difficulty before adding load
hip hinge drill
Start by learning how to send your hips back and stabilize your torso using a bar or light bar.
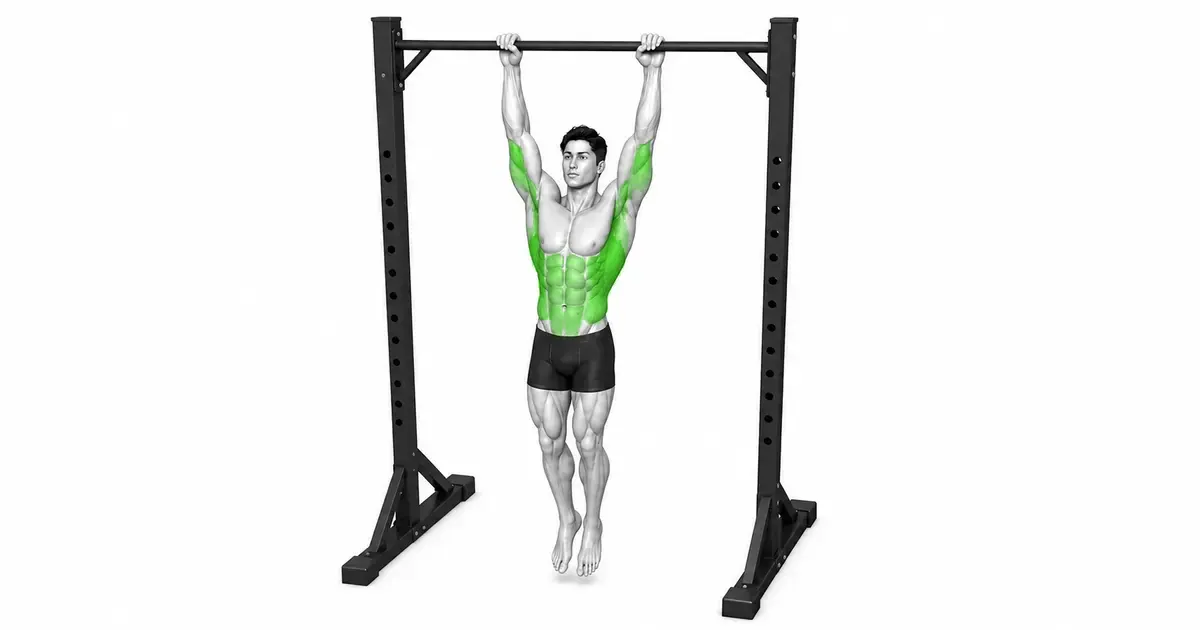
inverted row
Practice low-back horizontal pulls while keeping your torso straight.
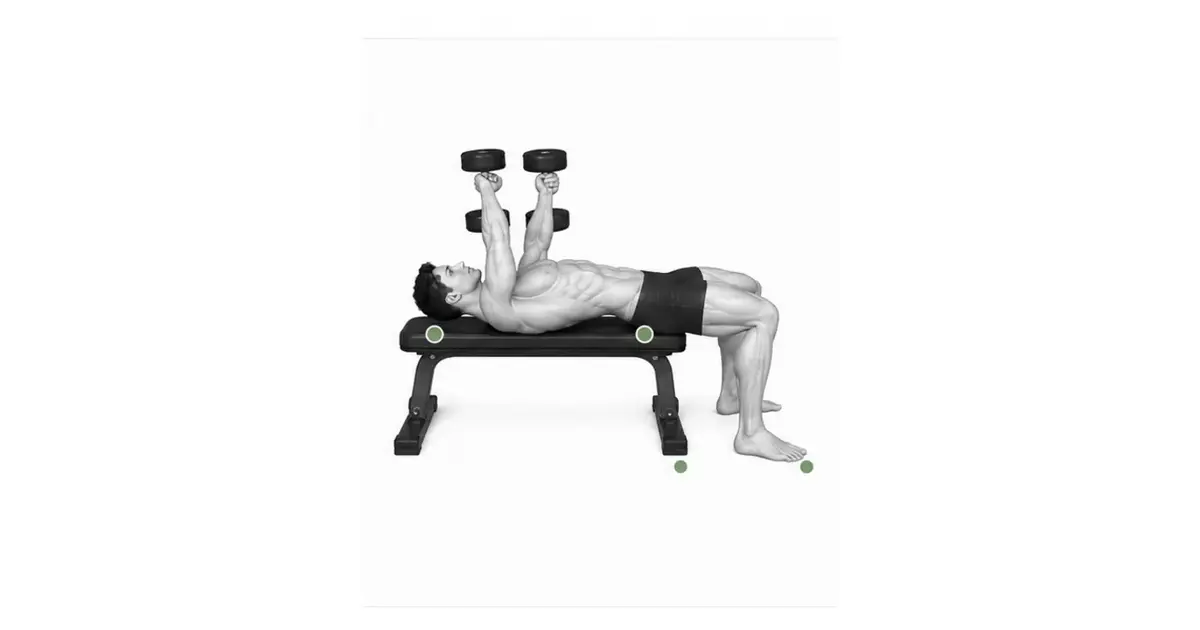
Chest Support Dumbbell Rows
Support your torso on the bench and focus on your back and elbow path.
light barbell row
Repeat the same torso angle and bar path with an empty bar or light disc.
standard working set
Perform 6 to 10 reps, leaving about 2 reps to spare, and increase the amount only when the posture is maintained.
BEGINNER PROGRAM
A practical starting framework
Use it 1–2 times a week as the main movement of your back exercise or as a lighter horizontal pull than a deadlift. If there are many exercises that use the lower back isometrically for a long time, such as deadlifts or Romanian deadlifts, in the same session, reduce the number of sets or replace them with chest-supported rows.
number
6–10 times
Body angle and range of contact points maintained
set
2–4 sets
2–3 minutes recovery between sets
speed
2–3 second descent
Move the bar closer to your body without kickback
- If your torso angle and lower abdominal contact point are the same for all repetitions, add one repetition to the next session.
- Add equal amounts of weight to each side only when you achieve the top of your reps on every set and only when your back, not your lower back, is stimulated.
- If your back is rounded or your torso is upright to raise the bar, finish the set on that repetition and lower the weight for the next set.
Frequently asked questions
Where should the bar land on the boat?
The basic starting point is between your lower abdomen and lower ribs. This may vary slightly depending on your arm length and torso angle, but your wrists should be below your elbows, your shoulders should not be shrugging, and your torso should not be erect.
I only feel irritation in my lower back. Can I continue?
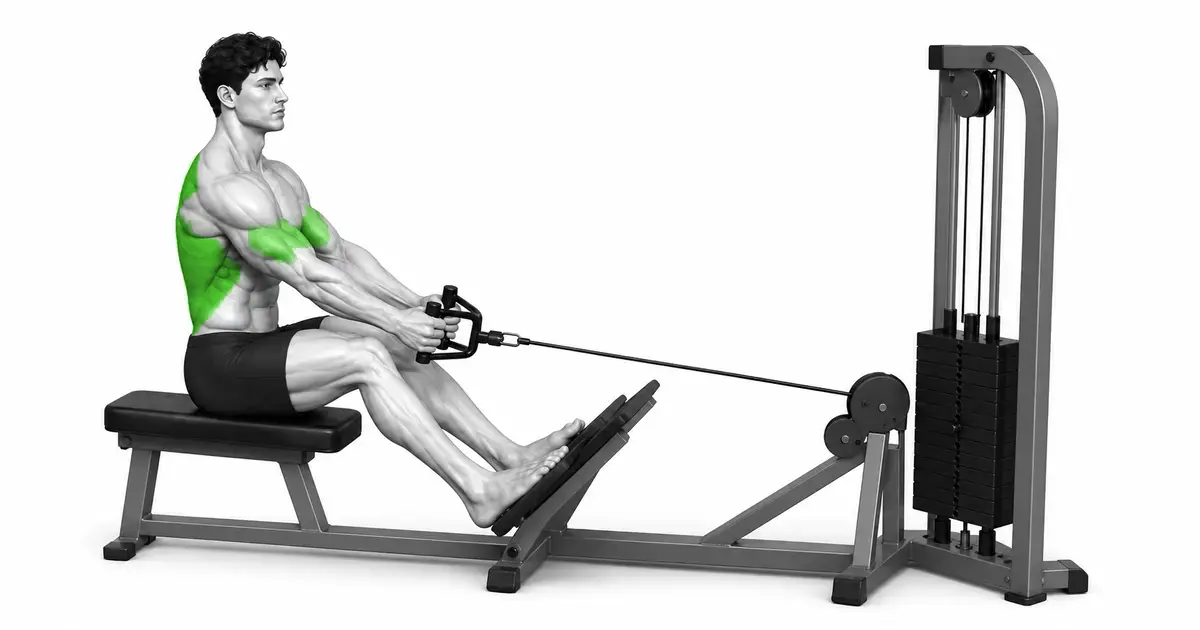
Your back muscles support your torso, so some tension is normal. However, if your lower back fails before your back or if you experience pain, lower the weight and modify your hip hinge. If you still get repetitive, chest supported or seated rows may be more appropriate.
Is an underhand grip better for your lats?
Depending on the grip, the role of the elbow and biceps may vary, but it is difficult to say that one grip is superior to all. The overhand as shown in the video is the default choice, and the underhand should be used as a separate variation only when your wrists and elbows are comfortable and you maintain a controlled path.
Evidence and references
- 1. Fenwick et al. — Comparison of trunk muscle activity, back movement, and load by row variation
- 2. Krings et al. — Changes in grip thickness, muscle activity, and strength in bent over rows, etc.
- 3. Fischer et al. — Comparison of muscle excitation by range of motion in front barbell rows
- 4. Study on changes in lumbar posture and tissue load during static trunk bending