BEAR CRAWL
Bear crawl is not an exercise in which you quickly crawl with your hips high, but rather a full-body core exercise that involves fixing your torso with your knees close to the floor and moving the opposite hand and foot together.
Bear Crawl trains shoulder stability, torso rotation resistance, and hip and lower body coordination without any equipment. If you make the distance you travel large or rush your speed, it is easy for your pelvis to shake and your lower back to sag. Start by learning to stop in a four-legged position with your knees just a few centimeters apart, then add short forward and backward movements when you can maintain the same height.
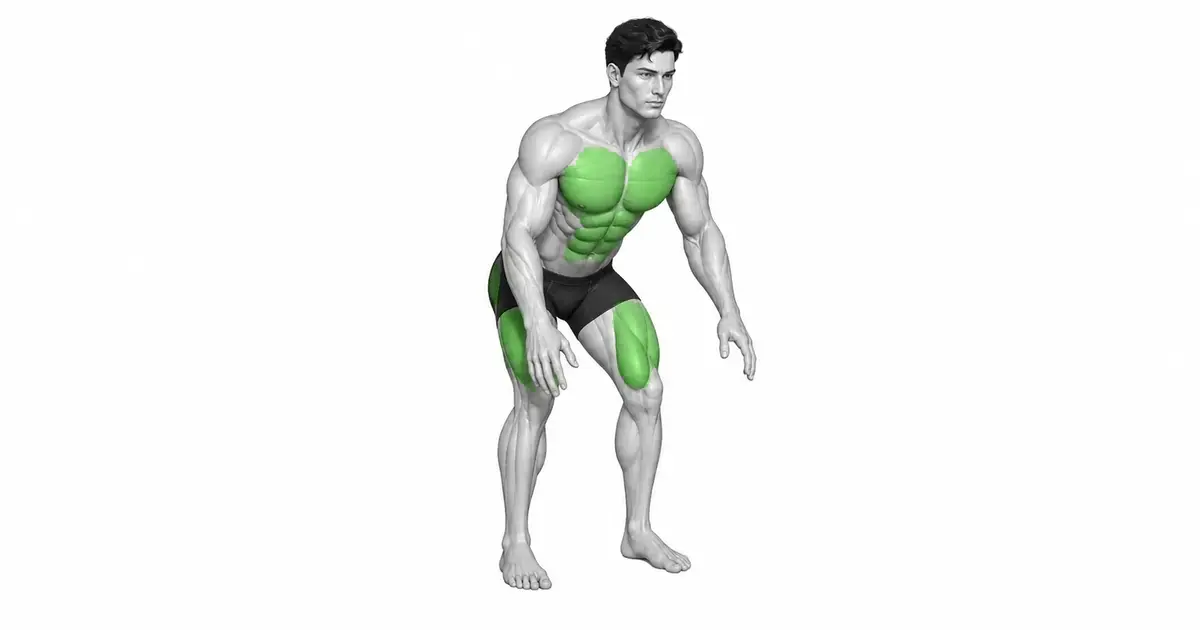
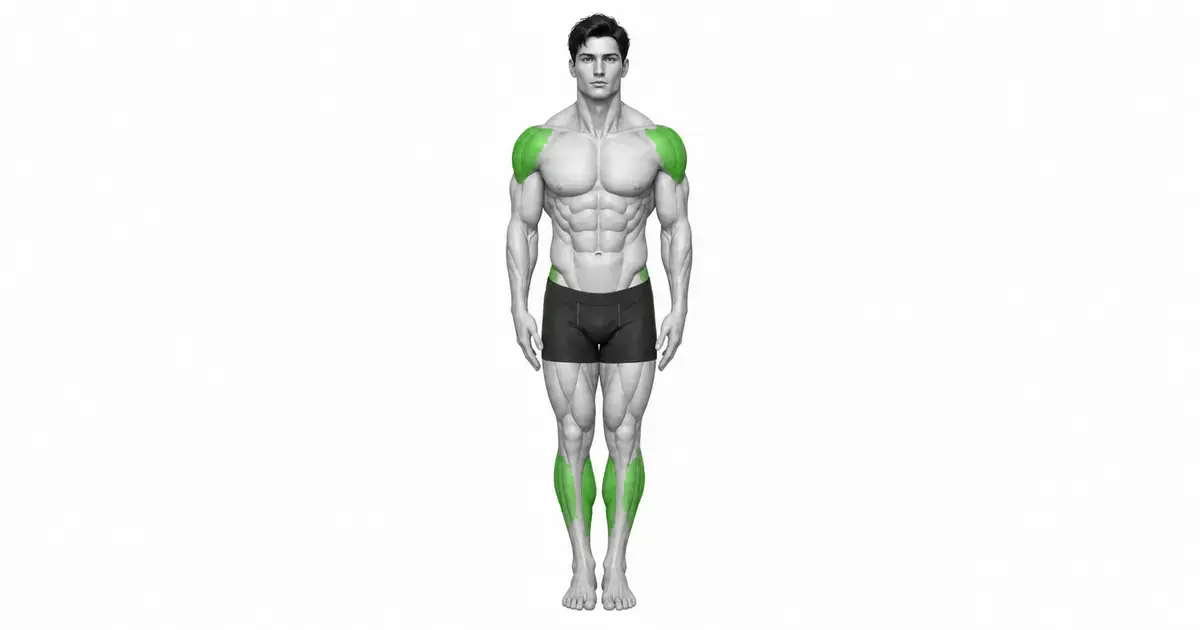
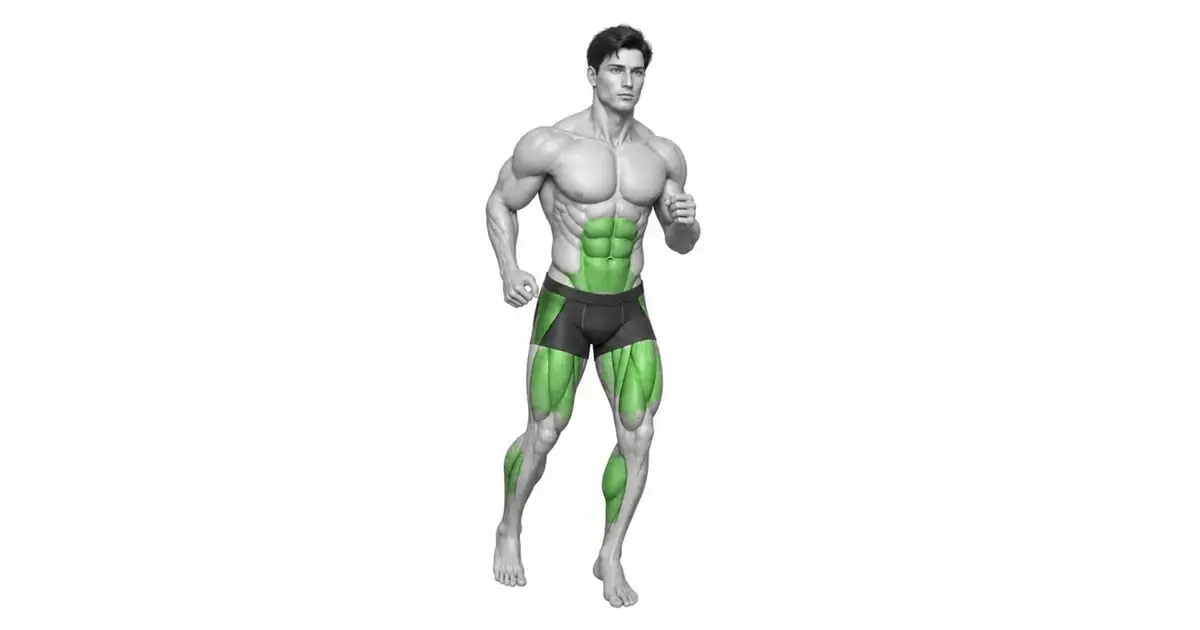
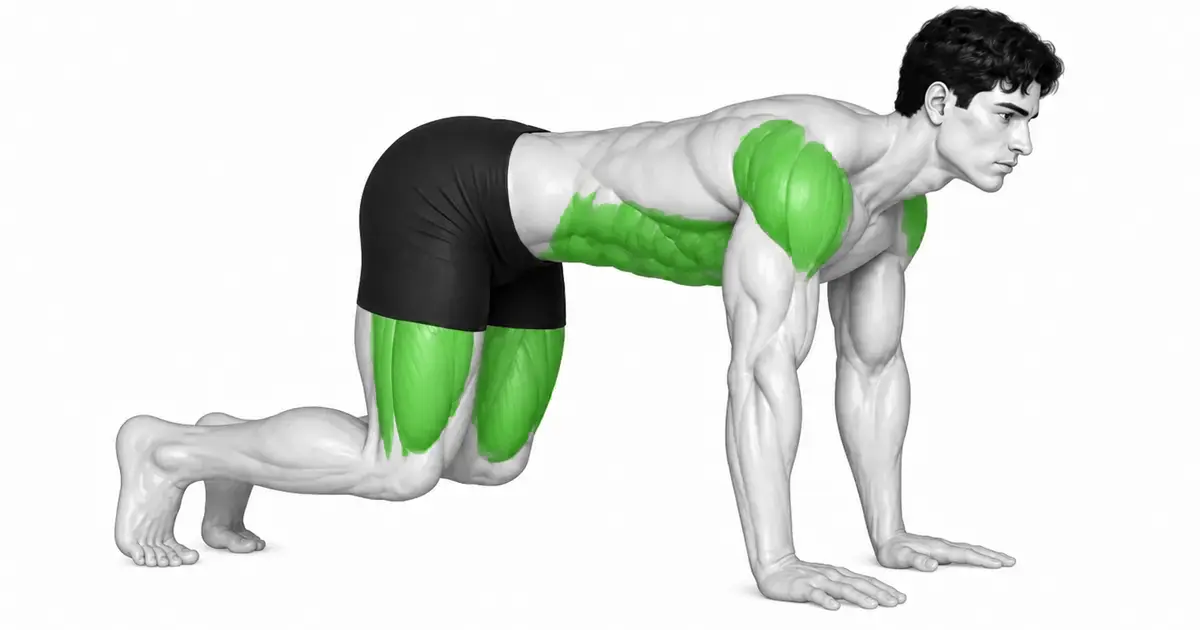
- Primary muscles
- Abdomen, serratus anterior, deltoid
- Secondary muscles
- Quadriceps, glutes, hip flexors, calves
- Difficulty
- Beginner
- Movement type
- Four-legged cross-legged walking
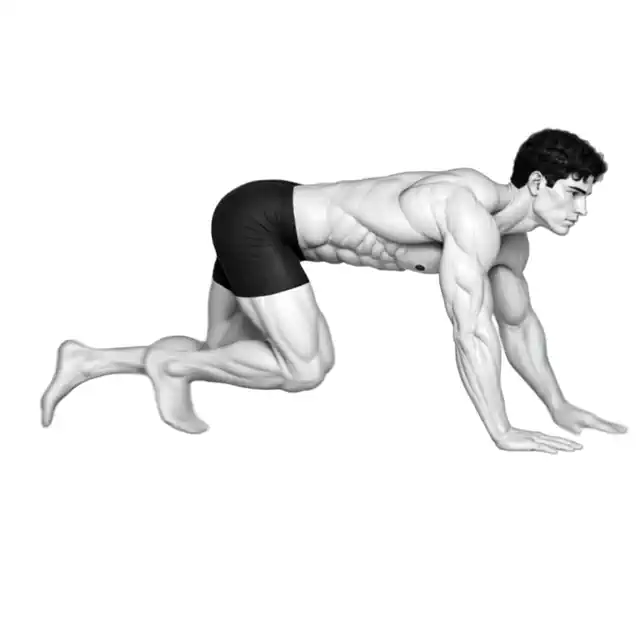
How high should I lift my knees?
A few centimeters above the floor is sufficient. It is more important to keep your back and pelvis from moving than your height.
STEP BY STEP
4 Steps for One Complete Rep
- 1
Creating a four-legged device reference point
Place your wrists under your shoulders and your knees under your hips. Spread your fingers wide and press them into the floor, aligning them lengthwise from your head to your pelvis.
- 2
Knees held low to stabilize the torso
Stand on your toes, exhale, tighten your abdominals, and lift your knees a few inches off the floor. Do not allow your lower back to sag or your buttocks to rise.
- 3
Briefly move the opposite hand and foot
Move your right hand and left foot forward together in a small width, then move your left hand and right foot. Make sure your hands and feet do not extend too far beyond your torso.
- 4
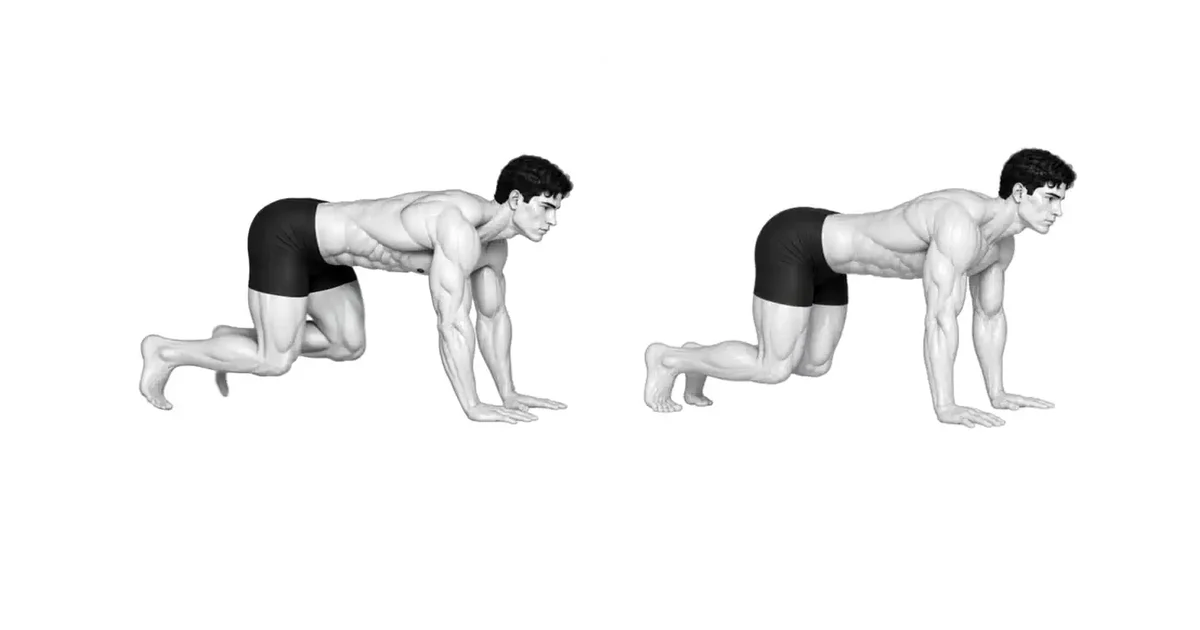
Retract to same height and exit
Backward in the same alternating pattern as forward. Keeping your pelvis level and breathing, return to the starting point and gently lower your knees.
LOW AND LEVEL
The lower you keep your knees, the easier it is to see if your torso is shaking.
When your hips are higher than your shoulders, the burden on your lower body and rotational resistance are reduced. Think of a water cup placed on your back and keep your pelvis level constant.
It's easier to control your lower back and hips if you start with strides shorter than a hand's span rather than moving far at once.
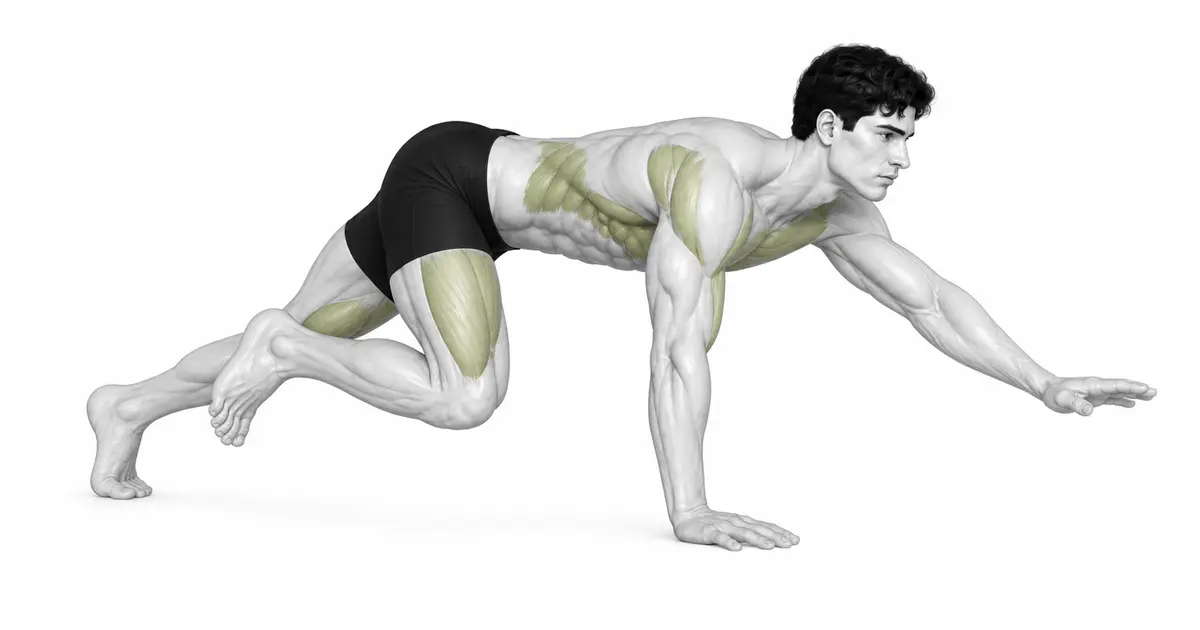
Key point: Cue to try right away: “Knees low, back flat, stride short.”
OPPOSITE LIMBS
The support surface must not collapse even when the opposite hand and foot move simultaneously.
If the opposite pelvis lifts when you move your hand, reduce your stride length or speed. Press firmly into the floor with your free hand and foot.
If you practice going backwards as slowly as you go forwards, you can reduce the habit of your shoulders leaning excessively in front of your wrists.
TROUBLESHOOTING
Fix the cause of a mistake, not just its appearance
Hips Rise High
- What you see
- Your body becomes an inverted V shape and your knees are almost straightened.
- Likely cause
- Abdominal tension is relaxed or the distance traveled is longer than current capabilities.
- How to correct it
- Return your knees below your hips and start again from the hold.
Pelvis shakes from side to side
- What you see
- Every time you release your hands, your belly button and pelvis will rotate to the side.
- Likely cause
- Long strides or insufficient pressure on the supporting hands and feet.
- How to correct it
- Halve your stride length and push into the floor with your free hand and foot, keeping your torso in front of you.
Wrist and shoulder pressure
- What you see
- Pain behind the palm or shoulder raising toward the ear.
- Likely cause
- Your weight is only on your hands or your wrist has insufficient range of motion.
- How to correct it
- Return your hips to your knees and distribute pressure across your fingers. Use handrail supports or stop variations if necessary.
REGRESSION & PROGRESSION
Match the difficulty before adding load
Increased weight and speed
Gradually increase the weight or increase the speed of the movement while maintaining the correct posture.
Continuous performance (complex)
Combine with other movements to strengthen cardiorespiratory endurance and muscular endurance simultaneously.
BEGINNER PROGRAM
A practical starting framework
Start with a 10-20 second pause or a short forward and backward movement of 5-10 meters. If any of your stride length, pelvic height, or breathing is compromised, you will not increase the distance.
Frequency
1-2 times a week
High nervous system fatigue, so allow ample recovery time.
Volume
3~5 sets, 3~6 times
Low reps are recommended to focus on maintaining quality movement and explosiveness.
- If you become tired and lose your posture, end the set immediately.
- Protect your spine by maintaining abdominal pressure with powerful breathing.
Frequently asked questions
Does exercise have to be done quickly to be more effective?
First, learn the cross pattern and body lock at a slow pace. Increase your speed only when you can maintain the same posture.
What should I do if my wrist feels uncomfortable?
Press your fingers into the floor and distribute your weight evenly between your hands and feet. If pain persists, use handles or fist support or switch to another core exercise.