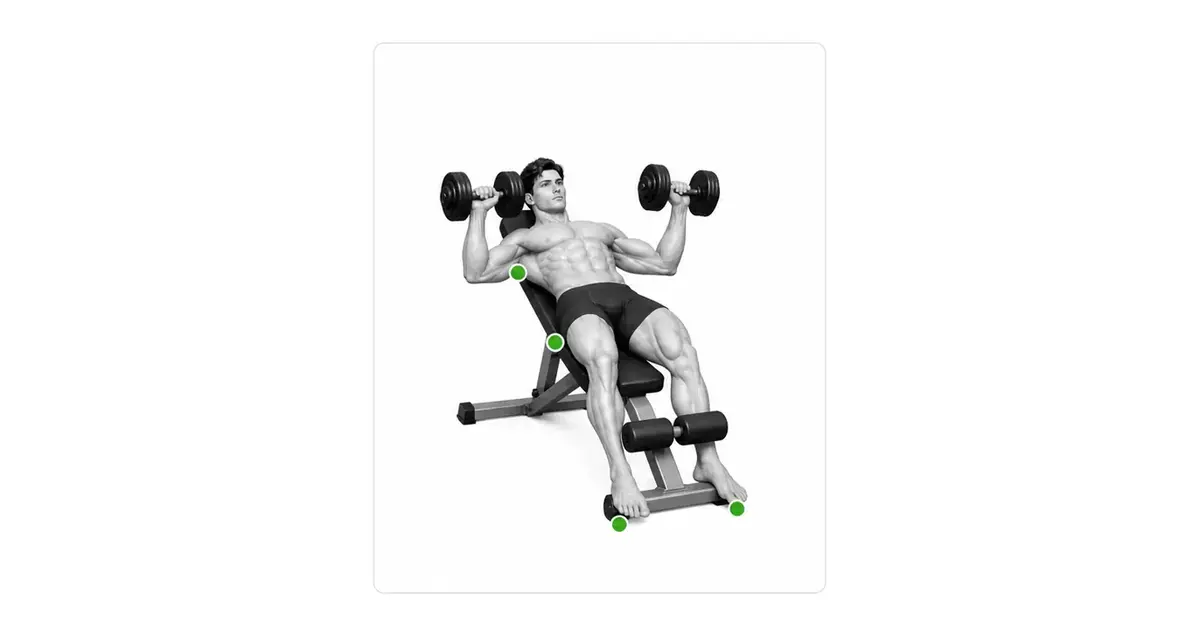
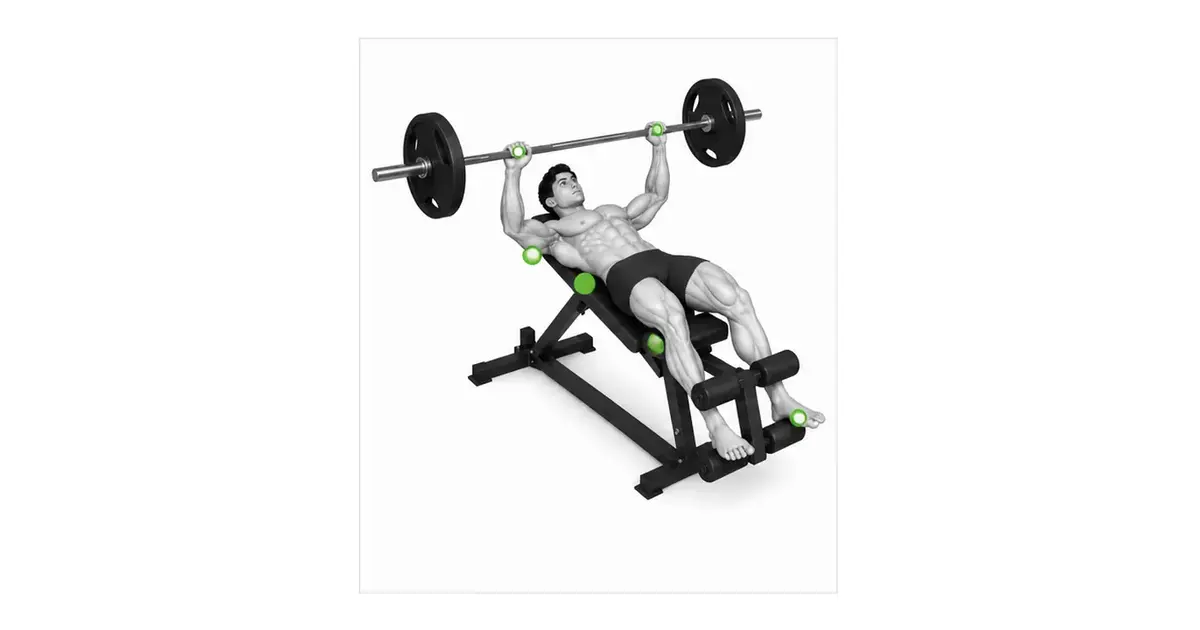
BARBELL BENCH PRESS
The bench press is not just pushing a bar—it is a full-body support skill
The goal of the bench press is not to bounce the bar as hard as possible. It is to build a stable base from head to feet so the chest, triceps, and anterior deltoids can transfer force into the bar. Grip width and elbow angle vary with body proportions, but the shared standards are keeping the wrist and elbow stacked under the load and the shoulders stable on the bench.
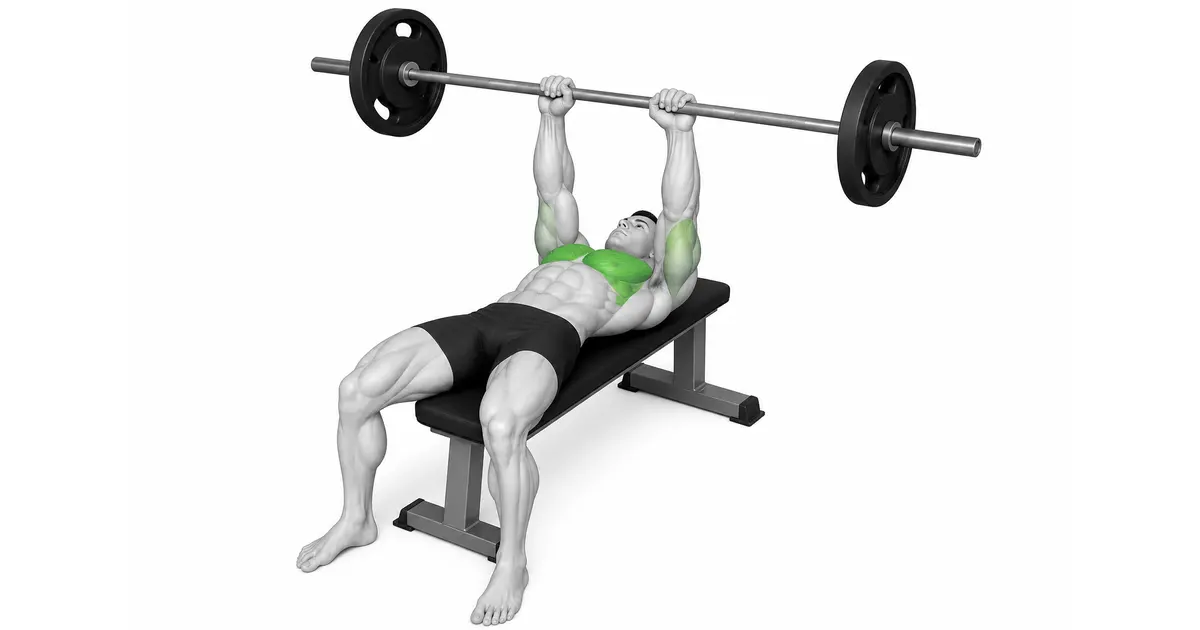
- Primary muscles
- Pectoralis major
- Secondary muscles
- Triceps · anterior deltoids
- Difficulty
- Intermediate
- Movement type
- Horizontal press
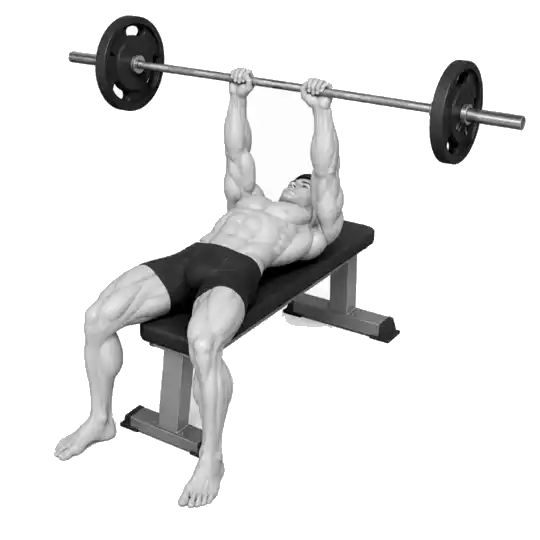
How wide should my bench press grip be?
Start with a width that keeps the forearms close to vertical and the wrists over the elbows when the bar reaches the chest. An excessively wide grip can increase shoulder stress for some lifters, so adjust for your proportions and any symptoms.
STEP BY STEP
5 Steps for One Complete Rep
- 1
Set the rack height and safety arms
Set the hooks so you can unrack the bar with nearly straight arms without shrugging your shoulders. Place the safety arms slightly below the bar's position on your chest. Agree on clear handoff and assistance signals before using a heavy or unfamiliar load.
- 2
Build a base with five contact points
Keep your head, upper back, and glutes on the bench with both feet on the floor. Draw the shoulder blades back and gently down so the chest rises naturally. Do not exaggerate the low-back arch until the glutes leave the bench.
- 3
Align your grip and wrists
Choose a width that leaves the forearms close to vertical from both the front and side when the bar reaches the chest. Wrap your thumbs around the bar and place it low in the palm so the wrists do not fold backward.
- 4
Unrack and lower the bar under control
Lift the bar clear of the hooks, then move it over the shoulder joints. Inhale and brace before lowering it slowly toward the lower-to-mid chest with the elbows roughly 45–70 degrees from the torso.
- 5
Press the floor away as you raise the bar
Reverse the bar without bouncing it off the chest. Keep full-body tension by pressing both feet into the floor as you drive the bar back toward the shoulder joints. Finish with both arms extending at the same speed, then return the bar securely to the rack.
BAR PATH
The bar follows a shallow diagonal rather than a perfectly vertical line
At the start, the bar sits over the shoulder joints. During the descent it travels toward the lower-to-mid chest, then retraces that path toward the shoulders as you press. This path helps keep the elbows and wrists under the load while limiting excessive shoulder flare.
There is no single touch point for every lifter. Arm length and grip width change where the bar meets the chest. Film from the side and check that the wrists do not drift far in front of or behind the elbows and that both ends of the bar stay level.
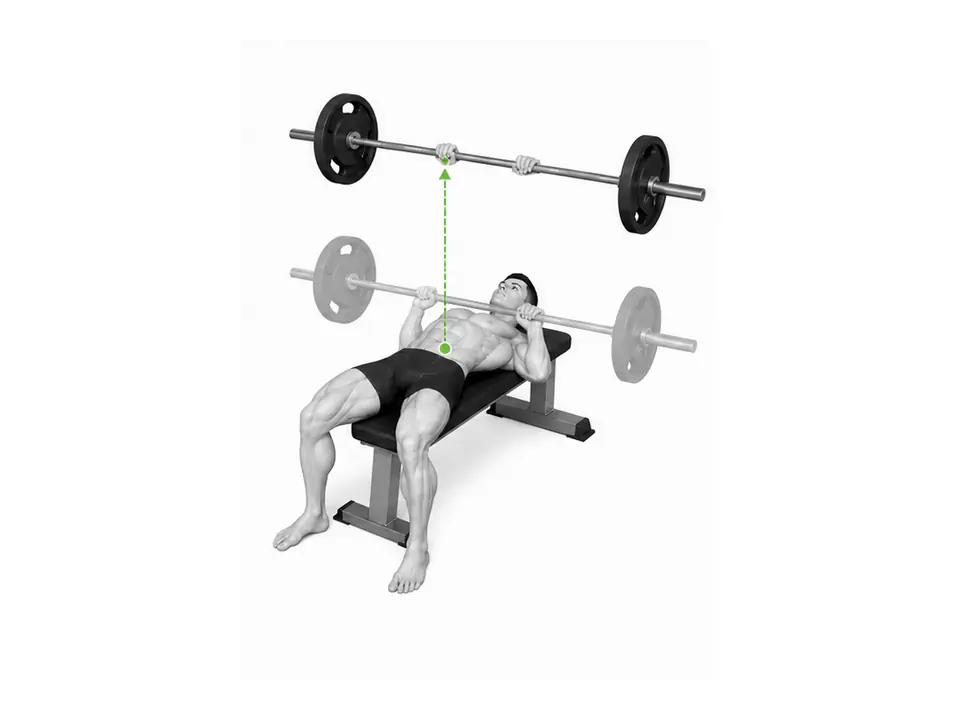
Key point: Practical cue: “Start over the shoulders → lower to the lower chest → return over the shoulders.”
BREATH & BRACE
Breathing and leg drive keep the upper body from shifting
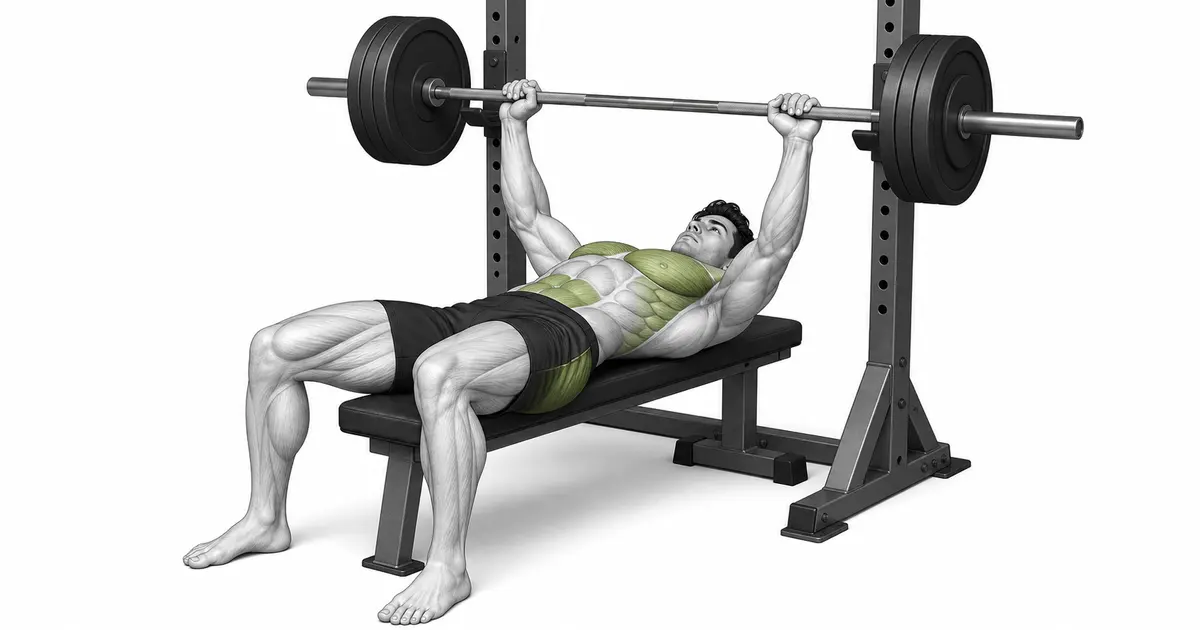
Before lowering the bar, inhale through the nose and mouth and brace the abdomen and sides of the trunk. Maintain your shoulder-blade position and foot pressure through the descent, then exhale after the hardest part of the press. Regain balance at the top of each repetition before taking the next breath.
Leg drive does not mean lifting the hips. Use pressure through the feet to stabilize the torso on the bench. If the feet slide or the glutes rise, adjust your foot position or reduce the load.
WRIST & ELBOW
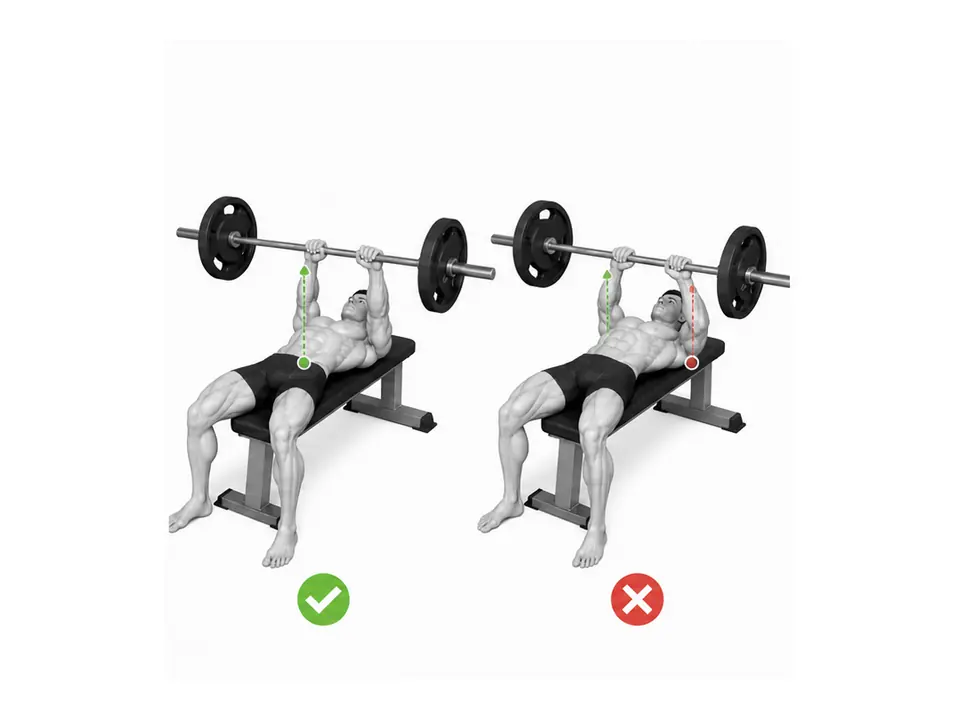
The wrist and elbow should form one column beneath the bar
When the bar rolls toward the fingers, the wrist bends back and force is harder to transfer through the elbow. Place the bar low in the palm and adjust the grip until the elbow sits beneath the wrist.
Pinning the elbows completely to the torso can increase the triceps contribution and lengthen the bar path, while flaring them to 90 degrees at shoulder height can increase stress at the front of the shoulder. For many lifters, a comfortable and repeatable path falls roughly 45–70 degrees from the torso.
TROUBLESHOOTING
Fix the cause of a mistake, not just its appearance
The shoulders rise toward the ears
- What you see
- The front of the shoulder lifts and the shoulder blades slide on the bench as the bar descends.
- Likely cause
- The hooks may be too high, the load may be too heavy, or shoulder-blade tension may be lost during the unrack.
- How to correct it
- Lower the hooks and use a handoff that moves the bar horizontally. With a light load, practice pressing the upper back continuously into the bench.
The wrists bend backward
- What you see
- The bar rests toward the fingers and the wrist no longer stacks vertically over the elbow.
- Likely cause
- The grip may be loose or the bar may be sitting too high in the palm.
- How to correct it
- Wrap the thumb around the bar and place it low in the palm. From the side, check that the wrist joint is directly beneath the bar.
The bar bounces off the chest
- What you see
- The descent suddenly speeds up and the press begins with rebound from the chest.
- Likely cause
- An unmanageable load or a focus on the number lifted has removed control at the bottom.
- How to correct it
- Reduce the load and use a two-second descent or a brief pause just above the chest to control the change of direction.
The glutes leave the bench
- What you see
- The pelvis rises sharply as the press begins and the low-back arch suddenly increases.
- Likely cause
- The feet may be too far away or leg drive may be directed upward instead of into the floor.
- How to correct it
- Move the feet to a more comfortable position and think about pushing the floor forward while keeping the glutes down. Reduce the load as well.
One end of the bar rises first
- What you see
- The bar tilts during the press and one arm reaches lockout before the other.
- Likely cause
- The hands may be placed unevenly, or fatigue and a strength difference may be disrupting control.
- How to correct it
- Use the bar markings to match hand position and reduce the load. Add independent-arm work such as dumbbell presses if appropriate.
REGRESSION & PROGRESSION
Match the difficulty before adding load
Wall push-up
Learn to brace the trunk and perform a horizontal press while standing.
Dumbbell floor press
The floor limits elbow depth, making it useful for practicing bottom control and wrist alignment.
Dumbbell bench press
Move each arm independently while finding a comfortable grip and range of motion.
Barbell bench press
Begin with an empty bar and add load only while the contact points and bar path remain consistent.
BEGINNER PROGRAM
A practical starting framework
Practice about twice per week with at least one recovery day between sessions. In week one, use an empty bar or a light load that allows the same path through the final repetition, and finish every set with roughly two or three repetitions in reserve.
Reps
6–10
Keep the same touch point and bar path
Sets
2–3
Rest 2–3 minutes between sets
Load
+2.5–5%
Only when every repetition is stable
- Add a small amount of weight next session only if the glutes and upper back stay in contact, the wrists remain stacked, and the bar stays level through the final repetition.
- If the bar stalls or its path changes substantially, let the spotter assist. Reduce the load by 5–10% and finish with controlled technique work.
- Distinguish normal chest-muscle fatigue from sharp pain in the shoulder or elbow. Do not continue a set through joint pain.
Frequently asked questions
Where should the bar touch my chest?
The lower-to-mid chest is common, but the exact point varies with arm length and grip width. Forearm alignment, stable shoulders, and a repeatable bar path matter more than forcing one universal touch point.
Is it acceptable to arch my back?
Retracting the shoulder blades and lifting the chest naturally creates some arch. It is generally acceptable while the head, upper back, and glutes remain on the bench and the feet support the floor. Avoid an extreme arch that causes pain or lifts the glutes.