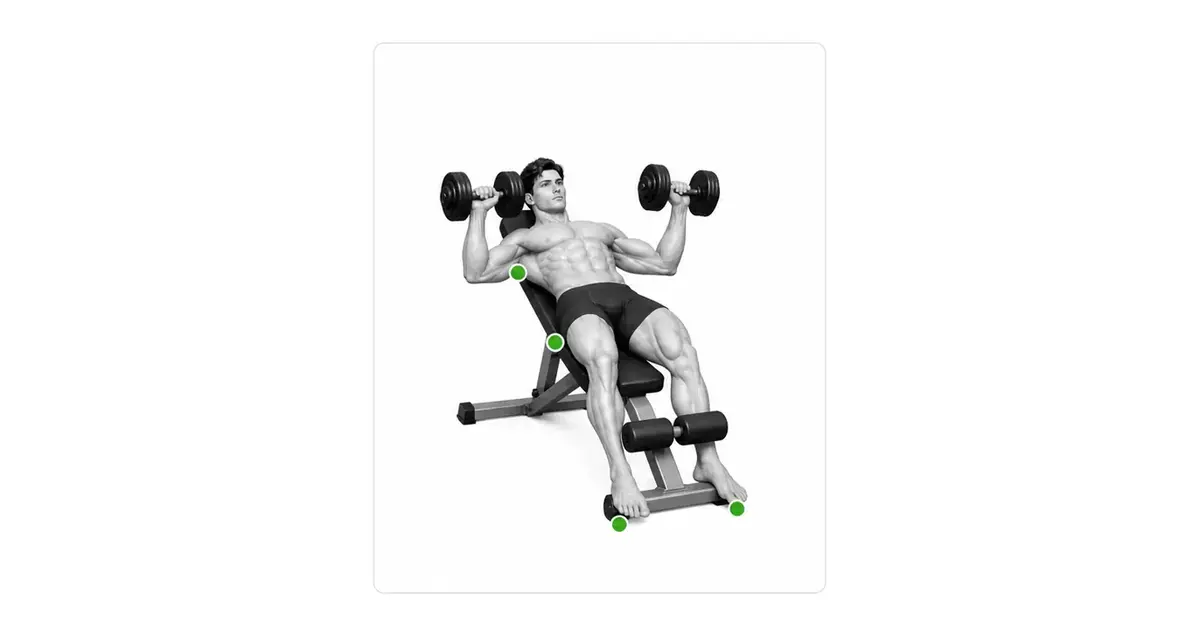
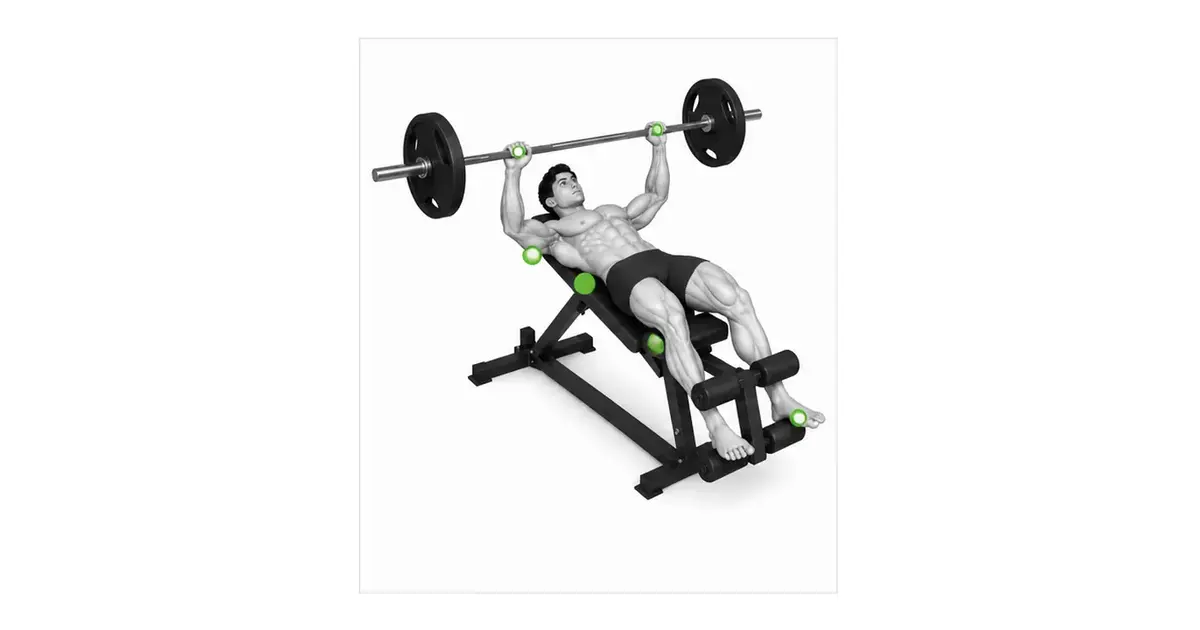
CABLE CROSSOVER
The cable crossover is not about crossing your hands hard—it is about turning the pull of a high pulley into a forward-and-down arc without swaying
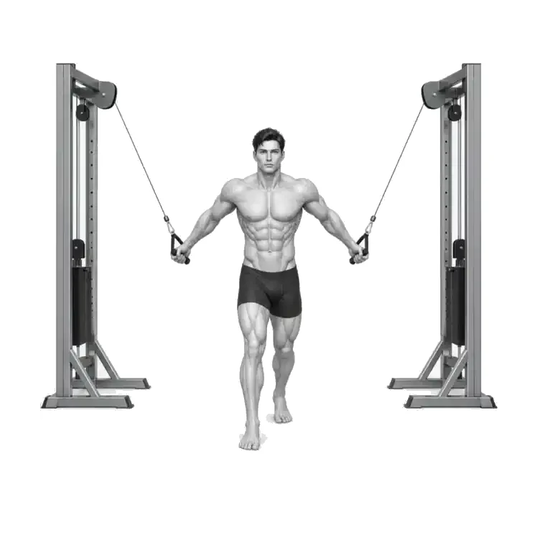
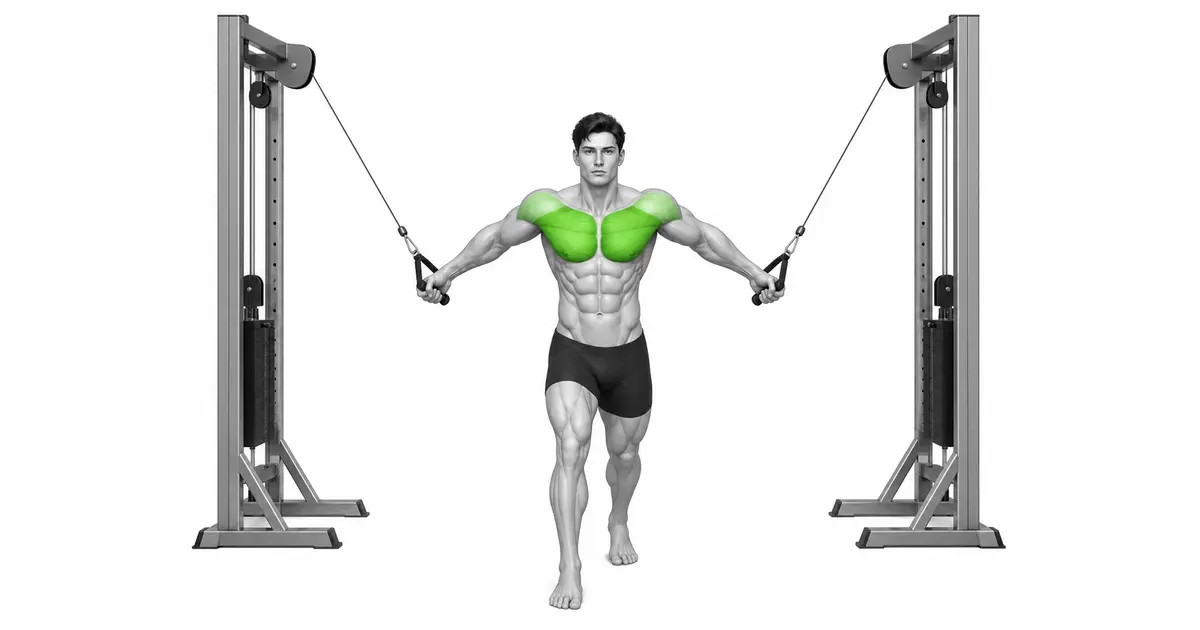
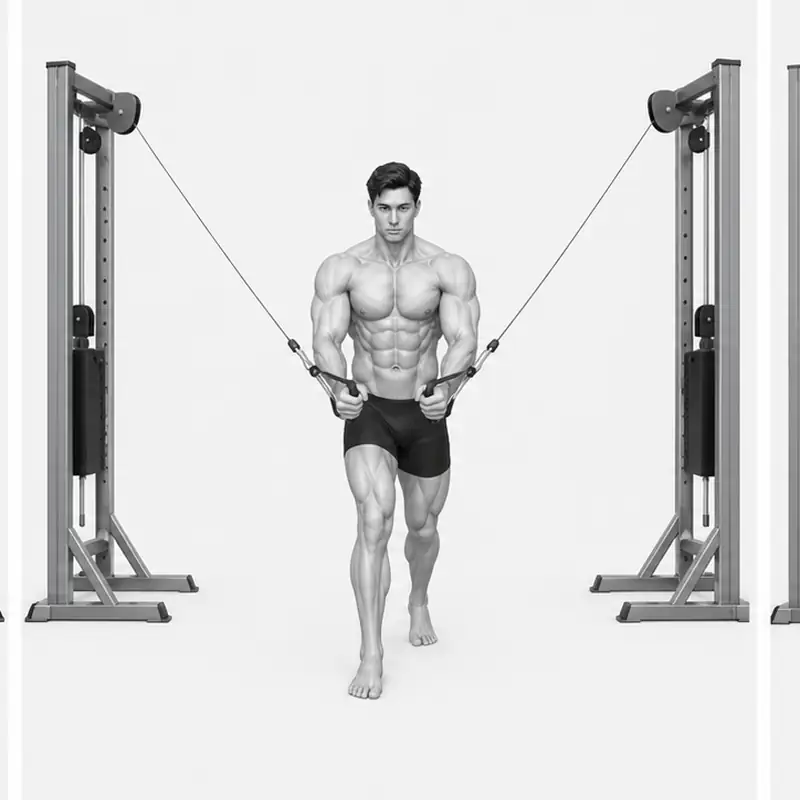
The movement demonstration on this page is a high-to-low cable crossover: both pulleys are set above head height, one foot steps forward, and the handles sweep from high and wide toward the lower chest and the front of the upper abdomen. The cables provide resistance toward the handles throughout, but that does not mean identical tension across every part of the pectoralis major, nor automatically better growth than other equipment. Crossing your hands past the midline also cannot isolate and build the "inner" pectoralis major on its own. Use it as an accessory judged by a stable split stance, a nearly constant elbow angle, symmetrical arcs on both handles, and a controlled return.
- Primary muscles
- Pectoralis major
- Secondary muscles
- Anterior deltoids · serratus anterior · trunk stabilizers
- Difficulty
- Beginner
- Movement type
- High-to-low horizontal adduction
Do the handles have to cross each other?
No. As in the demonstration, bringing them together side by side in front of the lower chest or upper abdomen is enough. A large crossover that twists your wrists or trunk can destabilize the path more than it gains you.
STEP BY STEP
5 Steps for One Complete Rep
- 1
Match both pulleys and loads
As in the demonstration, fix both pulleys above head height at the same notch and attach D-handles. Confirm that both weight pins are fully seated, and start with a light load you can control for 12 or more repetitions without trunk momentum.
- 2
Take the handles and move to the center of the machine
Take one handle at a time, keep both arms close to your body, and step half a pace forward from the middle of the machine. Check that the distance is equal on both sides once the cables are taut, and set a near-neutral grip with the palms facing forward and inward.
- 3
Build a split stance and a soft elbow angle
Step one foot forward, press the whole of both feet into the floor, and soften the knees. Stack the pelvis and ribs to brace the trunk and lean forward only slightly. Bend the elbows roughly 15–30 degrees and keep the angle equal on both sides.
- 4
Close the arc from high and wide to forward and down
Exhale and bring both upper arms together on a wide arc, forward and downward. The handles approach the lower chest and the front of the upper abdomen while the elbows stay slightly behind the hands at the same angle. Do not lean further forward or cross the hands far.
- 5
Open slowly only to where the shoulder stays stable
Inhale and return the handles along the same arc over two to three seconds. Resist so the plates do not clash, and although the upper arms can travel slightly behind the line of the torso, begin the next repetition before the shoulders lift forward or the chest is stretched excessively.
PULLEY & STANCE
Set the high pulley's line of resistance and your split stance first
ACE's guidance for the standing chest fly is to set the pulleys slightly above shoulder height, step forward to create cable tension, and work from a stable position. The demonstration here uses higher pulleys, so the handles travel from high and wide to low and inward. Because the direction of the cable force and the target point for your hands both change with pulley height, do not mix your high-to-low numbers in with shoulder-height flys or low-to-high flys.
The split stance is the base that transmits the cable's backward pull into the ground. Do not brace with the front foot alone or lift the back heel much—share pressure between both feet. Keep the trunk quiet between the feet; if it rocks forward and back on each repetition, that is a sign the load is heavier than your position can support.

Key point: Practical cue: “Both pulleys at the same height → one foot forward → ribs and pelvis stacked.”
HIGH-TO-LOW ARC
The upper arms, not the hands, converge from high and wide to forward and down
Set a soft angle at the elbows and hold it, and the upper arms will trace an arc around the shoulder joints. Continuing to extend the elbows as you descend turns it into a cable press, while locking them out lengthens the lever so the same displayed load feels heavier. Keep the wrists in line with the forearms and make sure both handles arrive at the same height.
It is enough for the handles to reach the lower chest or the front of the upper abdomen. They may touch or pass slightly, but there is no need for a large crossover on every repetition. Alternating which hand goes on top is one option, but stopping side by side at the center as in the demonstration makes it easier to compare paths and reduces the tendency for the cables to twist your trunk or wrists.
TORSO & RETURN
The trunk and shoulders break down more easily on the return than on the way in
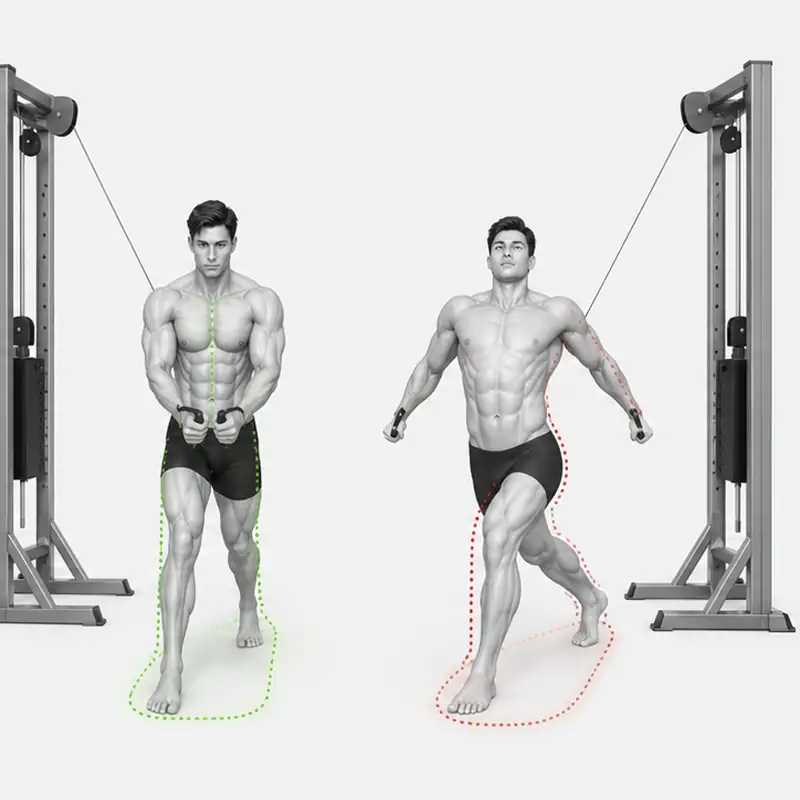
As the stack descends, the cables drag your hands back and up. If abdominal tension and foot pressure release at that moment, the trunk leans back or the shoulders slip forward and the handles fly open abruptly. Resist over two to three seconds and return only to the point where the chest opens while the shoulder blades and upper arms remain under control.
There is no evidence that cable machines are automatically superior to free weights for muscle growth. A meta-analysis comparing machine and free-weight training found no difference in hypertrophy, and strength gains were largely specific to how you trained. The advantage of cables is that they make a chosen line of resistance and independent handles easy to use—not that they guarantee unconditional "constant tension" or greater chest definition.
TROUBLESHOOTING
Fix the cause of a mistake, not just its appearance
The whole body moves forward as you close
- What you see
- The front knee bends deeply, the back foot slides, and the trunk arrives ahead of the cables as the handles come together.
- Likely cause
- You may be moving a load your feet and trunk cannot manage by using momentum.
- How to correct it
- Reduce the load, fix your foot position, and move only the arms through the arc. Maintain front and back foot pressure for the whole set.
The shoulders get dragged too far back on the return
- What you see
- The hands travel well behind the line of the torso and the front of the shoulder lifts or feels pinched.
- Likely cause
- You may not be controlling the speed of the returning stack, or you may be forcing a maximum stretch.
- How to correct it
- Open slowly over two to three seconds and change direction where the shoulder is stable. Reduce both the starting range and the load.
The elbows straighten and rebend
- What you see
- You extend the elbows to push on the way in and rebend them on the way out, moving like a cable press.
- Likely cause
- The load may be too heavy to control as a fly, or you may just be following your hands.
- How to correct it
- Fix the soft elbow angle you set at the start and close the arc with the upper arms. Lower the displayed load.
Crossing the handles too far
- What you see
- Both hands travel past the opposite thigh and the wrists and trunk twist side to side.
- Likely cause
- You may believe a bigger crossover isolates the inner chest more.
- How to correct it
- Bring the handles together side by side in front of the lower chest and upper abdomen, and stop within a range where the trunk does not rotate.
One handle closes first and the plates clash
- What you see
- The hands sit at different heights at the center, and one or both stacks slam at the end of the return.
- Likely cause
- Your starting distance may differ side to side, or the load may be heavier than your weaker side can control on the return.
- How to correct it
- Stand centered in the machine and match the cable length on both sides, and slow the stronger side down. Control the change of direction before the plates touch.
REGRESSION & PROGRESSION
Match the difficulty before adding load
Light standing cable fly
Set the pulleys near shoulder height and learn trunk position and elbow angle in a short range.
Light high-to-low crossover
Use the high pulleys shown here with a light load to match the arc from high and wide to forward and down.
Slow-return crossover
Open the handles over two to three seconds while holding your feet, trunk, and shoulder position.
Single-arm cable fly
Work one arm at a time with a light load to resist trunk rotation and compare paths and range side to side.
BEGINNER PROGRAM
A practical starting framework
Place it as an accessory after chest pressing, once or twice per week. Leave two or three repetitions in reserve while holding your foot position, trunk angle, and the path of both handles through the final rep. Pulley ratios differ between machines, so do not compare the displayed load directly with other equipment.
Reps
10–15
Return over 2–3 seconds and hold a symmetrical arc
Sets
2–3
Rest 60–120 seconds between sets
Load
+1 step
Only when the trunk stays quiet for all 15 reps
- If your foot position, trunk angle, and elbow bend are the same for all 15 reps and the plates never clash, move up one step next session.
- If after adding weight your body drifts forward or the handle heights differ, go straight back to the previous load.
- Log the pulley height and your forward foot position so you compare the same variation each session, and manage it separately from the low-to-high fly.
Frequently asked questions
Does the cable crossover build the inner chest specifically?
The pectoralis major works as a single muscle with fibers running in several directions, and crossing the hands cannot fully isolate an inner portion. This movement loads horizontal adduction of the pectoralis major, but it does not guarantee any particular definition or separation.
Are high and low pulleys the same exercise?
The direction of resistance differs. This page covers the high-pulley variation, where the hands travel from high and wide to forward and down. Track the pulley height, target hand position, and load separately from the low-pulley variation that sweeps upward.