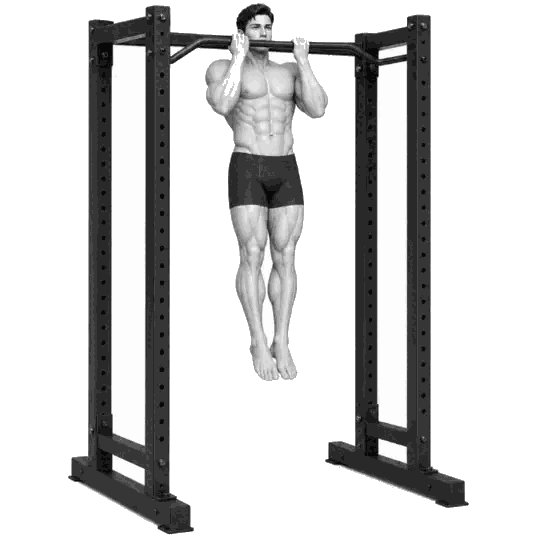
CHIN-UP
The chin-up improves biceps coordination through an underhand grip to build a powerful lower back and arms
The chin-up is a variation of the pull-up that uses a supinated (underhand) grip, where your palms face toward you. Because it involves the biceps much more than a standard overhand pull-up, you can generally lift more weight and effectively target the lower portions of the latissimus dorsi. For beginners looking to build upper body strength, chin-ups are often a more accessible entry point than pull-ups, while for advanced lifters, they are an essential movement for developing arm and back thickness.
- Primary muscles
- Latissimus Dorsi · Biceps Brachii
- Secondary muscles
- Upper Trapezius · Rhomboids · Forearms
- Difficulty
- Intermediate
- Movement type
- Vertical Pull
Are chin-ups easier than pull-ups?
For most people, yes, because the biceps provide more assistance in the chin-up position.
STEP BY STEP
4 Steps for One Complete Rep
- 1
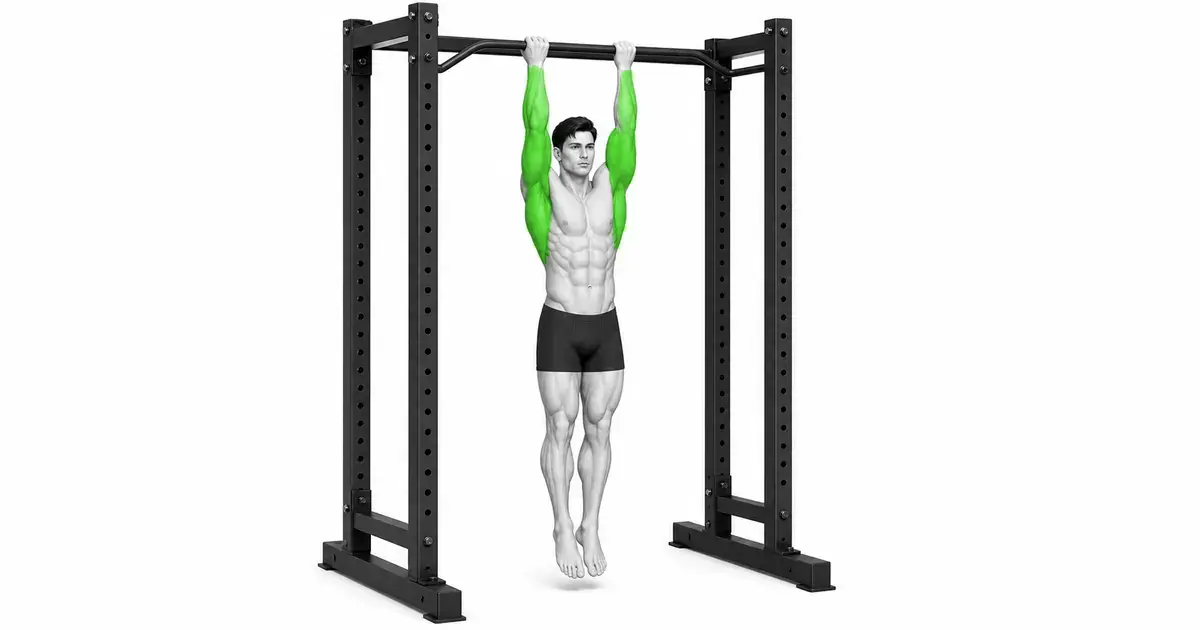
Hang with an underhand grip
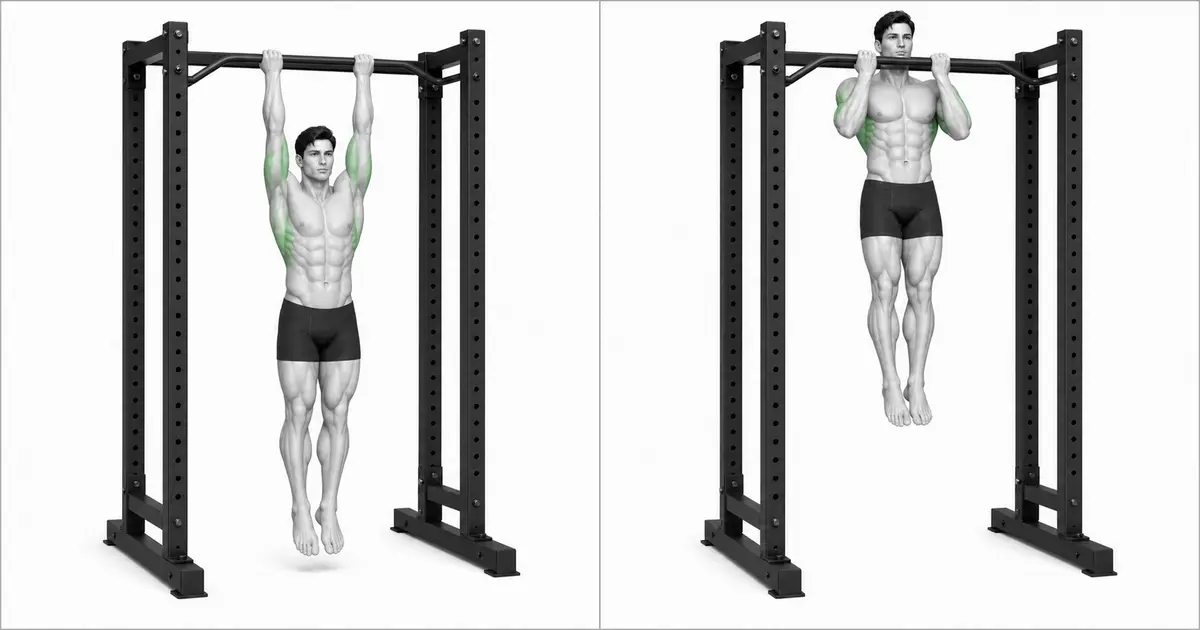
Grip the bar shoulder-width apart with palms facing your face. Hang with arms fully extended (dead hang) and depress your shoulders slightly to set them.
- 2
Pull up by lifting your chest
Exhale and pull yourself up by imagining pulling your elbows toward your sides. Lift your chest toward the bar until your chin is above it.
- 3
Peak contraction
Hold briefly at the top, feeling a strong contraction in your back muscles and biceps.
- 4
Lower slowly
Inhale and slowly return to the starting position while maintaining tension in the lats. Extend your arms fully but keep your shoulders engaged.
CHIN-UP VS PULL-UP
The Unique Benefits of Chin-Ups
The chin-up is performed in a position where the biceps are anatomically strongest. This makes it easier to achieve a deeper range of motion compared to pull-ups, resulting in stronger stimulation of the lower lats. For those looking to add thickness to their back, the chin-up can be a more direct solution than the overhand pull-up.
From a shoulder health perspective, the underhand grip keeps the shoulder joint in an externally rotated state, which can reduce the risk of impingement for individuals with limited mobility compared to an overhand grip. However, if you experience wrist or elbow discomfort, try adjusting your grip width.
RANGE, LOAD & TEMPO
Choose a range and load that keep the Chin-Up repeatable
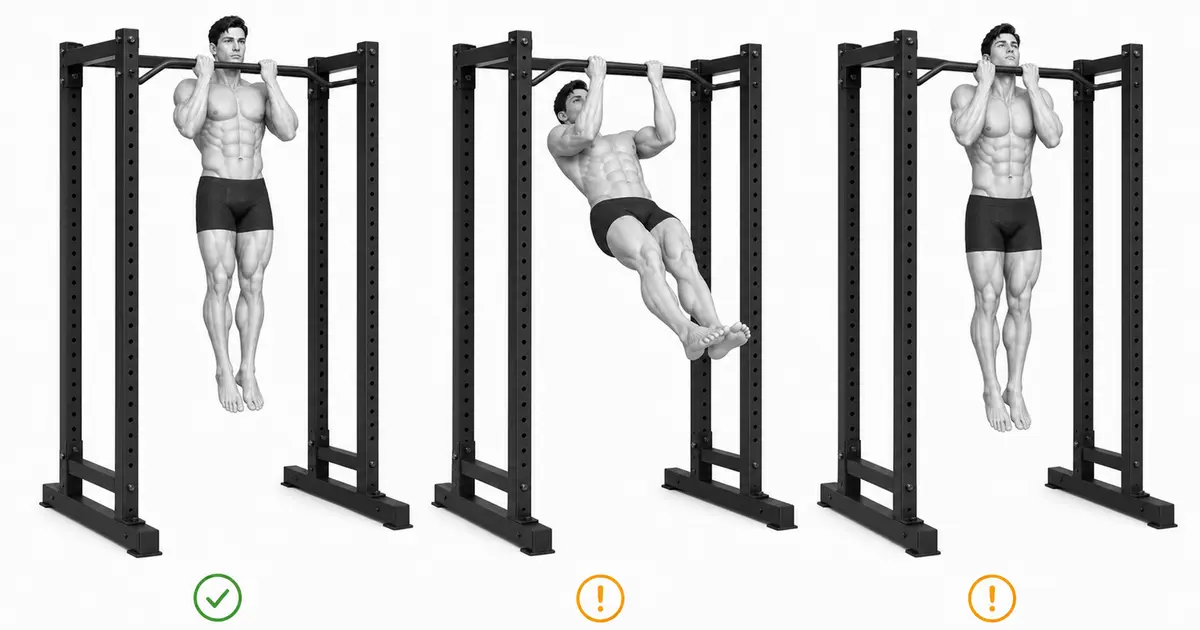
The useful range of motion ends before your torso or working joints have to change position to move the load. Keep the latissimus dorsi · biceps brachii producing the movement while the upper trapezius · rhomboids · forearms support the same alignment from the first repetition to the last.
Use a controlled lowering phase of about two to three seconds and avoid bouncing through the transition. If the final repetitions become shorter, faster, or visibly different from the first, reduce the load or stop the set before technique breaks down.
Key point: Progress the Chin-Up only after every repetition follows the same path without joint pain.
TROUBLESHOOTING
Fix the cause of a mistake, not just its appearance
Using momentum (kipping)
- What you see
- Swinging the legs or jerking the body to get up.
- Likely cause
- Lack of strength or obsessing over rep counts.
- How to correct it
- Cross your legs to keep them still and pull only with your upper body. One perfect rep is more valuable than multiple sloppy ones.
Shrugging at the top
- What you see
- Shoulders rising to the ears and the back rounding during the pull.
- Likely cause
- Lack of control in the scapular stabilizers.
- How to correct it
- Focus on 'shoulder packing'—pulling your shoulder blades down and back before you start the pull.
REGRESSION & PROGRESSION
Match the difficulty before adding load
Negative Chin-Ups
Jump to the top and practice lowering yourself as slowly as possible to build necessary strength.
Weighted Chin-Ups
Once you can perform 10-12 bodyweight reps with perfect form, add weight using a dip belt.
BEGINNER PROGRAM
A practical starting framework
Chin-ups are one of the most efficient bodyweight exercises for building a powerful upper body. Build your hanging strength gradually.
Frequency
2-3 times per week
Include at the start of back sessions or as part of an arm routine.
Volume
3-5 sets of 6-10 reps
Repeat only as many times as you can maintain perfect form.
- Grip the bar deep in your palms to prevent wrist strain.
- Extend your arms at least 90% on the way down for a full stretch.
- Inhale as you lower and exhale as you pull up.
Frequently asked questions
Is this a back or an arm exercise?
It's both. While the lats are the primary movers, the biceps involvement is higher than in almost any other pulling movement.