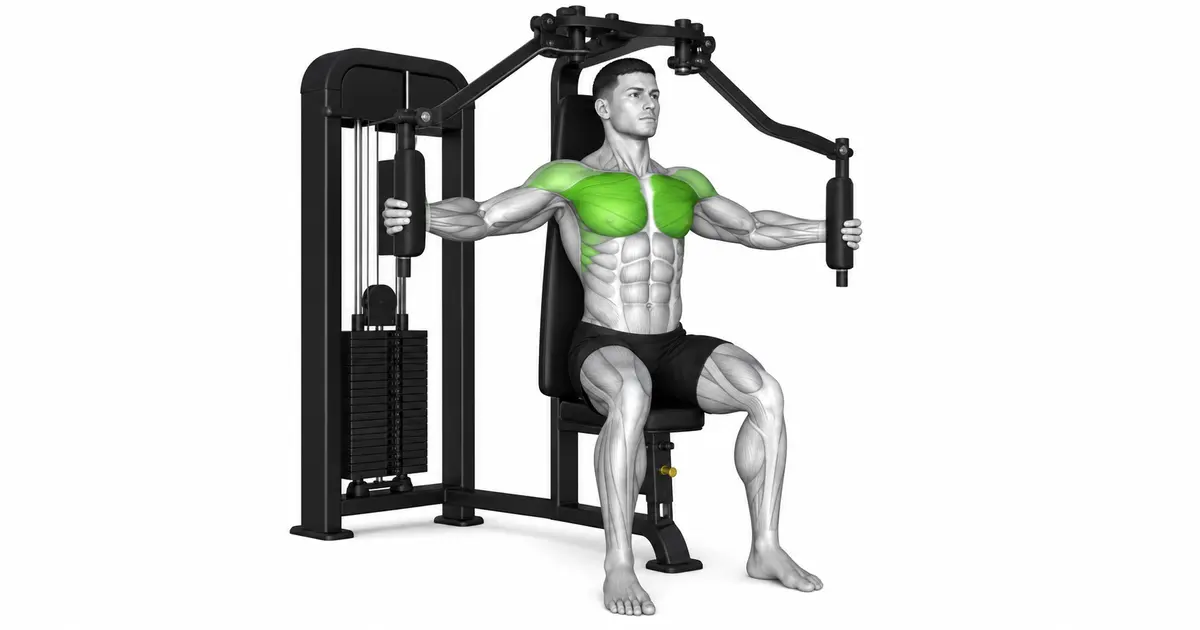
DEAD HANG
Dead hang is not a movement that blindly places weight on the shoulder joint, but is a hanging exercise that adjusts passive and active support according to the grip and shoulder condition.
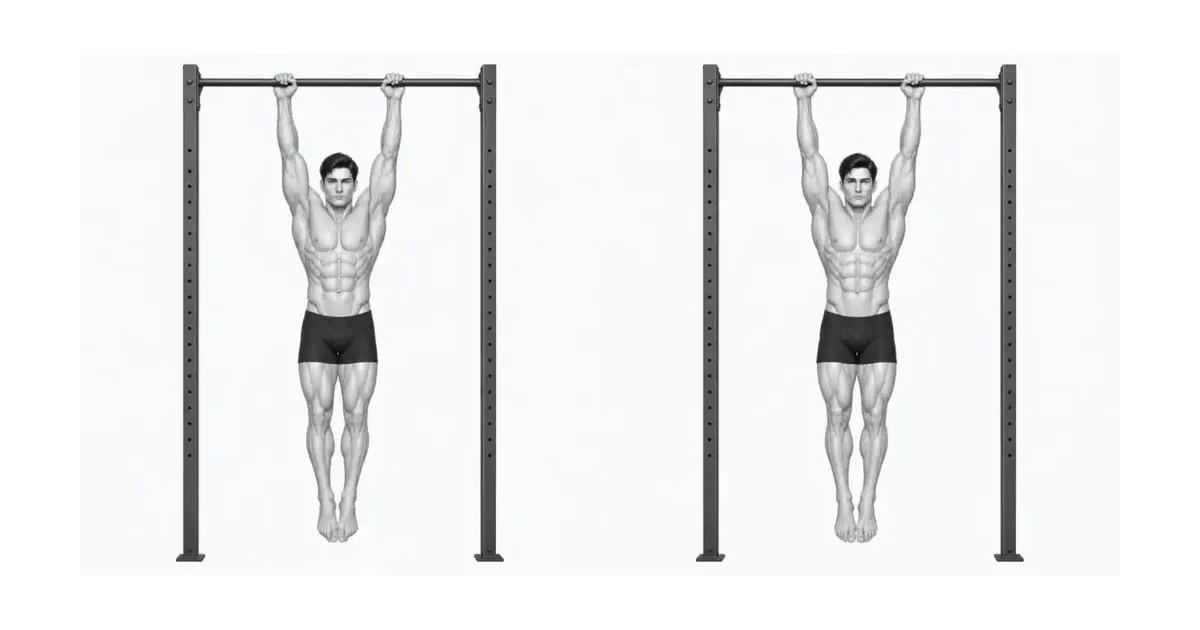
Hanging from a pull-up bar trains your grip and forearms and gets you used to the overhead position. However, not all shoulders comfortably allow for full passive suspension. Choose a passive row, where you hold the bar at the footrest and place your shoulders fully towards your ears, or an active row with your shoulder blades lightly lowered, and return to the footrest before your hands slip.
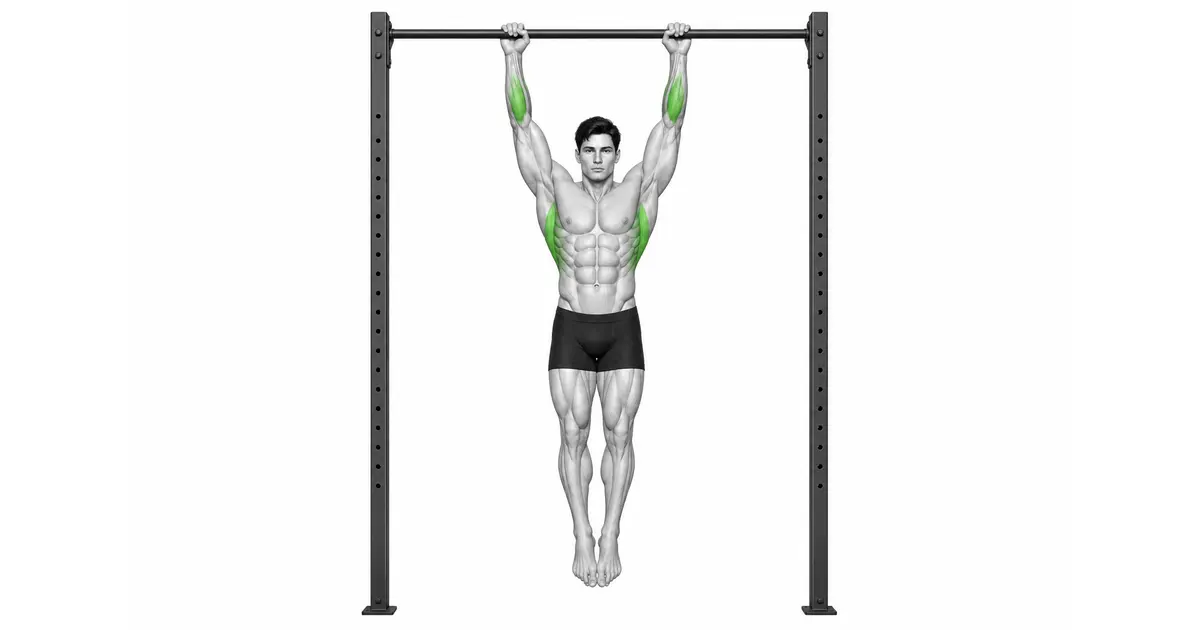
- Primary muscles
- Forearm flexors, finger flexors
- Secondary muscles
- Latissimus dorsi, serratus anterior, rotator cuff, core
- Difficulty
- Intermediate
- Movement type
- Overhead passive or active suspension
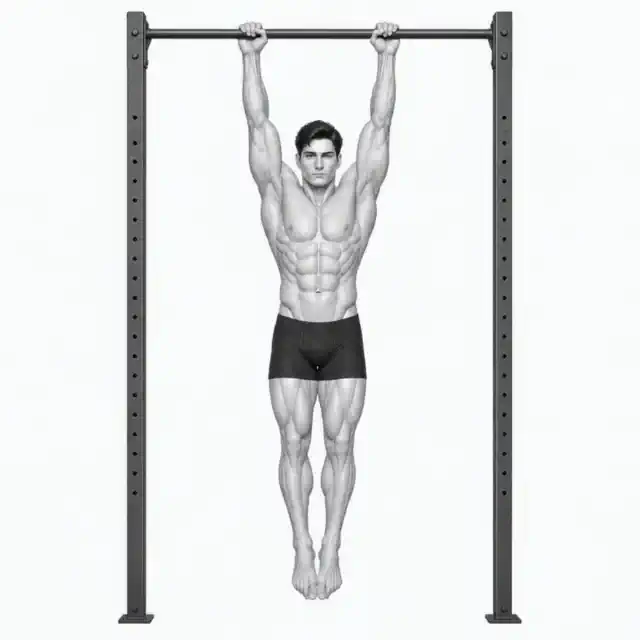
Should I fully relax my shoulders?
Not required. If your shoulders are comfortable, use passive rows. If uncomfortable, use active rows with your shoulder blades slightly lowered.
STEP BY STEP
4 Steps for One Complete Rep
- 1
Checking bar and footrest stability
Place a secure footing under a pull-up bar that does not wobble. Don't jump and grab it, but position your hands on the footrest.
- 2
Creating a thumb-wrapped grip
Place your hands about shoulder width apart and place your thumbs under the bar. Keep your wrists in a comfortable neutral position and evenly apply pressure between your hands.
- 3
Step off and select shoulder method
Slowly lift your feet to lengthen your body. If your shoulders are comfortable, let them hang passively, or if they're uncomfortable, use active hangs with your shoulder blades lightly pulled down.
- 4
Reduce sway and return to footing
Keep your legs quiet without lifting your ribs excessively. Before the grip loosens, place your foot on the footrest, shift your weight, and release your hand.
PASSIVE OR ACTIVE
Fully passive rows and active rows have different shoulder burdens and purposes
Passive rows raise the shoulders toward the ears and lengthen the tissues, while active rows keep the shoulder blades slightly lower. Choose a pain-free method.
If the front of your shoulder is pinched or numb, reduce the range and support your feet to lower the load.
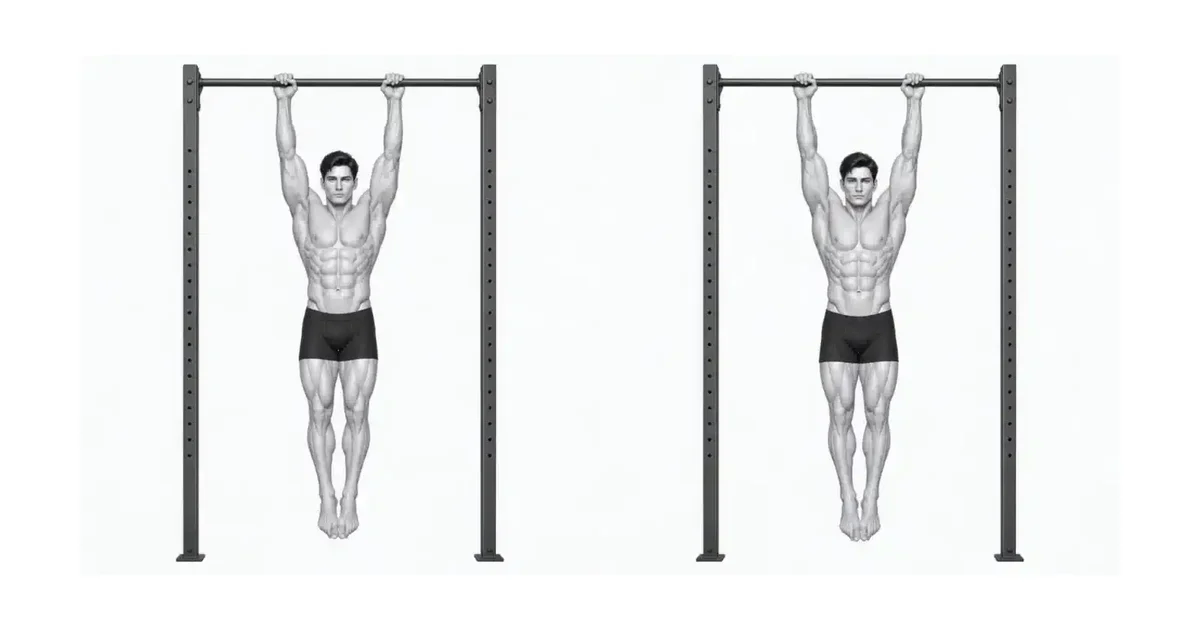
Key point: Cue to use right away: “Hands are closed, shoulders are allowed only a comfortable range.”
PLAN THE EXIT
You must safely descend to the footrest before the grip is completely released.
If you hold on until failure and fall, your shoulders and ankles will receive a shock. Always have a platform for your toes to rest on.
Quit at the first sign of finger pressure dropping rather than showing off remaining time.
TROUBLESHOOTING
Fix the cause of a mistake, not just its appearance
Jump, grab the bar and fall
- What you see
- There is a lot of impact on the shoulders and ankles when starting and stopping.
- Likely cause
- Bar approached without footrests.
- How to correct it
- Make a grip on a stable footrest, then take your foot off and return to the footrest at the end.
Hang manually, enduring shoulder pain
- What you see
- The front of the shoulder is pinched or the numbness spreads to the arm.
- Likely cause
- My shoulder currently cannot handle full manual range.
- How to correct it
- Immediately brace your feet and lower into an active hang or partial load.
Shake your legs to make time
- What you see
- Body sways back and forth and grip loosens irregularly.
- Likely cause
- Missed core tension and termination point.
- How to correct it
- Lower your ribs, bring your legs together, and when you start to shake, step down onto the step.
REGRESSION & PROGRESSION
Match the difficulty before adding load
Increased load and strength
Increase intensity by gradually increasing weight or shortening rest periods.
Complex Variant Behavior
Increase the difficulty level by combining it with other exercises or adding unstable environments.
BEGINNER PROGRAM
A practical starting framework
Increase your grip endurance with the total time of short quality sets. Avoid being overtired before pull-up training, and you can use it leisurely after the session.
Frequency
2-3 times a week
Appropriately place it in your whole body or relevant area routine.
Volume
3~5 sets, 8~15 times
Adjust the number of reps and sets according to your goals.
- Always put safety first and listen to your joint pain.
- Perform the entire operation within the scope of your control.
Frequently asked questions
Can I place my thumbs on the bar?
A closed grip that wraps around the thumb is generally better at preventing slipping. Choose a safe grip according to the condition of your hands and the thickness of the bar.
How long should I hang on?
Start with 10-30 seconds and add up to sets maintaining grip and shoulder alignment. Time to failure is not the goal.