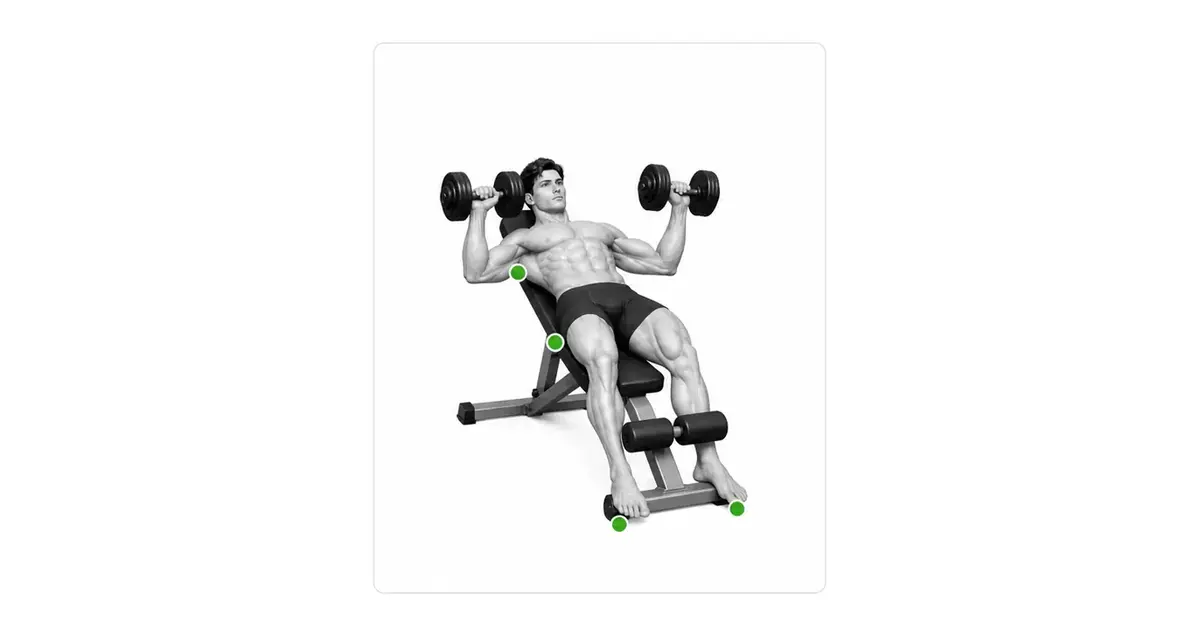
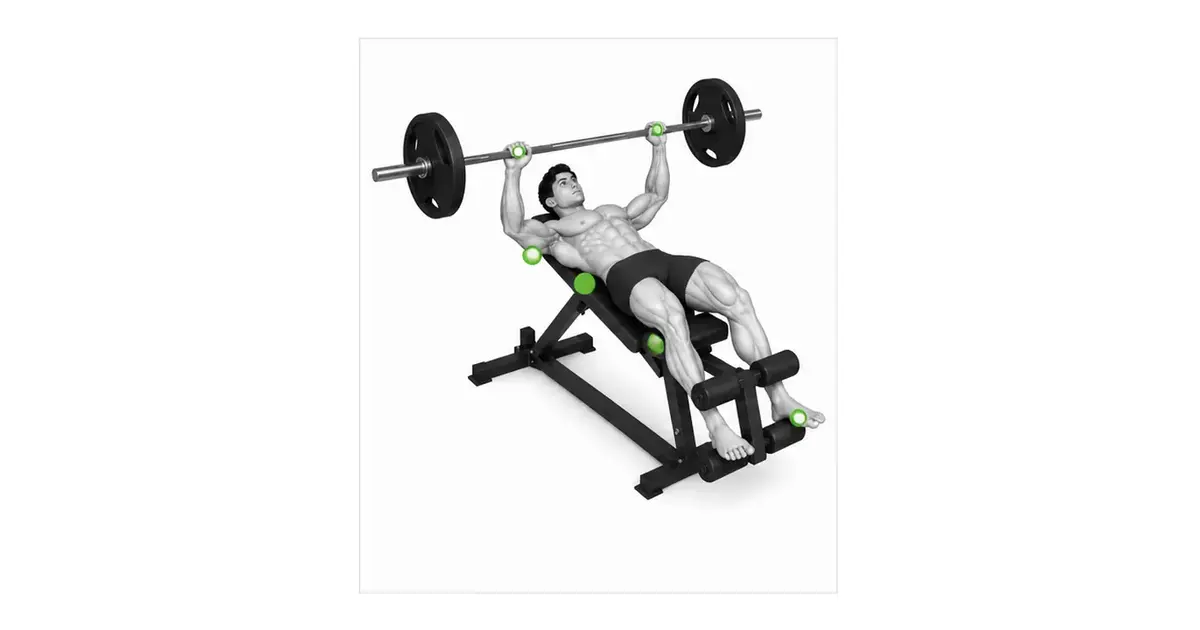
DECLINE PUSH-UP
The decline push-up is not a competition to raise your feet high, but a push-up that maintains a full-body plank even with changed weight distribution.
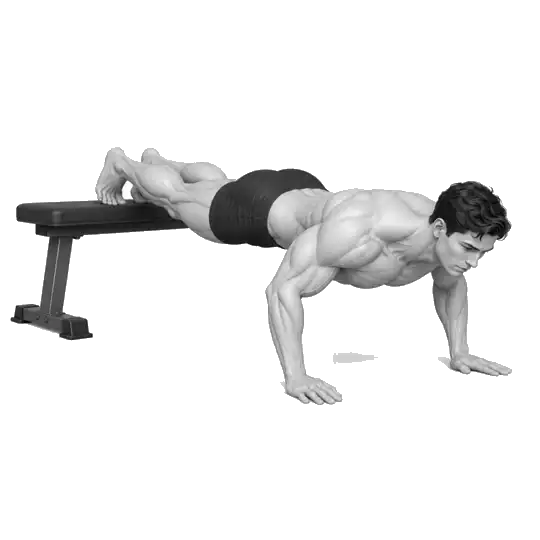
The decline push-up is a push-up performed with both hands on the floor and both feet on a stable bench, as shown in the video. As your feet rise, the body's tilt and the ground reaction force transmitted to your hands change, and the demands on the muscles around the anterior deltoid, triceps, and shoulder blades may increase. However, a high bench does not guarantee greater upper chest growth. In an angle-specific electromyography study, the anterior deltoid, triceps, upper trapezius, and serratus anterior activity increased at large downward angles, while pectoralis major muscle activity was higher at gentler angles. Start with a low bench and choose a height that is comfortable for your shoulders and wrists and allows you to maintain a straight torso.
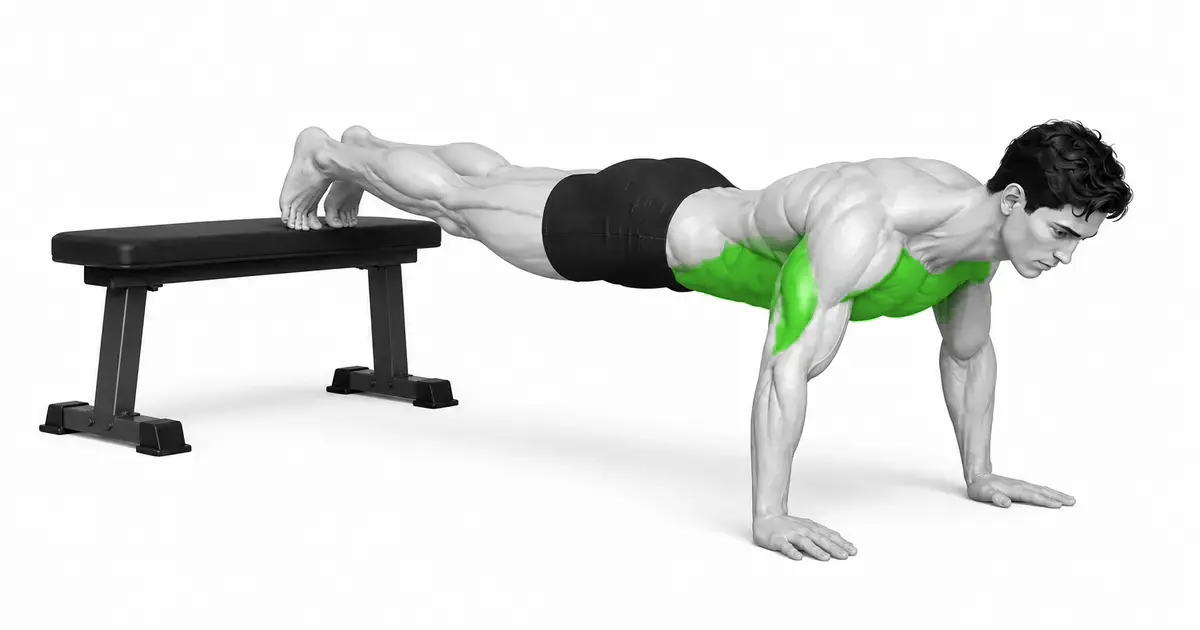
- Primary muscles
- Pectoralis major, triceps
- Secondary muscles
- Front deltoid, serratus anterior, abdominal muscles
- Difficulty
- Intermediate
- Movement type
- Horizontal push with feet elevated · Full body plank
Are higher feet better for your upper chest?
It cannot be said that the higher the height, the better it is for the upper chest. As the angle increases, the demands on the anterior deltoid, triceps, and scapular stabilizers also increase, and the posture can become closer to a pike pushup. Prioritize chest and pelvic alignment at low heights.
STEP BY STEP
5 Steps for One Complete Rep
- 1
Choose a low, stable bench
Use a low bench or box that won't slip or wobble on the floor. Start at the level below your shins and avoid tight corners where surfaces may be wet or where your feet may slip. There should be no objects around you that you could hit if you fall.
- 2
Raise each foot from a four-legged position
Place both hands on the floor in front of the bench, place your knees, and place one foot at a time in the center of the bench. Place your feet together or hip-width apart, support the tops of your feet or the front of your toes to prevent slipping, and then straighten your knees to form a plank.
- 3
Aligning hands, ribs, and pelvis
Place your hands slightly wider than your shoulders and press your fingers into the floor. Align your shoulders with your wrists and strengthen your abdomen and hips as if you are stacking your ribs and pelvis to form one line from your head to your heels.
- 4
Lower your chest and pelvis together
Inhale and bend your elbows diagonally back from your torso about 30–60 degrees. Don't just stick your neck out first; move your chest and pelvis at the same speed. Stop at a depth before your shoulders push too far forward of your hands or your back arches.
- 5
Push off the floor and safely lower your knees first.
Push your entire palm into the floor, straightening your elbows, and return to the starting position. At the end of the set, rather than holding on to the brink of failure, place your knees on the floor first and then lower your feet one foot at a time from the bench. Do not jump off both feet at the same time.
BENCH HEIGHT
As the bench gets higher, the movement becomes more like another pushup.
As you raise your feet, the tilt between your hands and feet increases and the direction of force on your upper body changes. In studies predicting ground reaction force including foot height and tempo, incline and speed were important variables explaining exercise intensity. Therefore, bench height should be recorded as a load control variable rather than an equipment choice.
A support that is too high will cause your hands to move relative to your head, placing greater demands on your anterior deltoids and scapular stabilizers and making you more of a pike pushup than a pushup. If your goal is to work your chest, start with a low bench and only use ranges that don't lift your hips or shrug your shoulders as you increase the height.
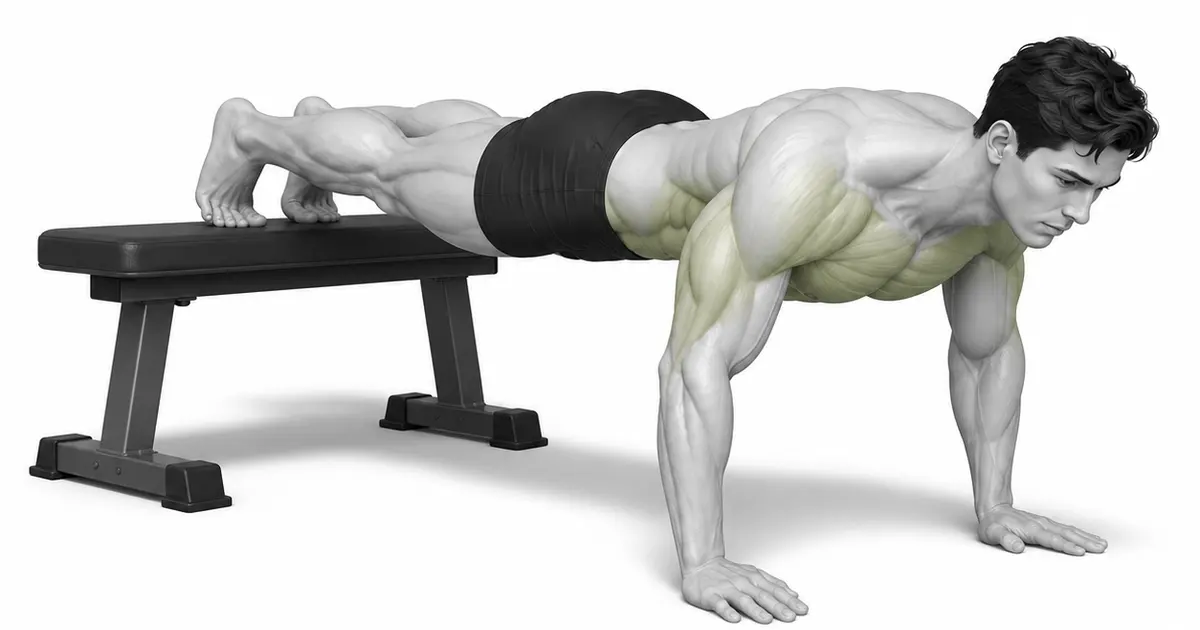
Key point: Criteria to try right away: Low bench → Maintain alignment for 6–10 reps → Adjust height or one repetition only in the next session.
PLANK LINE
Even when your feet are raised, your ribs and pelvis must move as one unit.
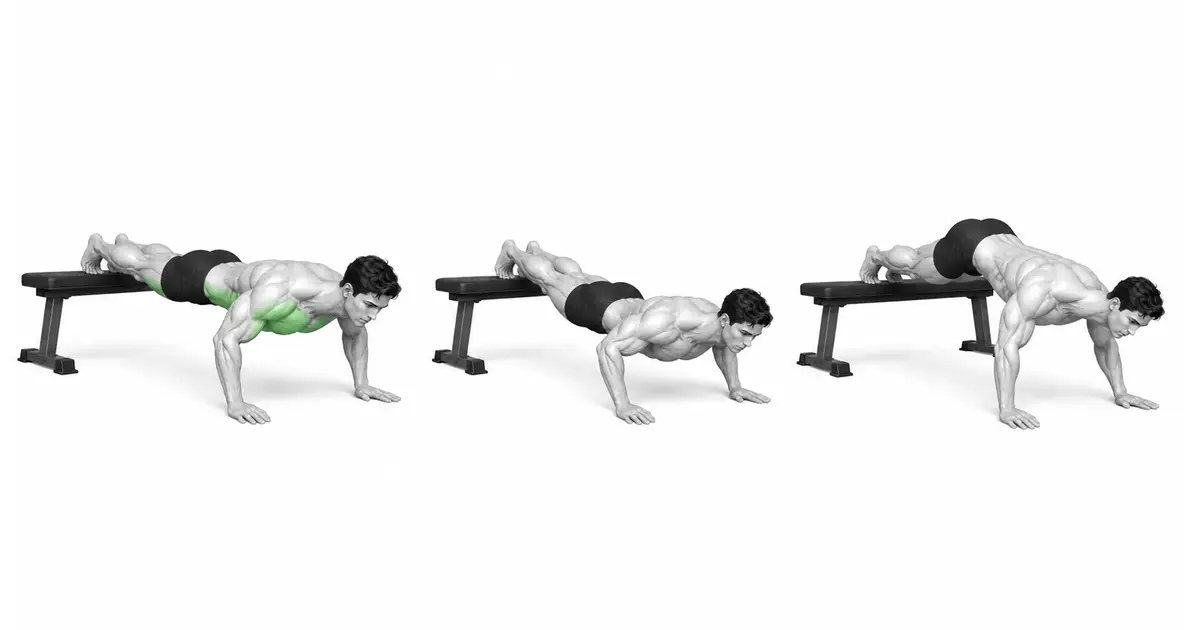
If you put your feet on the bench, it's easy to avoid upper body load by causing your pelvis to sag down or, conversely, raising your hips. Rather than flattening your stomach by holding your breath, align your ribs over your pelvis and tighten your hips and thighs to keep your entire body like a long board.
When photographed from the side, the line connecting the ears, shoulders, pelvis, and ankles should not change significantly throughout the repetition. If your stomach drops first at the bottom or your hips rise at the top, finish the set before your target reps and lower the bench.
SHOULDER & ELBOW PATH
Without dropping your body beneath your hands, fold your elbows diagonally back
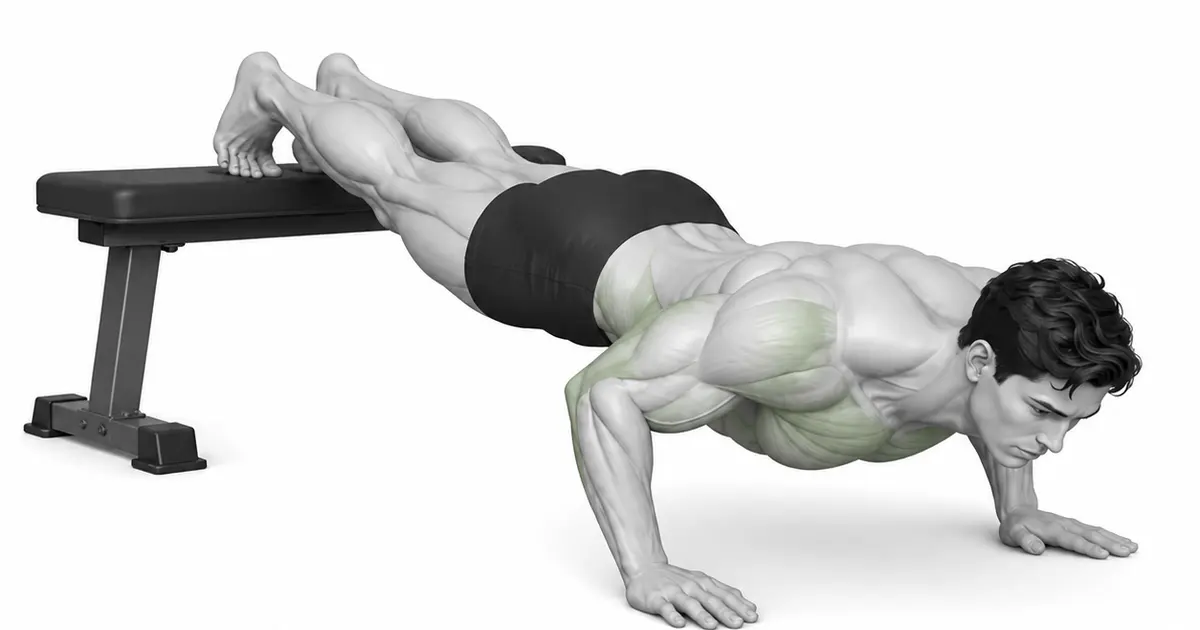
Spread your fingers wide and press the base of your thumb and index finger into the floor. When descending, do not fully extend your elbows to shoulder height, but send them diagonally back about 30–60 degrees from your torso. Your wrists and elbows should be under the same pole and both shoulders should move at the same speed.
Elevating your feet can bring your head closer to the floor and increase the strain on your shoulders. Stick your neck forward and let your chest sink between your hands, rather than touching your forehead to the floor. If you experience pain in the front of your shoulder or pressure in your wrist, immediately lower the range and height.
TROUBLESHOOTING
Fix the cause of a mistake, not just its appearance
Sagging lower back and lifting ribs
- What you see
- Your stomach goes down before your chest and your back bends like a bow.
- Likely cause
- Your bench height or number of repetitions may be beyond your torso control or your hips may be tight.
- How to correct it
- Lower the bench, fold your ribs and pelvis, and use only the range where your chest and pelvis move at the same speed.
Ass rises too high
- What you see
- At the top, your pelvis is higher than your shoulders and your head is lowered in front of your hands.
- Likely cause
- To reduce the burden on the upper body, I bend my hip joints and change into a pike posture.
- How to correct it
- Move your feet lower and extend your hips toward your heels, not back, to restore a straight body line.
Elbows open at 90 degrees
- What you see
- At the bottom, the upper arm is parallel to the shoulder line and the front of the shoulder is pressed or uncomfortable.
- Likely cause
- Your hand spacing may be too wide or you may not be able to control the upper body load at your current height.
- How to correct it
- Return your hands slightly wider than shoulder width and place your elbows diagonally back. If you feel pain, lower to a regular pushup.
I put my head down on the floor first.
- What you see
- The forehead falls before the chest, the back of the neck is bent, or the shoulders rise toward the ears.
- Likely cause
- The neck moves to gain depth or the entire torso stops lowering.
- How to correct it
- Place your gaze on the floor slightly in front of your hands and keep your neck in line with your torso. Complete the set if your chest and pelvis do not go down together.
Jumping off the bench with both feet at the same time
- What you see
- At the end of a set, your feet slip or your weight suddenly shifts to your wrists and shoulders.
- Likely cause
- I repeated until I was on the verge of failure, leaving no time left to come down safely.
- How to correct it
- After completing the set with about 2 reps to spare, place your knees on the floor and lower your feet one at a time.
REGRESSION & PROGRESSION
Match the difficulty before adding load
Incline push-up
Learn full-body planks and elbow paths with your hands on a high support.
regular push up
Perform 8–15 reps on a flat surface with the same torso alignment.
Low Step Decline Push-Up
Adapt to changes in weight distribution by raising your feet to a level below your shins.
Bench decline push-up
Proceed to the same bench height as shown in the video only if alignment is maintained in the lower steps.
BEGINNER PROGRAM
A practical starting framework
Use 1–2 times a week as an auxiliary movement to increase the difficulty of upper body pushing after regular push-ups. Start with low steps and leave room for about 2 reps each set. Record your bench height along with the number of repetitions to compare performance only under identical conditions.
number
Episodes 6–12
Range of movement of chest and pelvis together
set
2–4 sets
90–180 seconds recovery between sets
speed
2–3 second descent
Push without kickback from the bottom
- If your torso is straight and your left and right shoulders are level for all repetitions, add one repetition to the next session.
- Only after you have reliably achieved the top of your target reps do you increase the foot support one level. Do not increase height and number of repetitions simultaneously on the same day.
- If your shoulders start to shrug or your lower back starts to sag, end the set without pushing yourself to failure.
Frequently asked questions
What height is appropriate for the bench?
At first, steps below your shins are appropriate. Raise the height slightly only if you can perform 6–12 reps without sagging your back, lifting your hips, or shrugging your shoulders. Current technology rather than absolute height is the standard.
Do you place your foot or your toes on the bench?
Both methods are possible, but the risk of slipping varies depending on the surface and shoe. Choose a method that ensures that the top of your foot or the front of your toes is in stable contact with the center of the bench and there is no pain in your ankles. Don't just hang one foot over the edge.
Are gym ball push-ups and decline push-ups the same exercise?
They have something in common: foot height, but the stability of the support surface is different. The bench is stationary, making it great for practicing basic decline routes and upper body loads, while the gym ball moves the ball and requires additional balance control. Typically, learn the stable bench variations first.
Evidence and references
- 1. Lin et al. — Comparison of upper body muscle activity by push-up angle
- 2. Kim et al. — Push-up ground reaction force prediction based on foot height, angle, and speed
- 3. Suprak et al. — Upper extremity weight bearing ratio by push-up position
- 4. Mendez-Rebolledo et al. — Review of shoulder muscle activity range by push-up variation
- 5. Cogley et al. - Push-up pectoralis major and triceps activation by hand interval