HAMMER STRENGTH CHEST PRESS
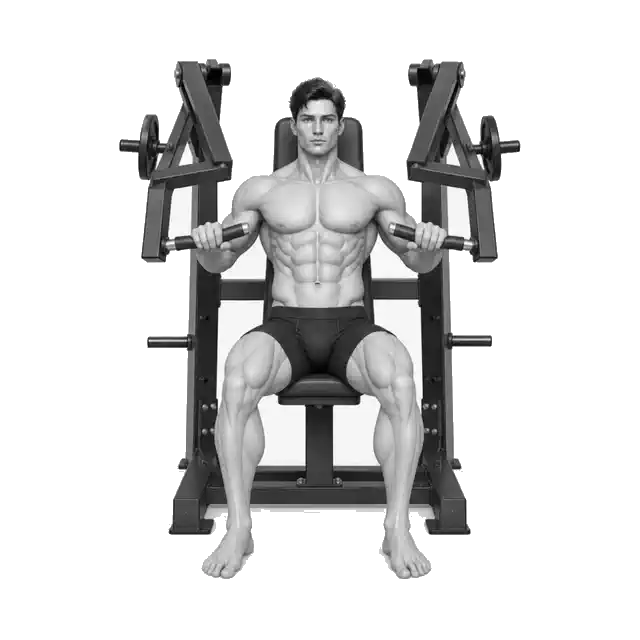
The hammerstrength chest press is a pushing exercise along a trajectory, but the seat and starting depth must be tailored to your body.
This guide covers the plate loaded independent lever chest press shown in the video. Although the backrest and set lever trajectory reduce the burden of stabilizing the torso and are good for learning chest thrust movements, the machine does not automatically adjust shoulder position for everyone. Adjust your seat so that the handle is at mid-chest height, place your head, upper back, and pelvis on the pad and move both levers at the same speed. Machines and free weights may have different stabilization demands and maximum performance weights, so do not compare the two at the same weight number.
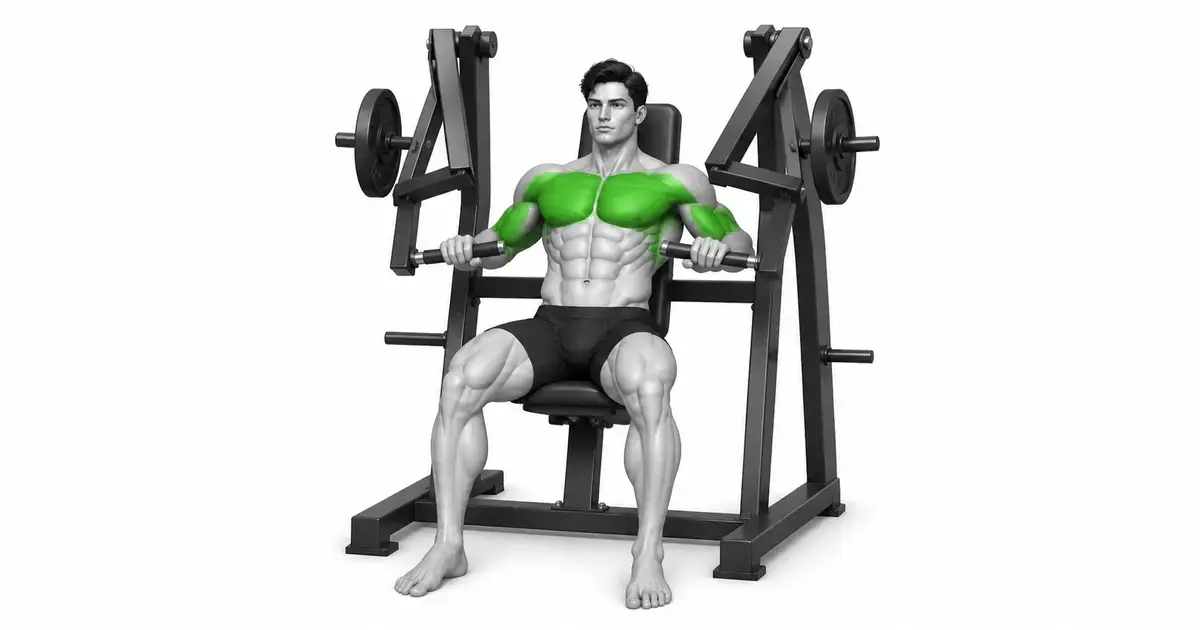
- Primary muscles
- Pectoralis major, triceps
- Secondary muscles
- Front deltoid, serratus anterior
- Difficulty
- Beginner
- Movement type
- Sit down and push horizontally, independent lever
Where should the handle fit on my chest?
For most, medium chest height is a good starting point. Make sure your elbows are slightly below shoulder line, your wrists are in line with your forearms, and the front of your shoulders are relaxed.
STEP BY STEP
5 Steps for One Complete Rep
- 1
Check pins and levers and load the same disk
Make sure the seat adjustment pins are fully locked and the handles and levers are undamaged. Place disks of the same size and weight on the left and right sleeves and secure them if there is a device that requires a collar.
- 2
Adjust the handle to mid-chest height
When seated, adjust your seat so that the handle is at mid-chest height, before and after your nipple line. Your elbows should be slightly below your shoulder line, and your wrists and elbows should be comfortably in the same horizontal plane.
- 3
Anchor yourself on three points and your feet
Place your head, upper back, and pelvis on the backrest and place your feet wide on the floor. Do not lift your ribs excessively and keep your chest naturally open so that your shoulders do not rise towards your ears.
- 4
Push both levers at the same speed
Exhale and push the handle forward with your palm. Keep your wrists straight and straighten your elbows just before locking, making sure to keep your front sight straight so that one handle doesn't go out first.
- 5
Return under control for 2–3 seconds
Inhale and slowly return the lever. Stop at a depth before your shoulders roll forward or your elbows go too far behind your torso, and at the end of the set, fully rest the handle on the stopper.
SEAT HEIGHT
Seat height determines the relationship between the handlebars and your shoulders
If your seat is too low, the handles will be raised too close to your shoulders or neck, making it easy for your elbows to spread excessively and your shoulders to shrug. Conversely, if it is too high, the handle may rest under your lower chest, causing your wrists to bend and your elbows to drop too far.
Since the lever axis and handle orbit are different for each device, record it based on the actual posture rather than the number column. The starting point is with the handle at mid-chest level, elbows slightly below shoulder line, and wrists at an extension of the forearm.
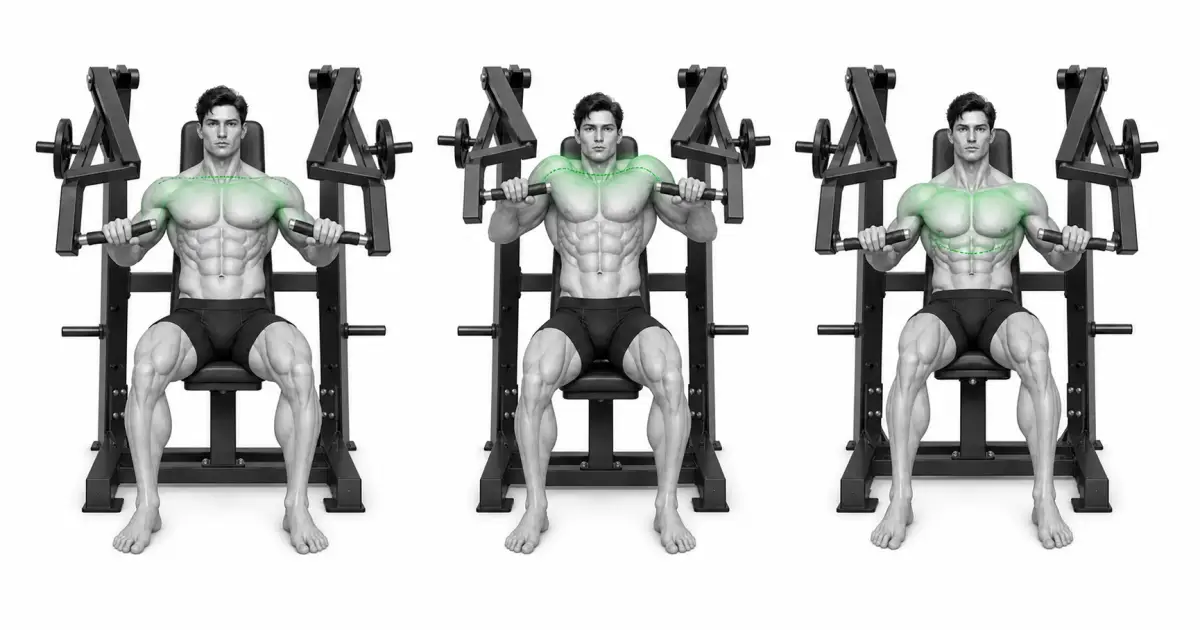
SHOULDER & ELBOW PATH
Instead of spreading your elbows wide, find a comfortable angle within the lever orbit.
Bench press biomechanics studies show that grip width and shoulder position can affect shoulder joint loading. Even on the machine, handgrip choice and seat height determine elbow spread, so look for a path that keeps your elbows approximately 45–70 degrees from your torso and doesn't compress the front of your shoulders.
Don't lift your shoulders off the pad or send your elbows deep behind your torso to get more of a chest stretch at the bottom. Range of motion is limited to the point where the head, upper back, and pelvis remain on the pad, not the machine stoppers.
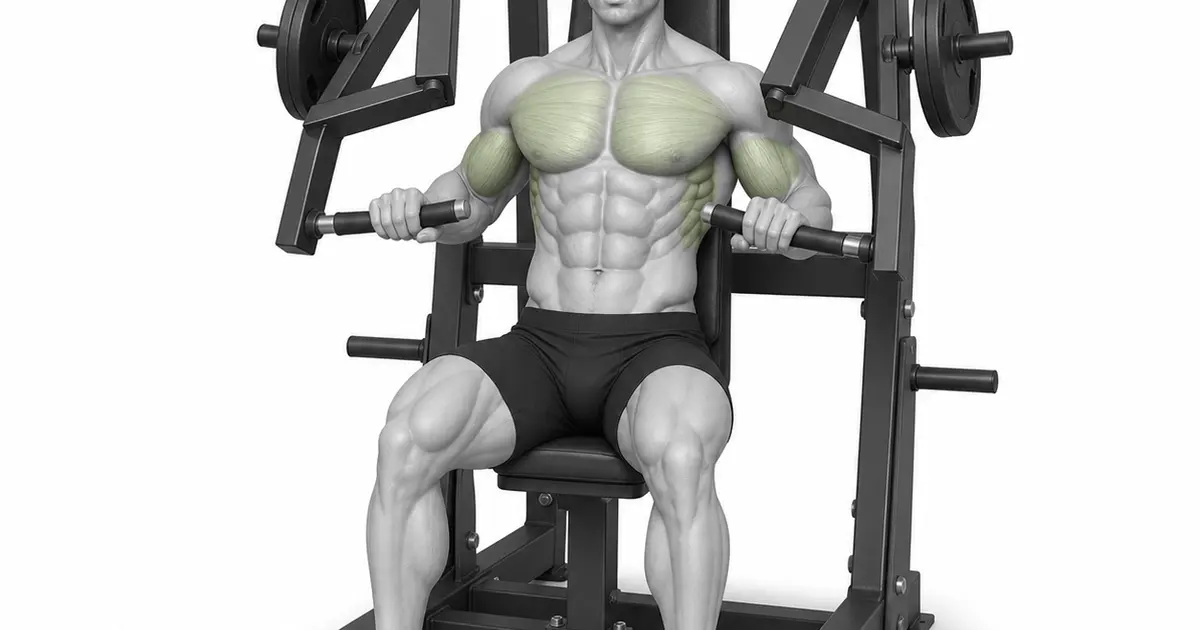
Key point: Criteria to try right away: Maintain pad support + neutral wrist + depth without pressure on the front of the shoulder
INDEPENDENT ARMS
Independent lever shows left/right differences but does not automatically correct them
Since each lever moves separately, the stronger side may reach first or the weaker side may have a shorter range. Make sure both handles move at the same height and speed in front of you, and use a weight that your weaker side can control.
Even if the device can be performed on one side, twisting the torso to push the lever changes the goal. For unilateral sets, lightly grasp the handle or pad with your opposite hand and keep both hips and upper back on the pad.
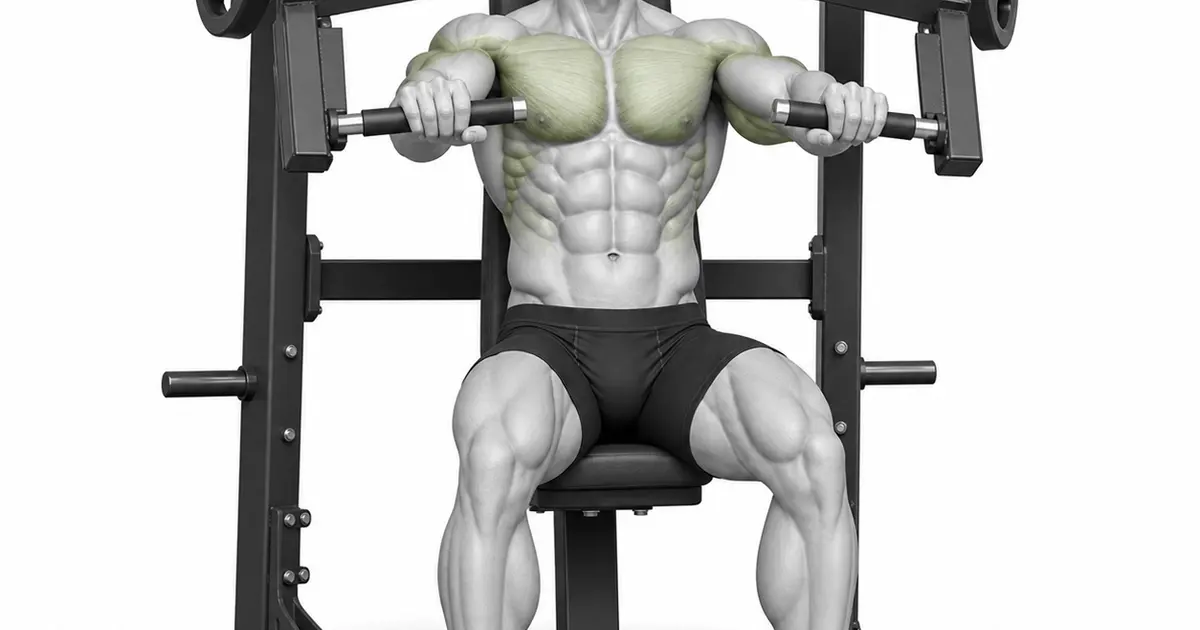
TROUBLESHOOTING
Fix the cause of a mistake, not just its appearance
The seat is low and the handles are at shoulder height.
- What you see
- From the starting position, your elbows are raised to shoulder line and your shoulders are lifted toward your ears.
- Likely cause
- You either used the same seat numbers as the previous user or did not check the handle height.
- How to correct it
- Raise your seat so that the handle is aligned with your mid-chest and your elbows are slightly below shoulder line.
Excessively arching the lower back and pushing the weight away
- What you see
- Your ribs will lift loudly and your pelvis or upper back will come off the pad.
- Likely cause
- The current weight is either too heavy or it is creating bounce at the end of the range of motion.
- How to correct it
- Lower the weight and only use the range with three points on the pad: head, upper back, and pelvis.
wrist bent backwards
- What you see
- The handle rests against your fingers and the back of your hand is folded behind your forearm.
- Likely cause
- The handle is held too loosely or the grip does not match the seat height.
- How to correct it
- Place the handle deep under your palm and align your wrist and forearm in one line.
One lever moves first
- What you see
- From the front, the depth at which one handle extends first or returns is different on the left and right.
- Likely cause
- There may be side-to-side strength differences, trunk rotation, or unilateral disk loading errors.
- How to correct it
- Recheck the left and right discs and lower the weight to match the speed and range of your stronger side to the speed and range of your weaker side.
Bounce the disc from the bottom
- What you see
- After the lever hits the stopper, it recoils and starts the next repetition.
- Likely cause
- You may be recovering quickly or lack the strength to control your current range of motion.
- How to correct it
- Return over 2–3 seconds and change direction just before the stopper. Restart each iteration from a standstill.
REGRESSION & PROGRESSION
Match the difficulty before adding load
Check trajectory with empty lever
Check the seat height, handle track, and stopper position without the disc.
Two-arm light chest press
Move the left and right handles at the same speed 10–15 times.
standard working set
Perform 8–12 times while maintaining pad support and constant depth.
Controlled unilateral set
Check the range of each arm and the difference between left and right without torso rotation.
BEGINNER PROGRAM
A practical starting framework
Use 1-2 times a week as the main movement of a chest workout or as an auxiliary movement after a free weight press. For the first set, check the seat and track with a light disk, and leave about two working sets to spare.
number
Episodes 8–12
Range where left and right speed and bottom depth are the same
set
2–4 sets
90–180 seconds recovery between sets
speed
2–3 second return
Push gently without stopper bounce
- If three points of pad contact and side-to-side lever speed are maintained for all repetitions, add repetitions to the next session.
- Increase the weight in smallest disc increments only after you have achieved the top of your reps on all sets.
- If one side's range is shortened or your shoulders are shrugging, end the set without compensating for your stronger side.
Frequently asked questions
Is it necessary to put equal weight on both levers?
For a regular arm set, use the same weight. Different loading methods for imbalance correction have issues with instrument stability and torso compensation, so it is safer not to use them without a specific plan from an expert.
Is it safer than the barbell bench press?
The fixed tracks and stoppers require less balance, but if the seat or starting depth is not right, it can cause shoulder discomfort. It is not automatically safe for all users and the instructions and pain-free range of each device must be observed.
Can I straighten my arms all the way out?
It's possible to almost straighten in a controlled manner, but don't lock your elbows quickly or slam the lever against the stopper. Change direction at a point where chest tension is maintained and joints are comfortable.
Evidence and references
- 1. Schick et al. — Comparison of muscle activity between Smith machine and free weight bench press
- 2. Welsch et al. — Comparison of muscle activity and maximal strength for three chest exercises
- 3. Krzysztofik et al. — Comparison of muscle excitability between free weight bench press and chest press machine
- 4. Mausehund et al. — Bench press technique changes and musculoskeletal loading.
- 5. van den Tillaar et al. — Review of bench press biomechanics