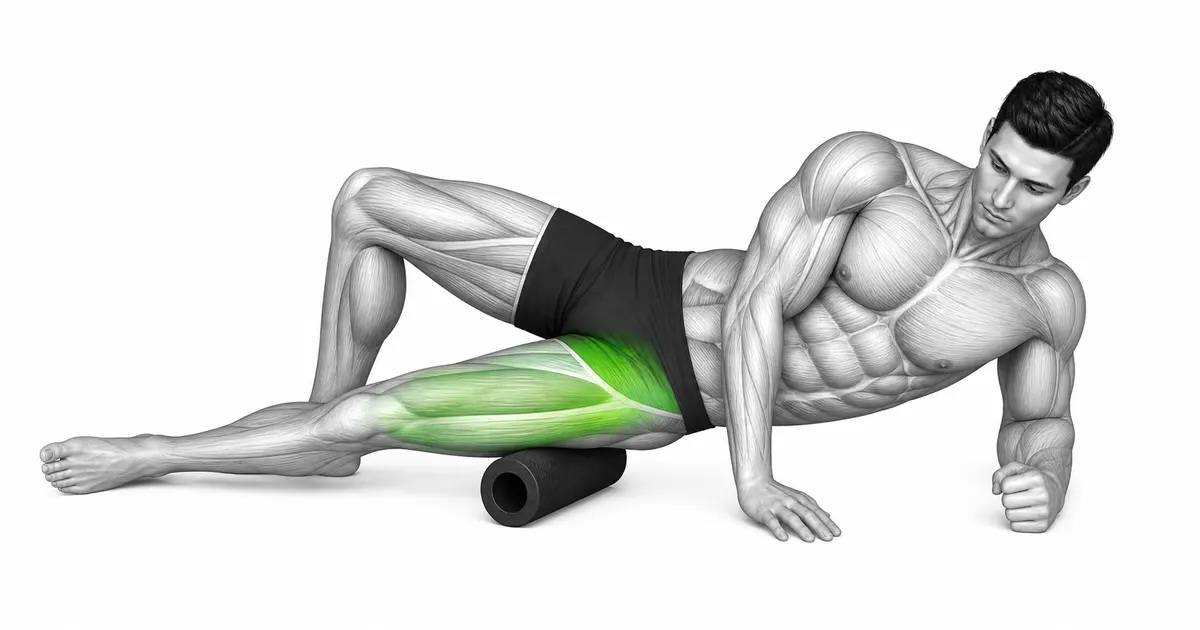
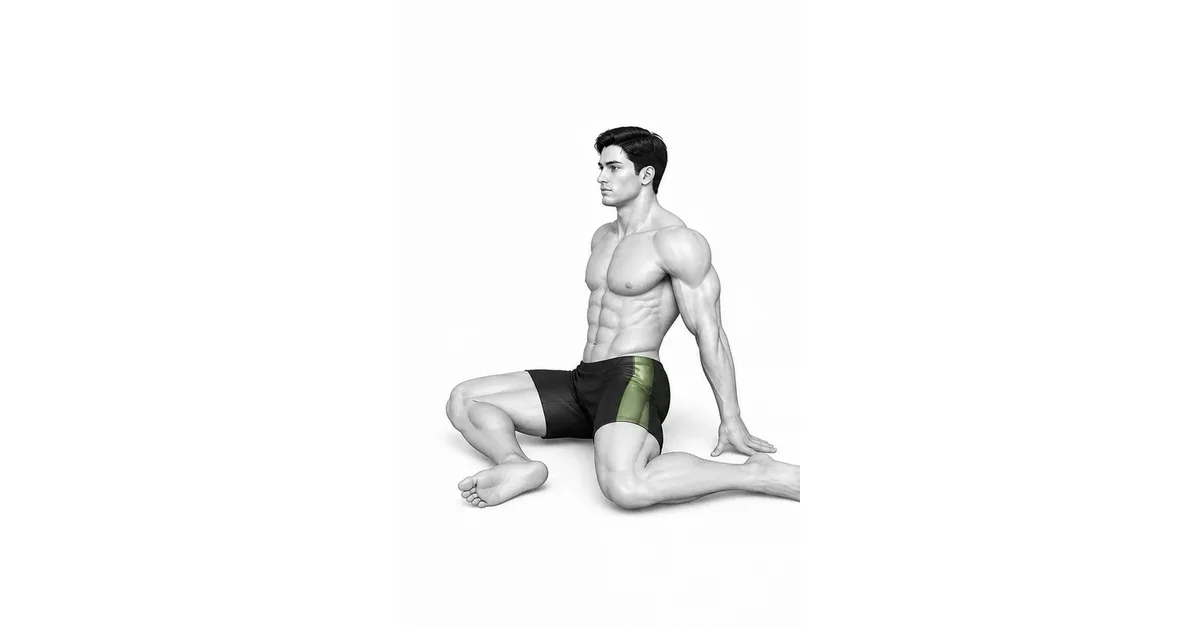
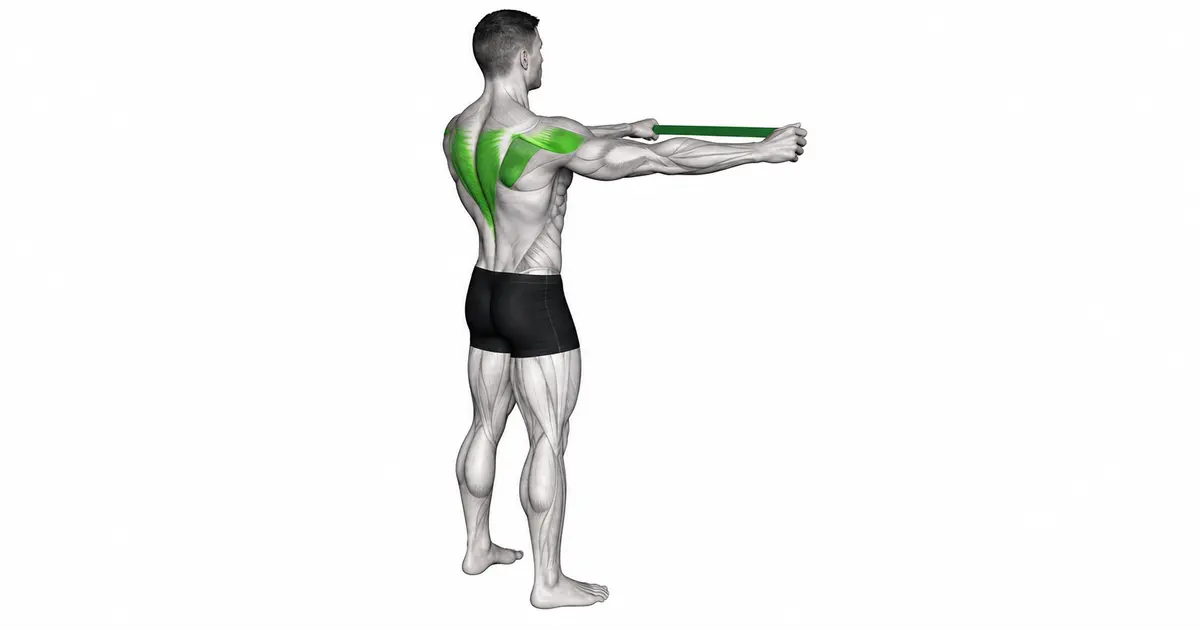
LACROSSE BALL MYOFASCIAL RELEASE
Lacrosse Ball Self-Release: a precise, conservative protocol to locate and reduce localized soft-tissue tension while protecting nearby joints and nerves.
This lacrosse ball myofascial release guide teaches a conservative, repeatable approach to find sensitive spots in muscles and connective tissue, reduce excessive local tension, and restore smoother sliding of soft tissues. The method emphasizes controlled pressure, slow exploration across small movement ranges, and breathing patterns that help the body enter a parasympathetic state safe for tissue work. Use a lacrosse ball to target dense, focal areas where foam rolling is too blunt — common sites include the gluteal complex near the greater trochanter, the lateral hip/IT band junction, the thoracic paraspinals beside the spine, the underside of the shoulder blade, and the plantar surface of the foot. Because a lacrosse ball concentrates force into a small area, apply the following approach deliberately: set up with stable contact, tune pressure to a strong but non-sharp sensation, move only enough to find change in tissue response, breathe steadily, and stop if you experience nerve pain, sharp joint pain, or radiating numbness. Use the work as an adjunct for recovery, not as a replacement for appropriate diagnosis or hands-on therapy when persistent problems exist.
- Primary muscles
- Targeted muscle and fascial tissues
- Secondary muscles
- Joint stabilizers around the selected region
- Difficulty
- Beginner
- Movement type
- Targeted self-myofascial release
How long should I hold each spot?
A conservative hold window commonly used in self-release is about 15~30 seconds per selected location, observing tissue change and symptom response. If the spot becomes more comfortable within that window, you may perform additional short holds. If you see no change or the area becomes more reactive, stop and reassess. Prioritize a series of mindful short contacts over prolonged high-pressure holds.
STEP BY STEP
4 Steps for One Complete Rep
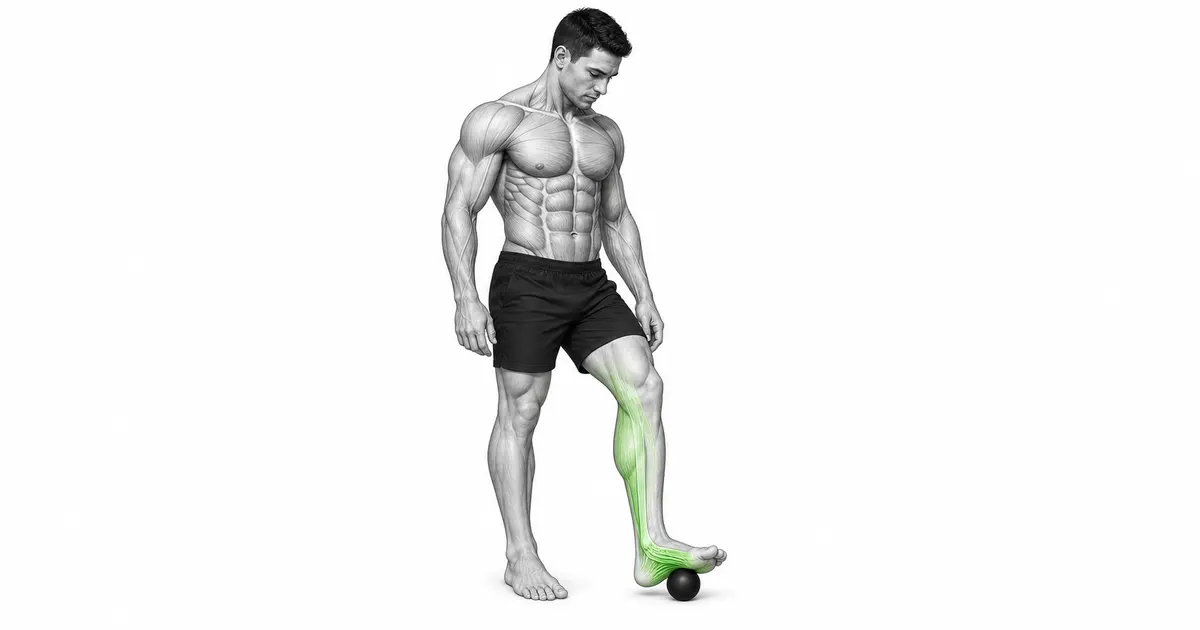
- 1
Choose the target and position
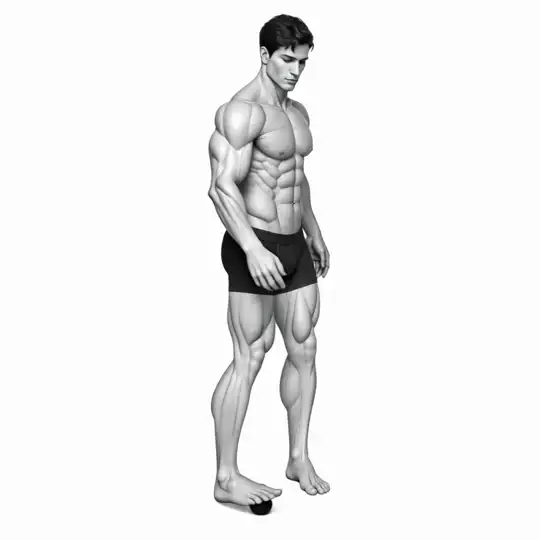
Identify a single small area to work on — for gluteal release, sit on the floor with your knees bent and place the ball beneath the fleshy mass of the buttock, not on bone. For thoracic work, lie on your back with knees bent and slide the ball under the upper back slightly lateral to the spine, avoiding direct pressure on spinous processes. For plantar release, place the ball on the floor and set the sole of your foot on top while seated. The guiding principle is to position so you can incrementally increase or reduce body weight over the ball without losing balance or holding your breath.
- 2
Set a conservative pressure baseline
Lower your weight onto the ball slowly while breathing normally. Increase contact force until you feel a firm, concentrated pressure that is uncomfortable but not sharp. If you feel sharp, electrical, or radiating pain, reduce pressure immediately or remove the ball. Expect a local ache or ‘deep pressure’ sensation; that is acceptable when controlled. Maintain enough support with hands or the opposite foot so you can reduce load in an instant.
- 3
Small moves, intentional scanning
Without bouncing, make gentle micro-adjustments: roll the ball millimeters to centimeters to scan for localized spots that increase or decrease tension. When you find a sensitive spot that reliably changes with tiny moves, hold at that location and re-assess your breathing. Coordinate slow exhale with a subtle easing of body weight to encourage softening of tissue. Keep motion minimal; the goal is to create a sustained, non-vibratory stimulus that the nervous system can respond to.
- 4
Hold, monitor, and release gradually
When you find a spot that eases with breathing or small positional shifts, remain there for the recommended hold range or until you sense a meaningful reduction in local tension. A typical hold window is the same conservative range clinicians commonly use: around 15~30 seconds; longer holds are appropriate only if there is clear, progressive softening and no adverse sensations. To finish, slowly shift your weight off the ball while maintaining neutral breathing, then take two to three gentle mobility breaths or small movements to re-integrate the region into larger motion patterns.
FLEXIBILITY & RECOVERY
Technique details to improve safe, effective lacrosse ball release
Pressure calibration and body support: Because a lacrosse ball creates a highly focused pressure, the most important technical skill is calibrating how much bodyweight you allow through the ball. Use your arms, legs, or a stable surface to partially offload pressure at first. If you are new to this work, keep the majority of your weight supported by other limbs and apply only a small fraction to the ball while you learn what a safe ‘intensity’ feels like. Avoid pressing directly on joints, bony prominences, or the spinal column itself; instead, contact the surrounding muscle or soft tissue. If a point produces a sharp, electric, or radiating sensation down a limb, slide the ball off immediately and adjust to a less provocative spot. When working near neural structures — for example, the sciatic region near the glutes or the ribs and thoracic outlet — reduce pressure and range of motion. A spot that initially provokes strong protective guarding can usually be approached in smaller increments of pressure and with breathing until the tissue tolerates slightly greater load.
Breathing and nervous system approach: Maintain slow, steady breathing during each contact. Coordinate a calm, complete exhale with a small decrease in applied load to encourage tissue relaxation; do not hold your breath. The breathing rhythm serves to modulate sympathetic arousal and can markedly change how tissues respond to pressure. If you feel anxious, hold back pressure, re-establish diaphragmatic breathing, and progress only when you remain calm and able to voluntarily control breath. Treat this work as neuromodulation as much as mechanical compression: the ball provides a sensory input that the nervous system interprets and then alters muscle tone. When the nervous system down-regulates in response to gentle, progressive pressure, you will notice reduced tension and improved ease of motion in subsequent mobility checks.
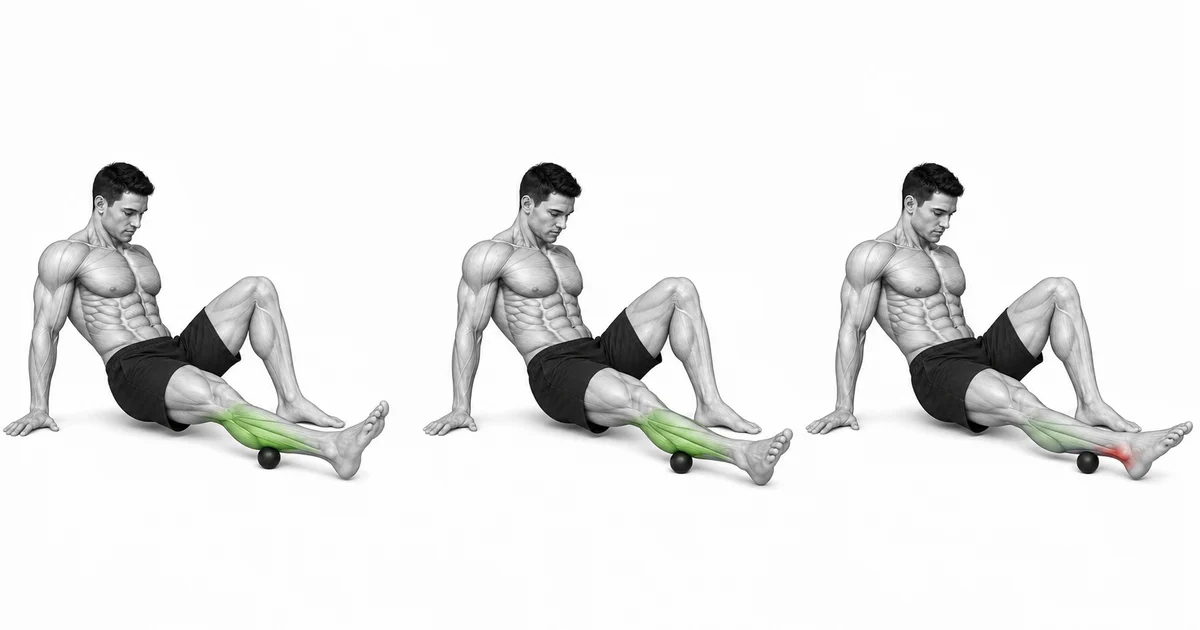
RANGE, LOAD & TEMPO
Choose a range and load that keep the Lacrosse Ball Myofascial Release repeatable
The useful range of motion ends before your torso or working joints have to change position to move the load. Keep the targeted muscle and fascial tissues producing the movement while the joint stabilizers around the selected region support the same alignment from the first repetition to the last.
Use a controlled lowering phase of about two to three seconds and avoid bouncing through the transition. If the final repetitions become shorter, faster, or visibly different from the first, reduce the load or stop the set before technique breaks down.
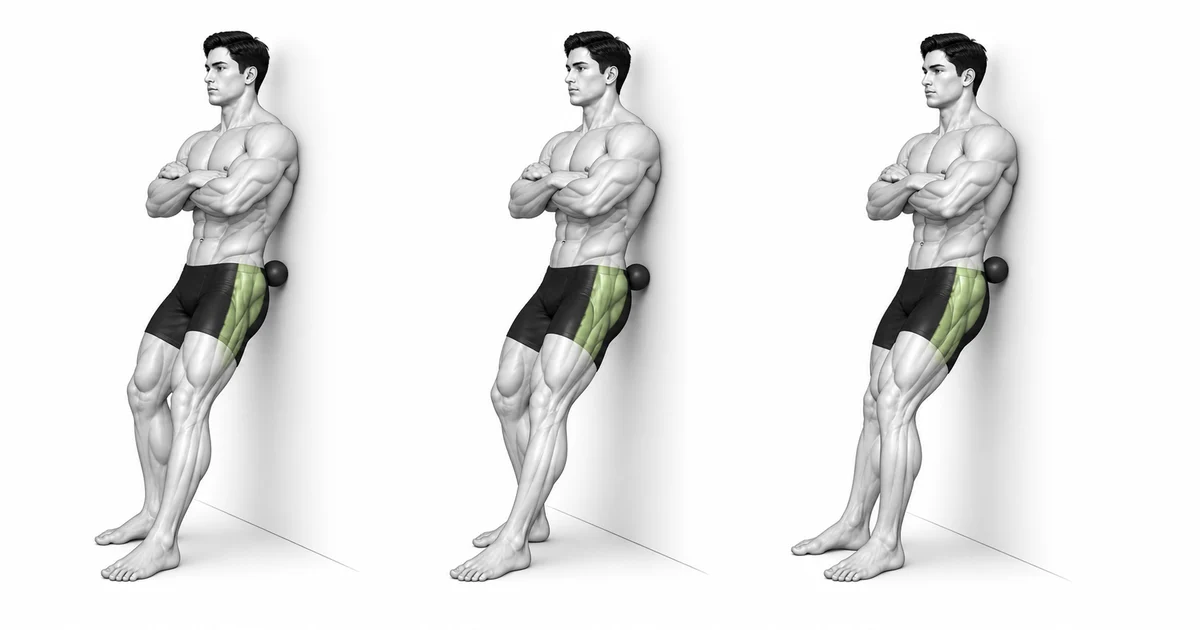
Key point: Progress the Lacrosse Ball Myofascial Release only after every repetition follows the same path without joint pain.
TROUBLESHOOTING
Fix the cause of a mistake, not just its appearance
Applying excessive pressure
- What you see
- Sharp, electric, burning, or radiating sensations; increased pain rather than progressive reduction; bracing or holding breath.
- Likely cause
- Too much bodyweight focused into the ball, direct pressure over a nerve or bone, or attempting to force a quick outcome rather than gradual adaptation.
- How to correct it
- Immediately reduce the load by supporting more weight with your hands or opposite limb, move the ball a few millimeters away from the painful point, and re-establish slow diaphragmatic breathing. If the sharp or radiating sensation persists despite unloading, stop the session and consult a qualified clinician prior to resuming. Replace high-load attempts with shorter, gentler contacts until you reliably produce a local calming response.
Bouncing or rapid rolling
- What you see
- A flickering, stinging surface discomfort without meaningful change in deep tissue tension; increased guarding and no improvement in mobility.
- Likely cause
- Using the lacrosse ball like a foam roller by bouncing to get more ‘release’ quickly, which produces repetitive high-impact sensations that irritate superficial tissues and sensory receptors.
- How to correct it
- Adopt a scanning technique of minimal, controlled movements measured in millimeters to a few centimeters, and avoid rhythmic bounces. When you find a meaningful spot, hold steady for the controlled hold window with relaxed breathing. If the area is overly tender, reduce pressure or shift to a larger-surface tool like a foam roller for preliminary work before returning to the lacrosse ball.
REGRESSION & PROGRESSION
Match the difficulty before adding load
Increase tolerance before increasing load
Progression should prioritize improved tissue tolerance and nervous system calm rather than larger pressure or longer holds immediately. When an area reliably softens and mobility checks show better range, gradually allow a little more weight through the ball while keeping breathing steady. Introduce slightly longer holds only after the tissue responds positively to the increased load and no sharp or radiating sensations occur. Progress by subtle increments over multiple sessions rather than attempting dramatic intensity jumps within a single session.
From isolated tissue work to integrated movement
Once the targeted area becomes less reactive, pair brief lacrosse-ball work with gentle active movements that use the released tissue functionally: for glutes, perform slow hip hinge or controlled single-leg stance transitions; for thoracic release, follow with controlled thoracic rotations or scapular mobility drills. The intent is to reintroduce the newly relaxed tissue into coordinated movement so that the nervous system retains the relaxed state during practical tasks.
BEGINNER PROGRAM
A practical starting framework
A practical, conservative program frames lacrosse ball release as a regular recovery habit; it is not a stand-alone cure for structural problems. Use short, controlled sessions focused on one area at a time. The objective is to reduce local guarding and restore comfortable motion so that corrective exercises and normal activities become easier. When used consistently with careful progression, this approach supports better movement patterns and reduces the chance of compensatory behaviors driven by localized tightness.
Frequency
Daily
Perform lacrosse ball work as part of your recovery routine either upon waking, after workouts, or before sleep, depending on when you notice beneficial changes in tension and mobility.
Volume
Repeat 2~3 times
For each specific region, scan and hold several times, letting tissue response guide how many short holds you need. Prioritize quality of contact over total time; multiple short, well-modulated contacts are usually preferable to long, aggressive sessions.
- Stop immediately and reduce pressure if you experience sharp or radiating pain, new numbness, tingling, or signs of nerve irritation. If those symptoms persist after unloading, seek evaluation from a healthcare professional before continuing.
- Never compress directly over a joint, bony prominence, or the spine; aim for soft tissue surrounding these structures. Always maintain external support so that you can instantly offload the ball if needed and avoid breath-holding during work.
Frequently asked questions
Should I use this before or after exercise?
Treat lacrosse ball release primarily as a recovery and pre-conditioning tool: after light warm-up, brief low-pressure scanning can be acceptable before activity to reduce acute tightness, but avoid deep, high-pressure holds immediately before maximal-effort training. Post-exercise sessions can be helpful to calm isolated hotspots and support recovery. Always reassess how your body responds and adjust timing accordingly.