LANDMINE ROW
A landmine row uses an anchored barbell and V handle for a hip-hinge pull toward the torso
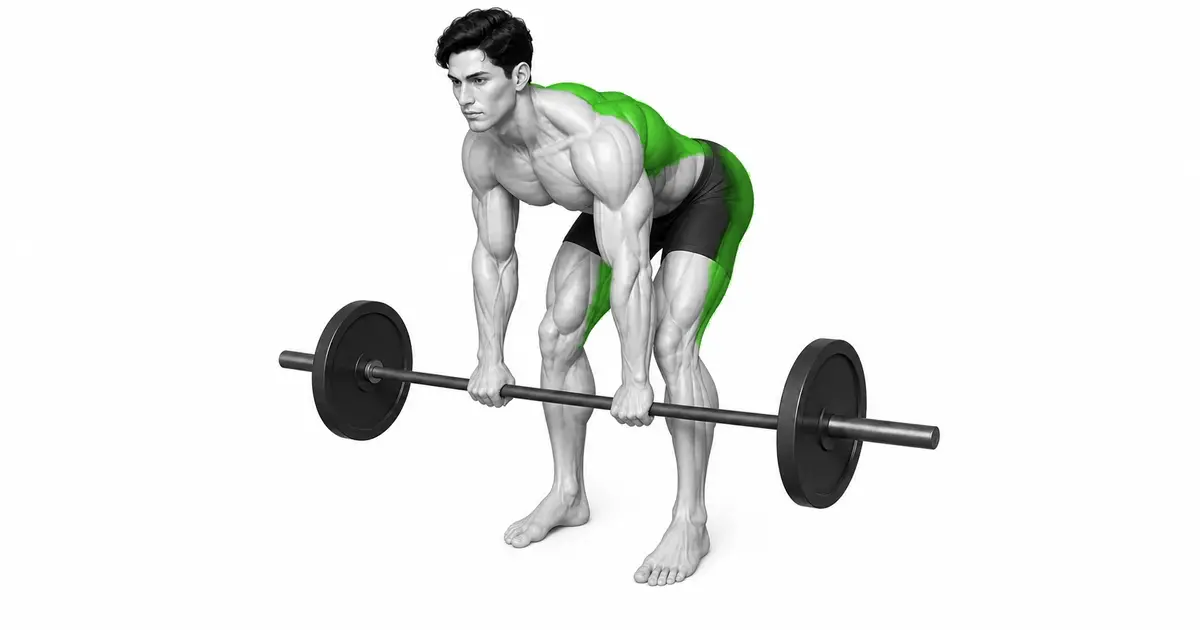
Bar fixation and safe handle and plate position come first in a landmine row. Place the feet to either side of the free bar end without blocking its path, send the hips back into a comfortable neutral trunk position, and grip the V handle with both hands. Send the elbows behind the torso without excessively extending the low back or bouncing the plates. Return over 2–3 seconds.
- Primary muscles
- Latissimus Dorsi · Rhomboids
- Secondary muscles
- Lower Trapezius · Biceps Brachii · Posterior Deltoids
- Difficulty
- Intermediate
- Movement type
- Bilateral Barbell Horizontal Pull
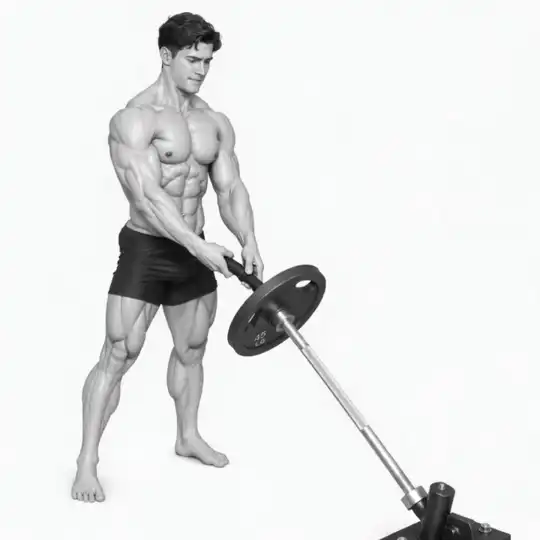
Is the arcing bar path safer for the low back?
It may feel comfortable for some people, but an arcing path does not automatically remove low-back demand or guarantee greater safety for everyone. A neutral trunk and controlled load are still required.
STEP BY STEP
5 Steps for One Complete Rep
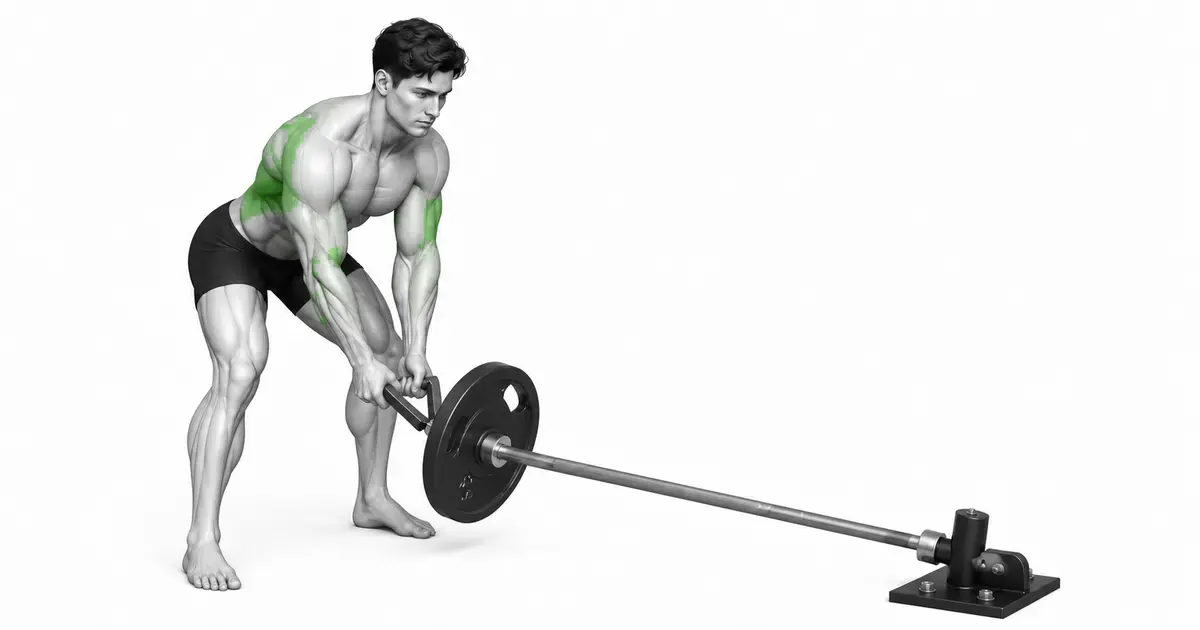
- 1
Check bar fixation and handle
Confirm the landmine anchor and plate fixation are secure. Check that the V handle sits stably under the barbell and that fingers cannot be caught between the handle, bar, and plates.
- 2
Set the feet and hip hinge
Place the feet to either side of the free bar end without blocking its arc path. Send the hips back until the back is in a comfortable neutral range.
- 3
Grip the V handle with both hands
Grip the handle securely and extend the arms. Begin only within a range where the shoulders do not slide uncomfortably forward, keeping the neck long.
- 4
Draw the elbows behind the torso
Send the elbows behind the body as the handle travels toward the lower chest or upper abdomen. Do not hyperextend the low back or shrug to pull the bar higher.
- 5
Return over 2–3 seconds
Extend the arms under control to send the bar back to the start. Do not bounce the plates on the floor or start the next repetition with rebound.
FIXATION & CLEARANCE
Anchor security and finger clearance come first
In a landmine row, first confirm that the bar is fixed in the anchor, plates are secured, and the V handle is stable. A gap between the handle and bar or plates can create a finger-catching risk.
Test the bar's arc path with a light load before repetitions, and keep feet, fingers, and clothing out of that path. Stop immediately if equipment moves or the handle is unstable.
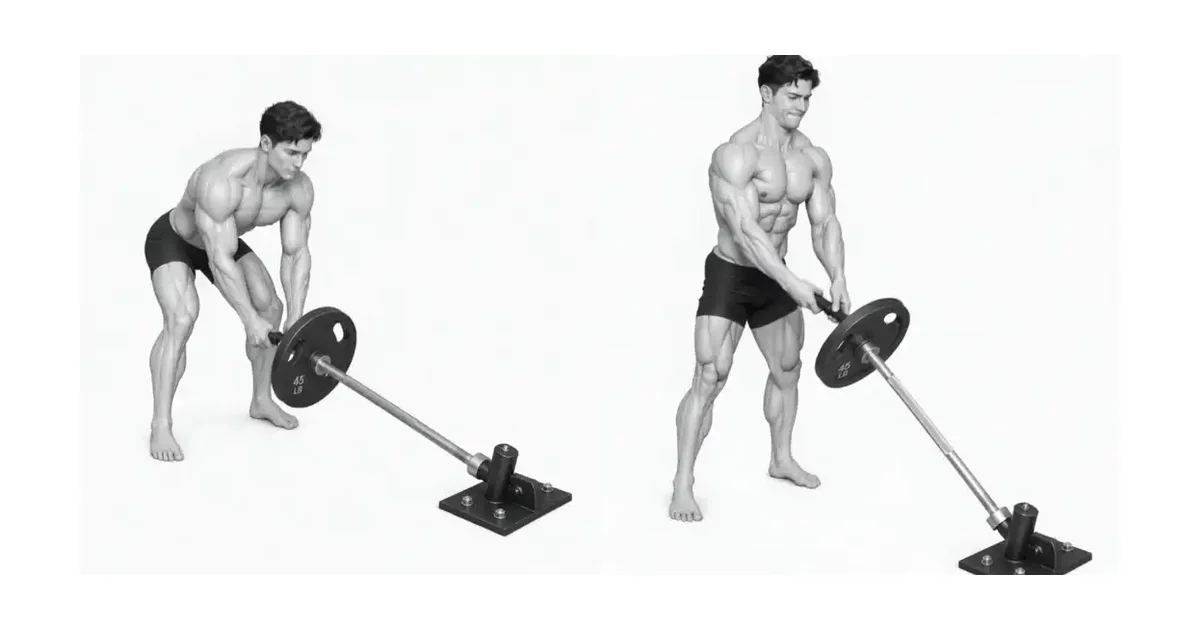
Key point: Do not perform the exercise in a setup where fingers can be caught between the V handle, barbell, or plates.
HINGE & PULL
Maintain the hip hinge and send the elbows behind the torso
Send the hips back into a hip hinge and confirm the back remains in a comfortable neutral range. Send the elbows behind the torso as the handle comes toward the lower chest or upper abdomen.
Do not hyperextend the low back or use torso rebound to pull the bar higher. If a neutral trunk cannot be maintained, load may exceed current control.
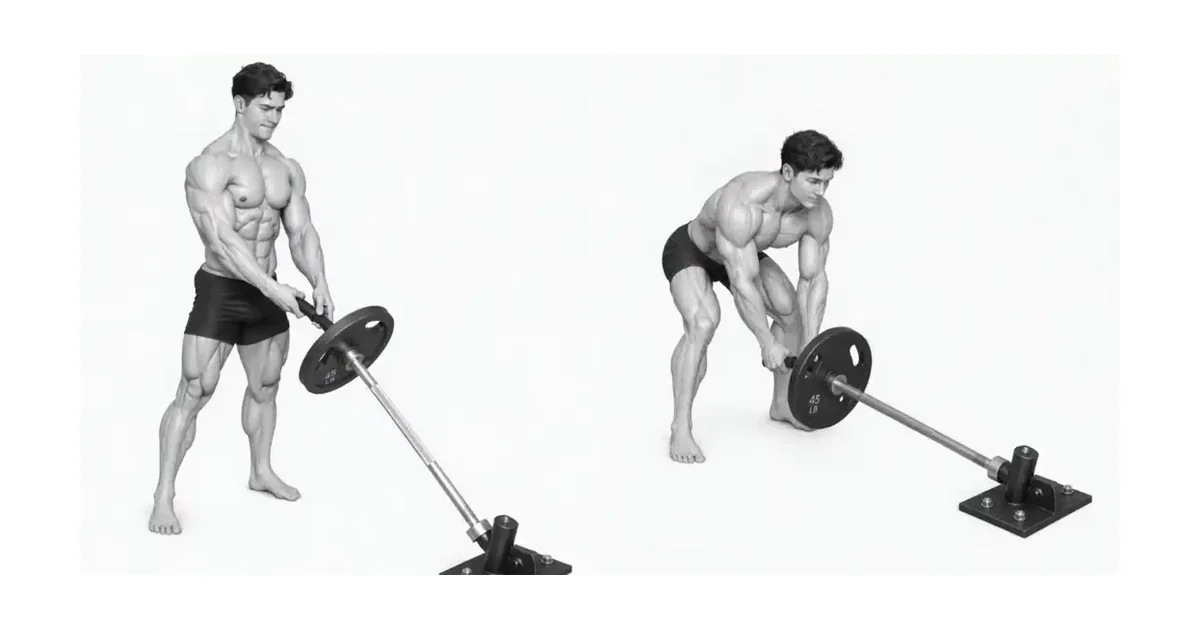
Key point: The arcing bar path does not automatically remove low-back demand. A neutral trunk and controlled load are still required.
RETURN & LOAD
Return at the same controlled pace without plate rebound
Return by extending the arms under control over 2–3 seconds. Bouncing plates on the floor can change the next repetition's path and trunk control.
Use only the load that retains a neutral trunk, handle grip, bar path, and a 2–3 second return. Re-check the anchor and plates between sets.
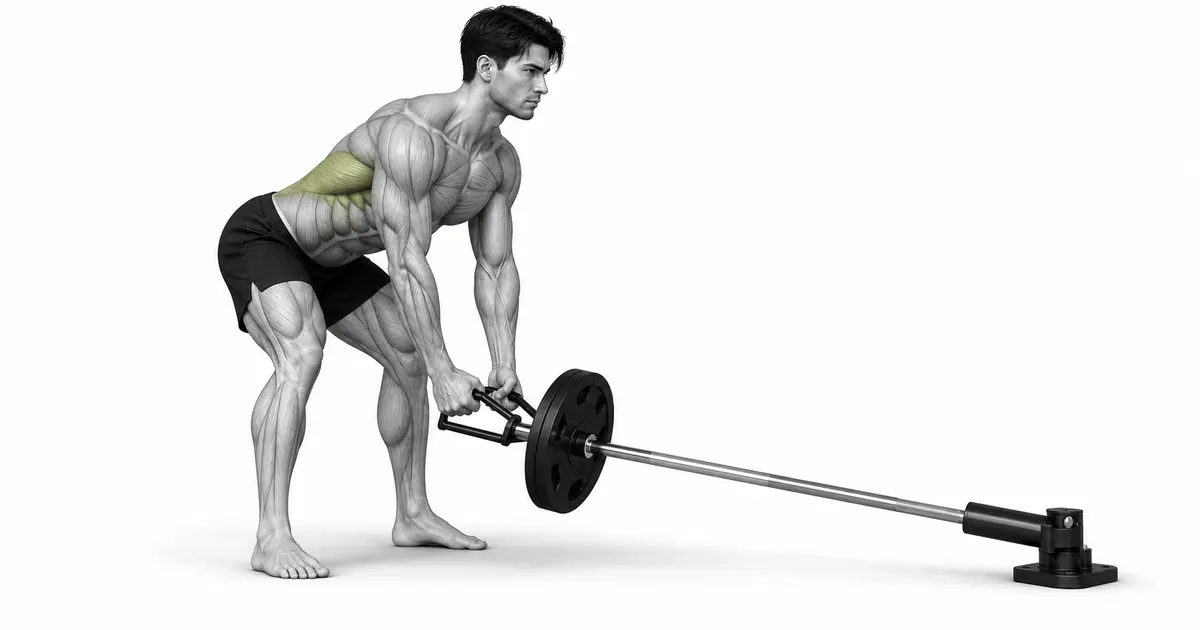
Key point: If a heavier load requires rebound, hyperextension, or an unstable grip, it exceeds current control.
TROUBLESHOOTING
Fix the cause of a mistake, not just its appearance
Placing fingers between V handle and bar
- What you see
- At the start or return, fingers are close to the gap between the handle and barbell or plates.
- Likely cause
- Handle position and finger clearance may not have been checked.
- How to correct it
- Reset the handle and confirm finger clearance outside the catch path with a light load.
Excessive low-back extension
- What you see
- The ribs lift and the low back arches sharply during the pull.
- Likely cause
- A higher pull position or heavier load may have been prioritized.
- How to correct it
- Reduce load and stop in the range that retains the hip hinge and neutral trunk.
Using plate rebound
- What you see
- The plates touch the floor at the end of the return and the next repetition bounces.
- Likely cause
- The return may be uncontrolled or load may be too high.
- How to correct it
- Use a 2–3 second return and reduce load if rebound continues.
Shrugging the shoulders
- What you see
- The shoulders rise toward the ears and the neck shortens as the elbows pull.
- Likely cause
- Bar height may be prioritized over elbow path.
- How to correct it
- Keep the neck long and stop in the range where shoulders remain controlled.
Not rechecking fixation between sets
- What you see
- Anchor, plate, or handle position has changed after a set.
- Likely cause
- Equipment may have been checked only before the first repetition.
- How to correct it
- Recheck the anchor, plates, and handle before each set.
REGRESSION & PROGRESSION
Match the difficulty before adding load
Cable row
Learn a bilateral pull without anchor setup or a hip hinge.
Light landmine row
Confirm fixation, handle, finger clearance, and bar path at low load.
Standard landmine row
Maintain the hip hinge and a 2–3 second return while sending elbows back.
Small load increase
Adjust only when every repetition avoids rebound, hyperextension, and grip instability.
BEGINNER PROGRAM
A practical starting framework
Use this 1–3 times per week as part of back training, beginning with 2–3 sets of 8–12 repetitions. Adjust repetitions or load only slightly when bar fixation, V-handle position, finger clearance, hip hinge, and a 2–3 second return remain for every repetition. The bar's arc path does not automatically remove low-back demand.
Reps
8–12
Check fixation, grip, and neutral trunk
Sets
2–3
Rest 60–90s between sets
Progression
+1–2 reps
Only without rebound or hyperextension
- Add 1–2 repetitions or adjust load slightly next session only when bar fixation, V handle, finger clearance, hip hinge, and a 2–3 second return remain for every repetition.
- Stop immediately and reset the setup if fixation is unstable, finger-catching risk appears, plates rebound, the low back hyperextends, or sharp pain occurs.
- Record anchor, barbell and plates, V handle, load, sets and repetitions, and return time together.
Frequently asked questions
What if I do not have a V handle?
Use only a handle that sits stably below the bar and provides finger clearance. If a safe handle is unavailable, choose a cable row or another row variation.
How far should I pull the bar?
Pull only to the range where elbows move behind the torso while the hip hinge and shoulders remain controlled. Do not hyperextend the low back or shrug to pull higher.