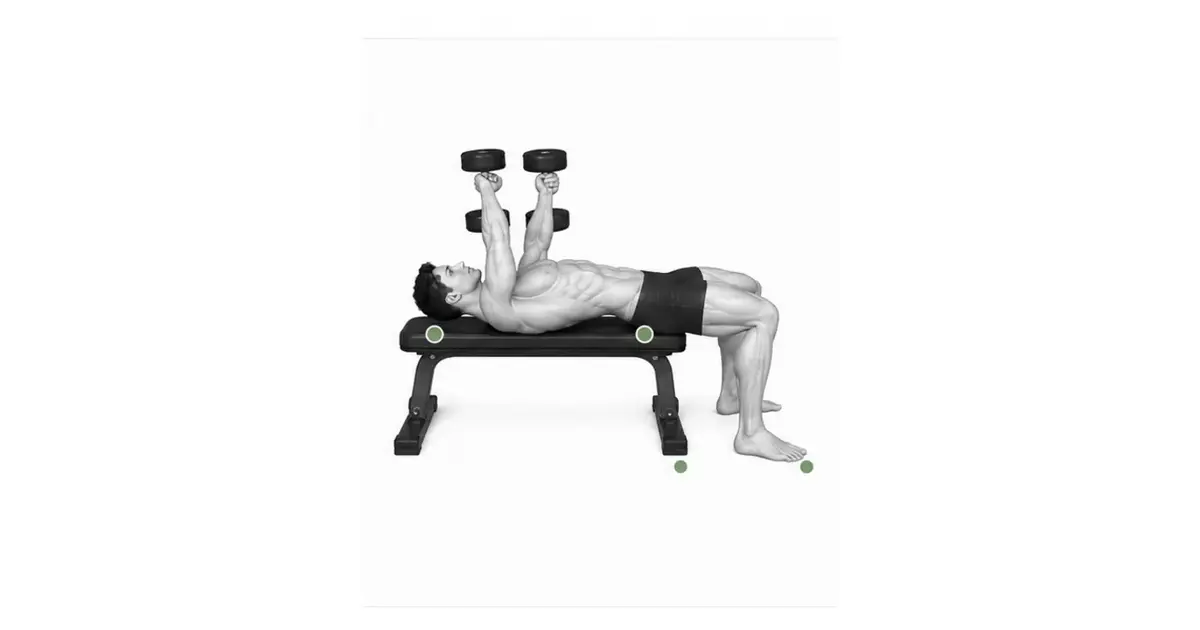
LOW BAR SQUAT
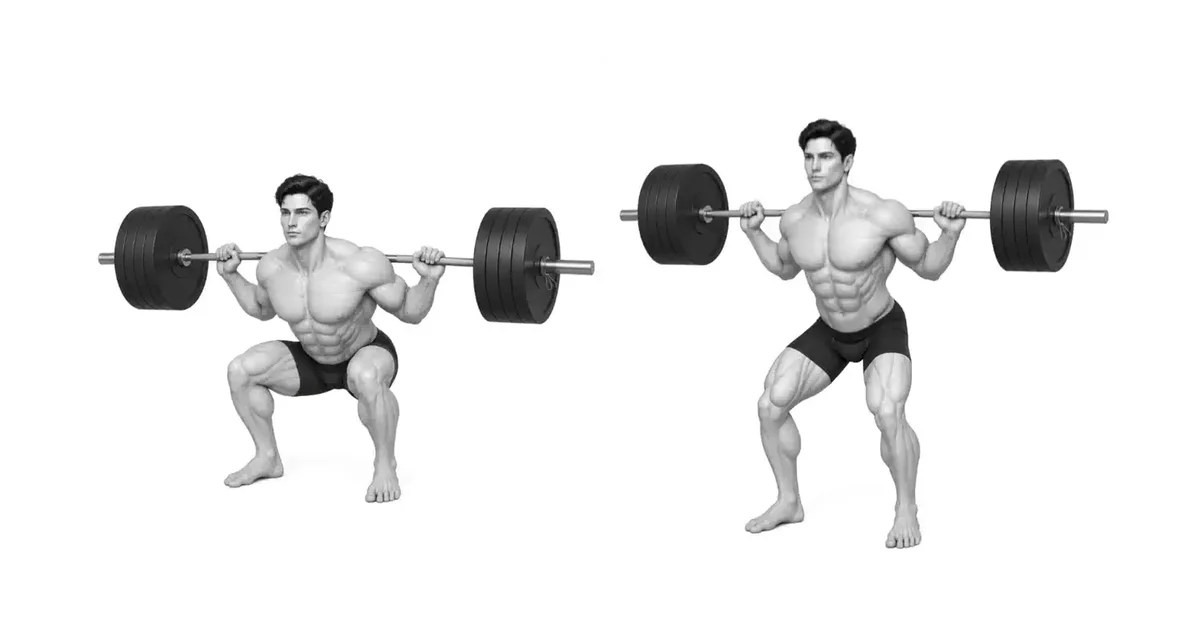
The low bar squat is not an exercise in which the bar is placed low on the back, but rather a back squat that creates a shelf in the rear shoulders and controls the angle of the torso and hips.
Low bar squats place the bar below the top of the trapezius muscle and on the muscle shelf around the rear shoulder and scapular ridge. Although there is often a greater torso tilt and greater hip demands than a high bar, you should not support the bar with your arms or bend excessively at the waist. First ensure the bar is balanced on a non-slip shelf and mid-foot.
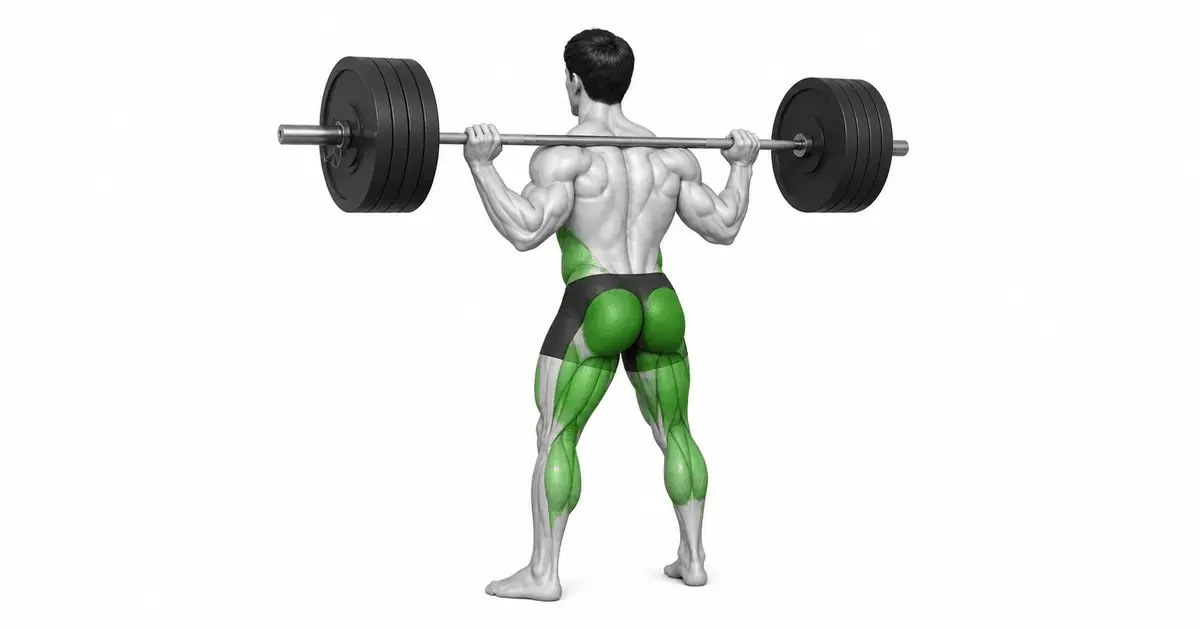
- Primary muscles
- Gluteus maximus, quadriceps, adductors
- Secondary muscles
- Hamstrings, erector spinae, core, upper back
- Difficulty
- Intermediate
- Movement type
- Low bar back squat
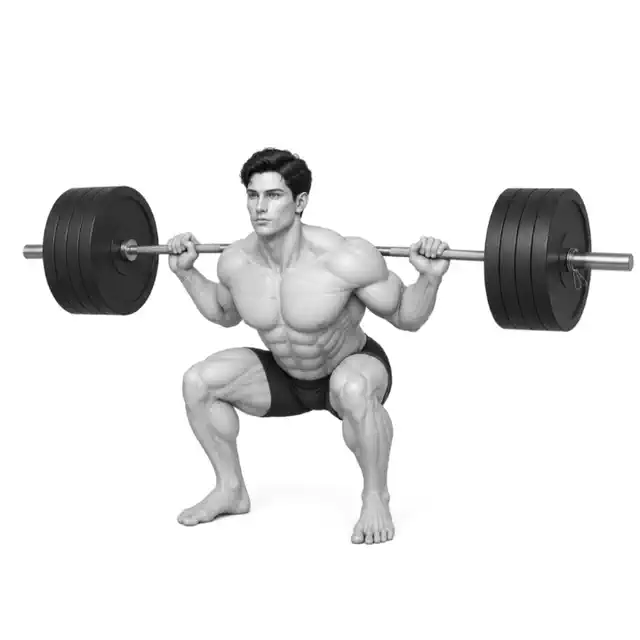
How low should I put the bar?
It is on a stable shelf created by the rear deltoid and muscles around the scapula. If the bar drops or you catch it with your wrists, it's either too low or the shelves are loose.
STEP BY STEP
4 Steps for One Complete Rep
- 1
Preparing the rack and safety
Place the bar at the height you want to unlock without tipping, and set the safety pin just below the lowest depth. Attach the collar to both discs.
- 2
Securing Bar to Rear Shoulder Rack
With your shoulder blades together and your rear delts tight, place the bar lower than the top of your trapezius. Pull the bar back to an equal width with your hands, but don't take the weight from your wrists.
- 3
Bending hips and knees together
After unlocking, briefly walk backwards to straighten your feet and create abdominal pressure. Send your hips back while bending your knees toward your toes so the bar remains above your mid-feet.
- 4
Push up while maintaining back angle
At the bottom, push into the floor with your entire feet and bring your pelvis and chest up together. After regaining your balance at the top, reach the rack posts and hang them securely on both sides.
REAR-DELT SHELF
Low bar position is supported by the back shoulders and upper back, not the wrists
If the bar drops, re-create the muscle shelf by bringing your shoulder blades together and adjusting your grip rather than pushing it up with your wrists.
If you experience wrist or elbow pain due to insufficient shoulder range of motion, you can choose other variations such as widening the grip or high bar.
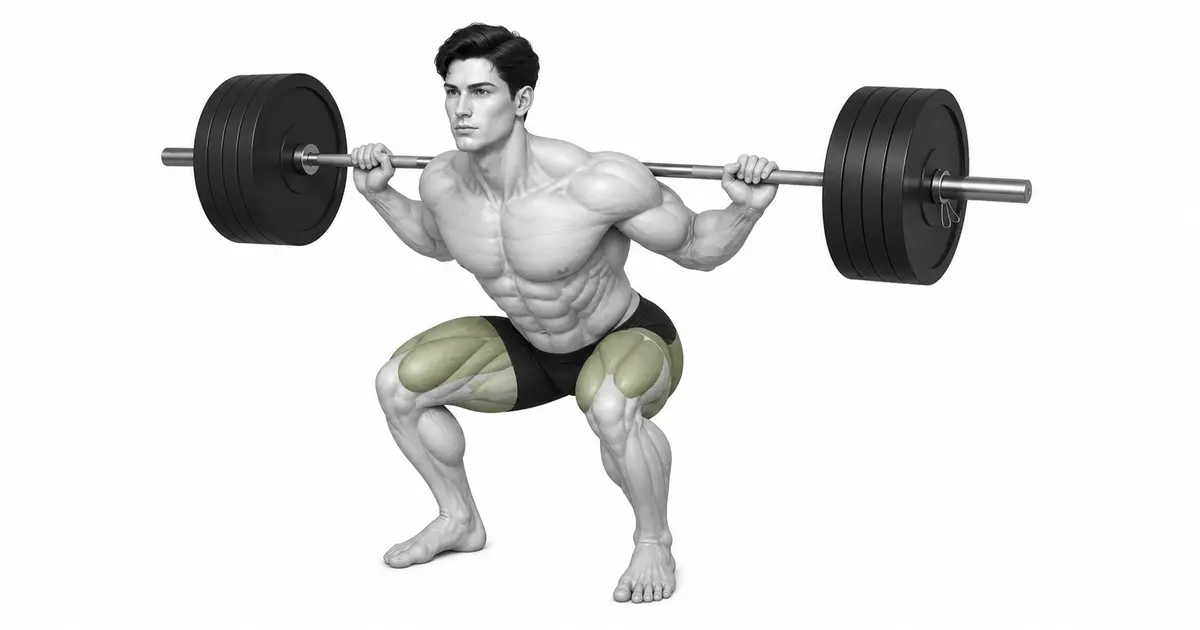
Key point: Cue to try right away: “Make a shelf with your back shoulders and attach the bar to your back.”
HIP DRIVE WITH BALANCE
Hip drive is not a movement that involves lifting the pelvis first.
The torso tilt can be greater than for a high bar, but the bar should still be above mid-feet. If you raise your pelvis too quickly, the bar will move forward and the burden on your back will increase.
Think of sending the entire bar upward while maintaining the angle between your chest and pelvis at the bottom.
TROUBLESHOOTING
Fix the cause of a mistake, not just its appearance
Holds the bar with arms and wrists
- What you see
- My wrist is severely bent and my elbow and front shoulder hurt.
- Likely cause
- Rear shoulder shelf is loose or grip is too narrow.
- How to correct it
- Re-create the shelf with an empty bar and widen your grip to keep your wrists and forearms as aligned as possible.
Only the pelvis rises first
- What you see
- When rising, the torso bows sharply and the bar moves in front of the feet.
- Likely cause
- I understood hip drive as a movement that only raises the hips, or the weight is excessive.
- How to correct it
- Use suspended/tempo squats that lower the weight and maintain chest and pelvic angles.
Rolled waist for depth
- What you see
- At the bottom, the pelvis rolls and the tension in the lower back is suddenly released.
- Likely cause
- Down deeper than the individual's hip range.
- How to correct it
- Stop at a height that maintains a neutral spine and abdominal pressure, and adjust your stance and toe angle.
REGRESSION & PROGRESSION
Match the difficulty before adding load
Goblet or Box Squat
Learn foot pressure and depth.
Empty bar low bar setting
Repeat bar shelf and wrist positions.
Tempo Low Bar Squat
Check back angle and midfoot balance.
Progressive Low Bar Squat
Increase load at the same depth and path.
BEGINNER PROGRAM
A practical starting framework
If the low bar position does not suit your shoulders or wrists, do not force it. First ensure a pain-free bar position and consistent depth, then increase the weight.
Count
3–8 times
Maintain abdominal pressure and back angle
Set
3–5 sets
2–5 minutes recovery between sets
Frequency
1–2 times a week
Combined with lumbar and hip hinge fatigue
- Once the bar shelf and midfoot path are reproduced, increase the number of repetitions first.
- If you experience wrist pain, bar slippage, or pelvic deterioration, immediately lower the weight and setting.
- Heavy sets are performed in a safety rack or with a trained assistant.
Frequently asked questions
Can you lift more than the high bar?
Some people can handle larger weights, but it depends on body type and skill level. Choose based on pain-free setting and reproducible movements rather than weight.
Should I bend my torso as much as possible?
No. The required incline varies from person to person and requires the bar to remain above mid-foot and spine and abdominal pressure to be stable.