PIGEON POSE VARIATION
Pigeon Pose Variation: Support the front hip, keep the pelvis as square as comfortable, and avoid pressure in the front knee.
Fold your front legs, extend your back legs, support your pelvis, and stand or fold your torso comfortably. Rather than increasing speed, make sure the target muscle and force path is maintained. Start with a range and resistance that let you repeat the same path without pain, and reduce the difficulty when alignment changes.
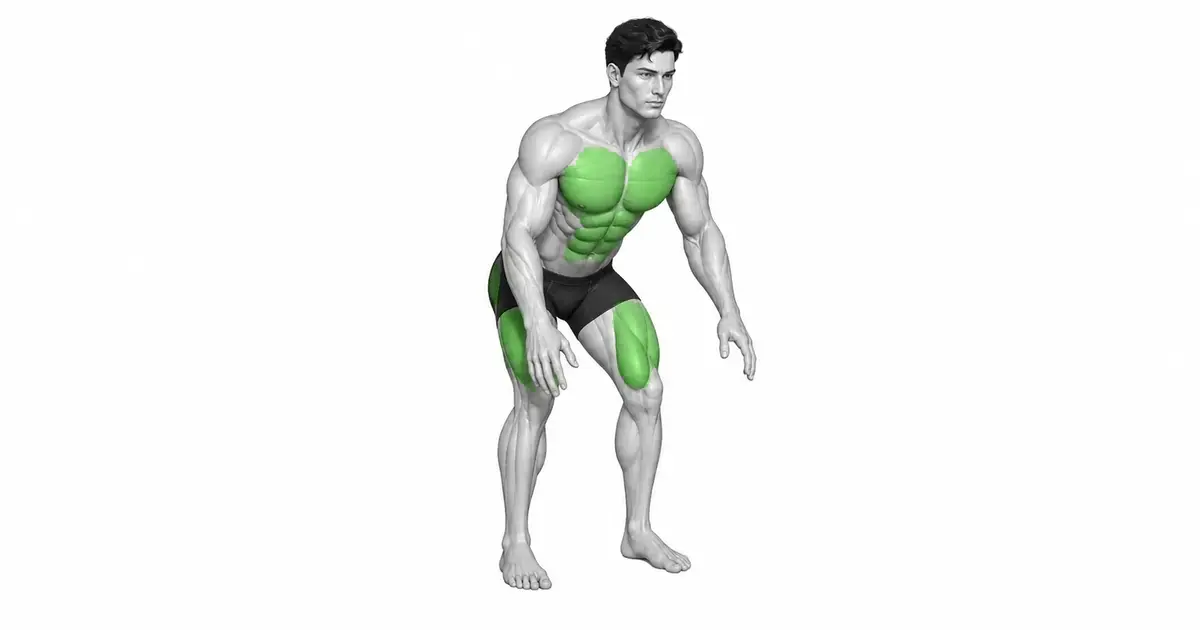
- Primary muscles
- Main extension muscle in the direction of motion
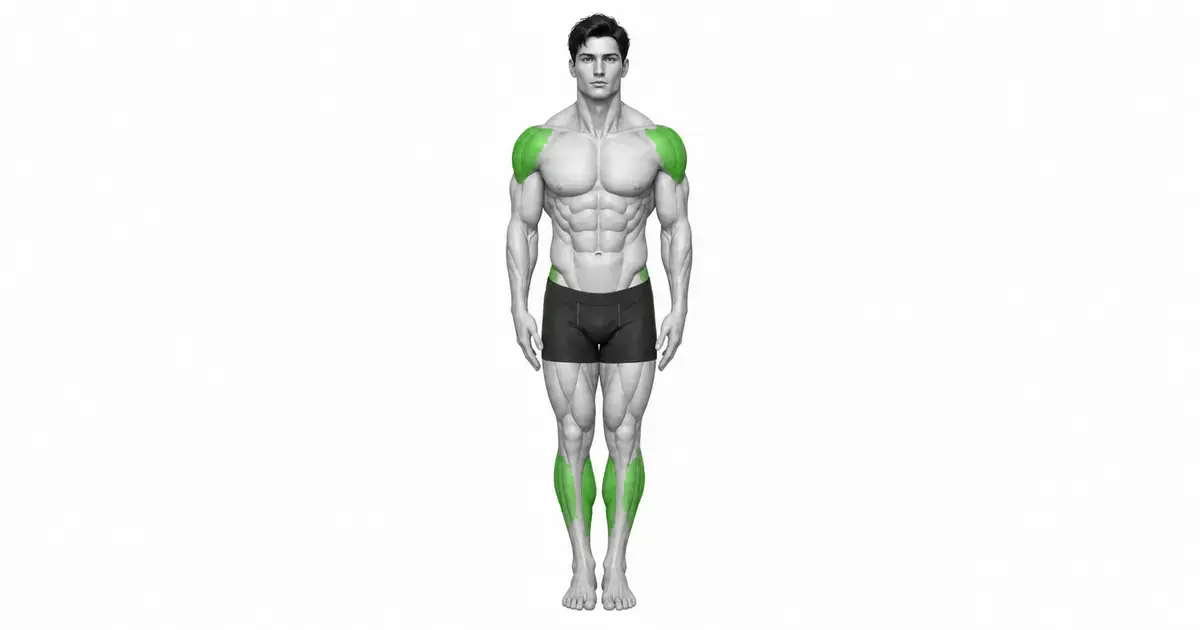
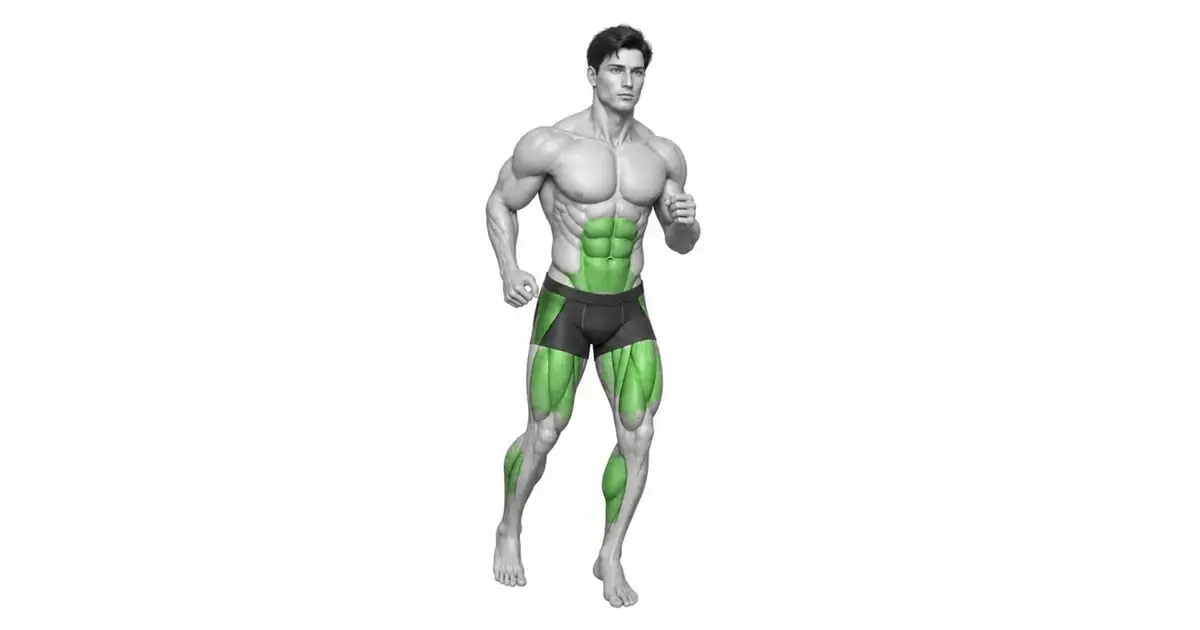
- Secondary muscles
- Stabilizing muscles and respiratory muscles around joints
- Difficulty
- Intermediate
- Movement type
- Mobility, flexibility and tissue relaxation
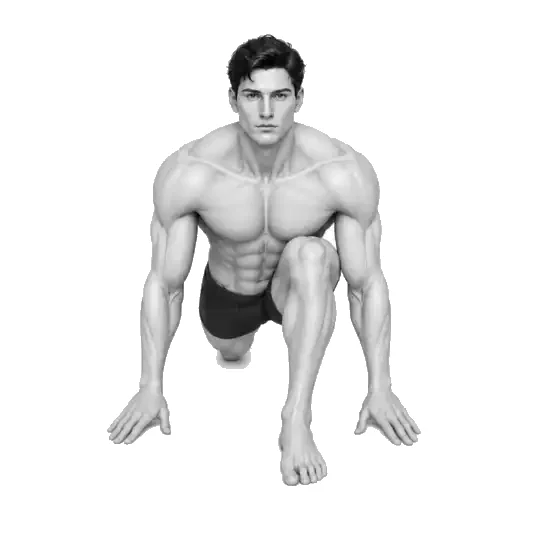
Can even a beginner do Pigeon Pose Variation?
Fold your front legs, extend your back legs, support your pelvis, and stand or fold your torso comfortably. Rather than increasing speed, make sure the target muscle and force path is maintained. Beginners should shorten the range or use an easier variation until they can control the same path on every repetition.
STEP BY STEP
4 Steps for One Complete Rep
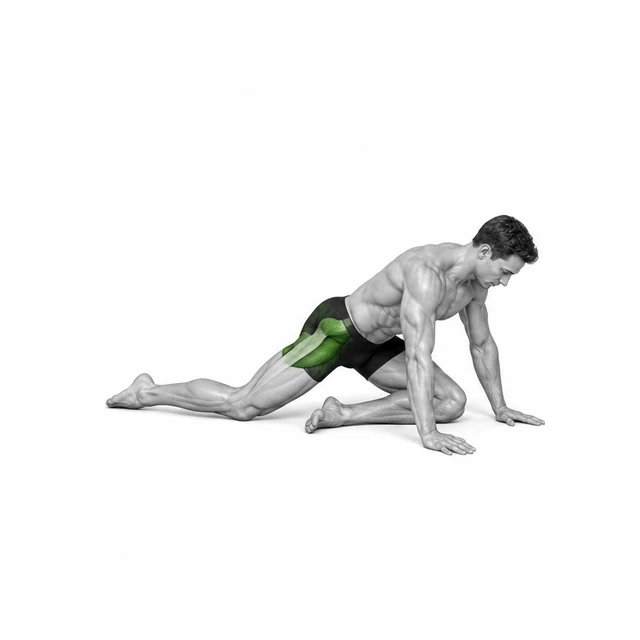
- 1
Aligning support points and equipment
Set a pain-free starting range and support yourself with blocks or walls if necessary. Make sure the machine is steady and in a controlled position for the first rep.
- 2
Creating torso and joint alignment
Maintain long, comfortable breathing without locking your joints. Avoid putting unnecessary force on your neck and jaw. Performing
- 3
Pigeon Pose Variation operations
Fold your front legs, extend your back legs, support your pelvis, and stand or fold your torso comfortably. Rather than increasing speed, make sure the target muscle and force path is maintained.
- 4
Stay alert and come back
Inhale and slowly return to the starting position. Rather than roughly locking your joints or bouncing into the next rep, re-establish balance and repeat.
ALIGNMENT & PATH
Pigeon Pose Variation Make the force path of the movement constant
Maintain long, comfortable breathing without locking your joints. This alignment must be maintained so that large muscles exert strength and small joints do not receive unnecessary stress.
Fold your front legs, extend your back legs, support your pelvis, and stand or fold your torso comfortably. It is a good idea to take pictures from the front or side to check that the torso position and joint trajectory do not change at the beginning and end.
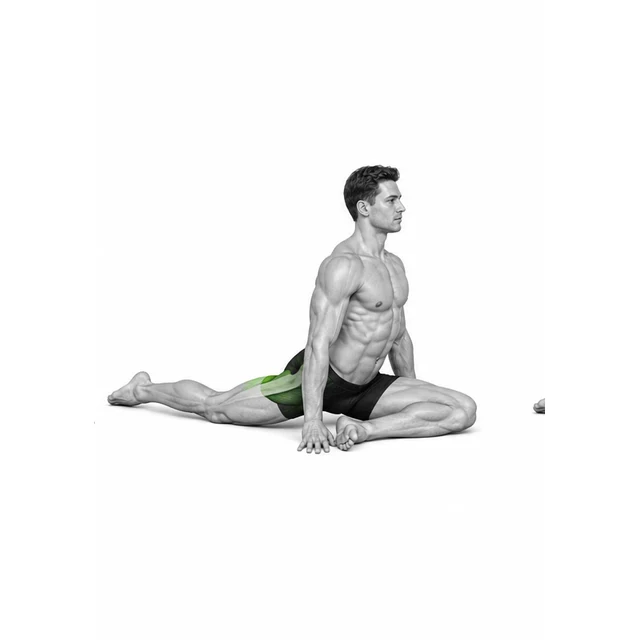
Key point: Jump-start cue: “Establish a pain-free starting range and support yourself with blocks or walls if necessary.”
RANGE&TEMPO
The controllable range is the correct operating range
Find the final point where torso and joint alignment is maintained rather than reaching the end point. Any range beyond that is likely to be created by recoil or compensating motion.
Create length in your inhale and reduce tension in your exhale. Do not use in areas where sharp pain or numbness occurs.
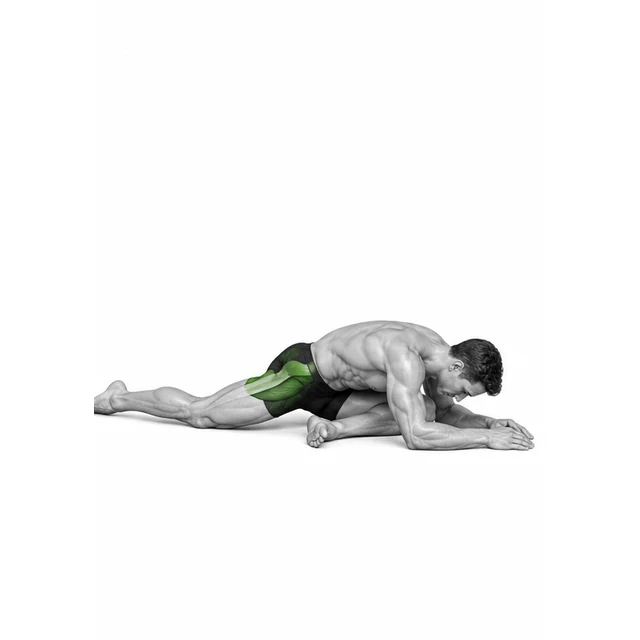
KEY MOVEMENT CUE
Support the front hip, keep the pelvis as square as comfortable, and avoid pressure in the front knee.
This cue gives the main extension muscle in the direction of motion a repeatable path while the stabilizing muscles and respiratory muscles around joints support the position. Apply it before adding speed, load, or range.
Compare the first and final repetitions from the most useful camera angle. If the joint path, balance, or tempo changes, end the set or reduce the difficulty before repeating it.
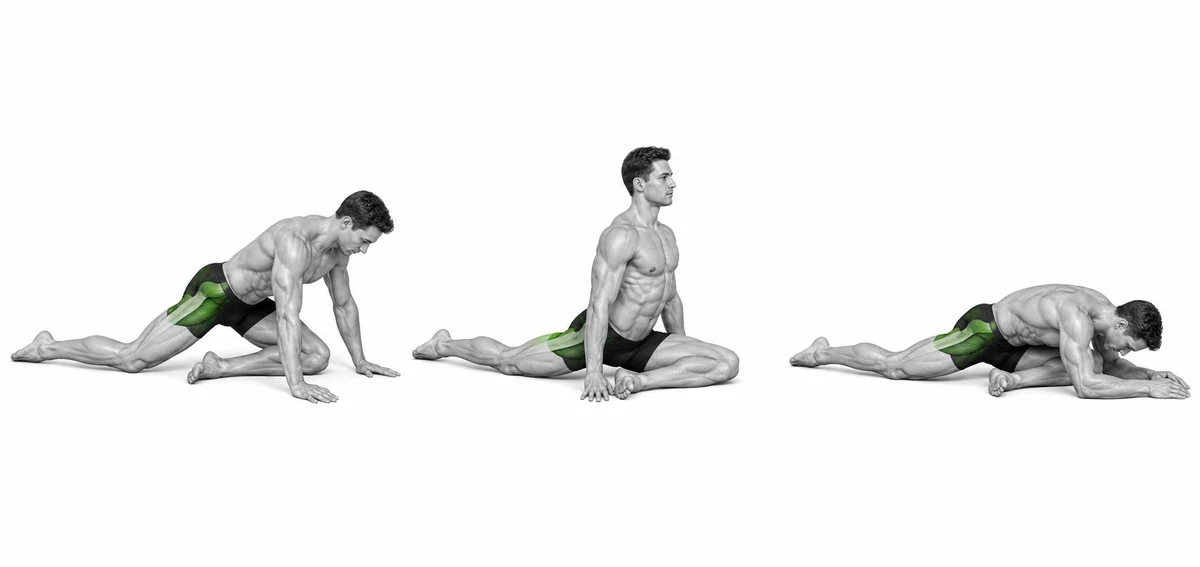
Key point: Practice standard: Support the front hip, keep the pelvis as square as comfortable, and avoid pressure in the front knee.
TROUBLESHOOTING
Fix the cause of a mistake, not just its appearance
Pigeon Pose Variation: Increasing range without alignment
- What you see
- Aim for the end range and use the recoil or hold on through the pain.
- Likely cause
- Fatigue has accumulated, or the load, speed, and operating range are greater than the current technology level.
- How to correct it
- Reduce the reach and use support tools to leave only a wide, comfortable pull. Recheck “Set a pain-free starting range and support yourself with blocks or walls if” before the next Pigeon Pose Variation repetition. Key cue: Support the front hip, keep the pelvis as square as comfortable, and avoid pressure in the front knee.
Pigeon Pose Variation: Missing return leg
- What you see
- When returning to starting position, speed suddenly increases and bounces into next rep.
- Likely cause
- You are only considering the performance section as an exercise or are focusing on hitting your target number of repetitions.
- How to correct it
- Allocate 2 to 3 seconds for the return, re-establish the starting position, and then begin the next repetition.
Pigeon Pose Variation: Loss of breathing and torso tension
- What you see
- The position of the ribs and pelvis changes in the second half of the repetition, and strength is concentrated in the neck or lower back.
- Likely cause
- I tried to maintain abdominal pressure throughout the set or held my breath for too long.
- How to correct it
- Reset your breath briefly at a safe point for each repetition and end the set if alignment does not return.
REGRESSION & PROGRESSION
Match the difficulty before adding load
Put stability and range first
Reduce the reach and use support tools to leave only a wide, comfortable pull. When you can reproduce the same starting and ending position for all repetitions, move on to the next step.
Gradually increase number of iterations and load
Gradually increase the hold time or active control range within a comfortable breathing range. Change only one variable at a time and make sure the posture holds for at least two sessions.
BEGINNER PROGRAM
A practical starting framework
Fold your front legs, extend your back legs, support your pelvis, and stand or fold your torso comfortably. Rather than increasing speed, make sure the target muscle and force path is maintained. Begin with an easier variation that you can repeat consistently, then increase only one variable at a time: repetitions, range, or resistance.
Introduction
20~40 seconds × 2~3 times or slowly 6~10 times
Keep the posture the same for all repetitions, leaving 2 to 3 repetitions to spare.
Expert
20~40 seconds × 2~3 times or slowly 6~10 times
Add a pause or slow descent, but return to the previous step when the compensating motion occurs.
- Gradually increase hold time or active control range within a comfortable breathing range.
- If pain builds up in the same area or joint discomfort remains until the next session, reduce the load and number of weekly sets.
- Prioritize alignment, controlled return, and pain-free range over number of repetitions. If you experience sharp joint pain, numbness, dizziness, or sudden loss of strength while practicing
Frequently asked questions
What range of motion should I use?
Use to the extent that you can feel tension in the target muscle and maintain torso and joint alignment. If the reward comes from a deeper or higher position, the immediately previous point is the current effective range.
When can I increase the weight or difficulty level?
Fold your front legs, extend your back legs, support your pelvis, and stand or fold your torso comfortably. Rather than increasing speed, make sure the target muscle and force path is maintained. Progress one variable only after every repetition follows the same path and the joints remain comfortable afterward.