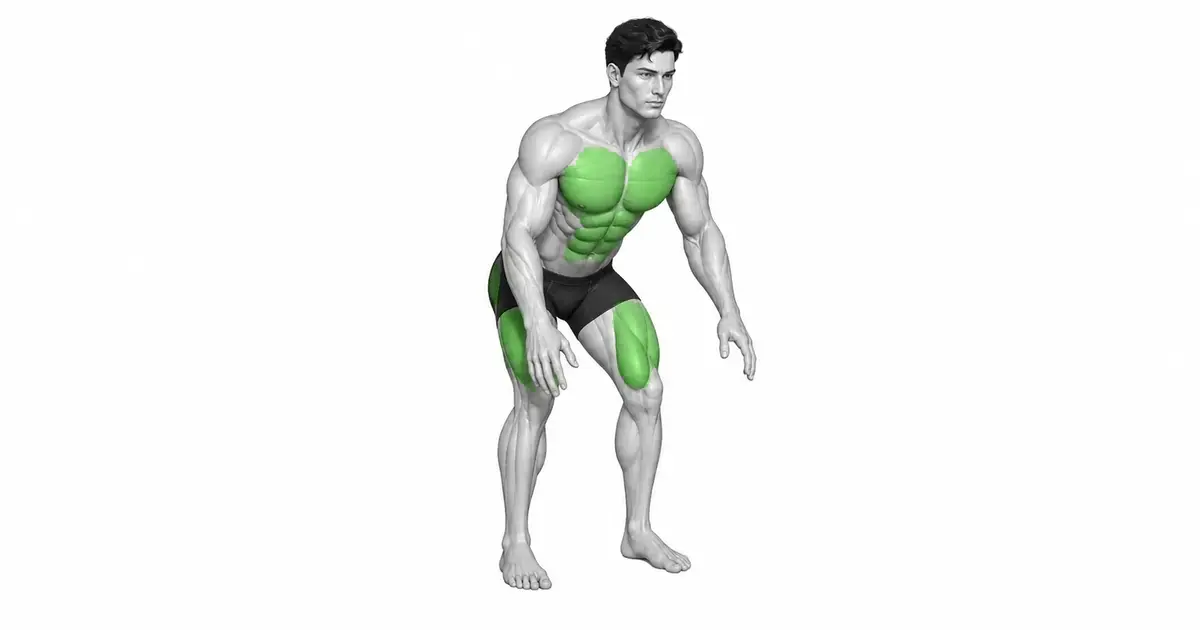
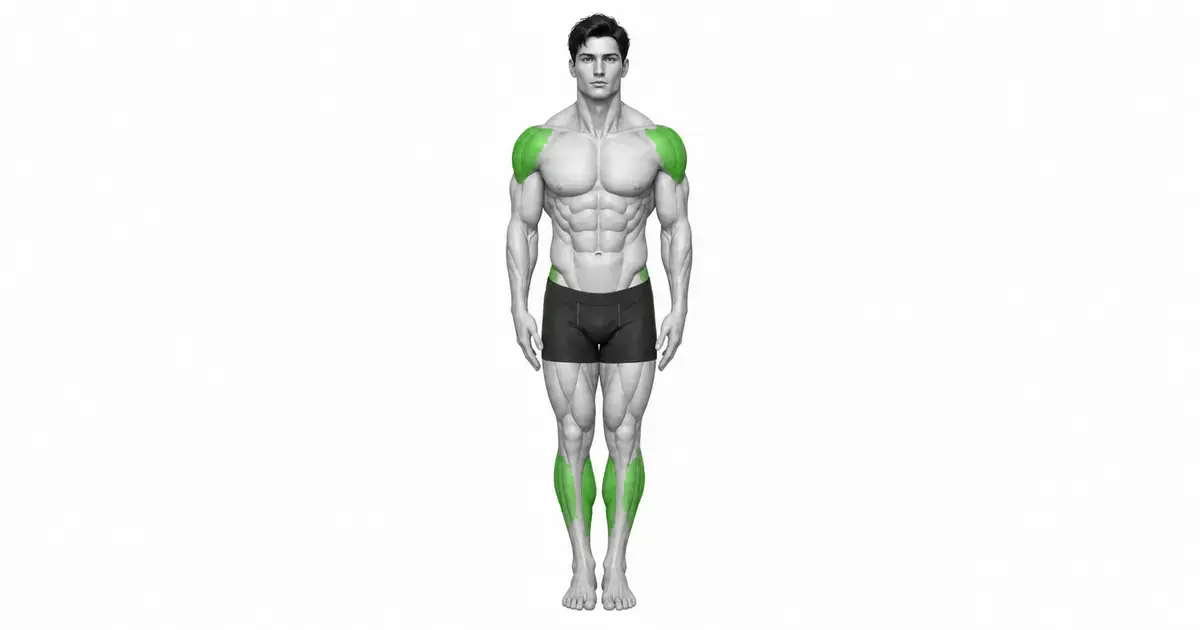
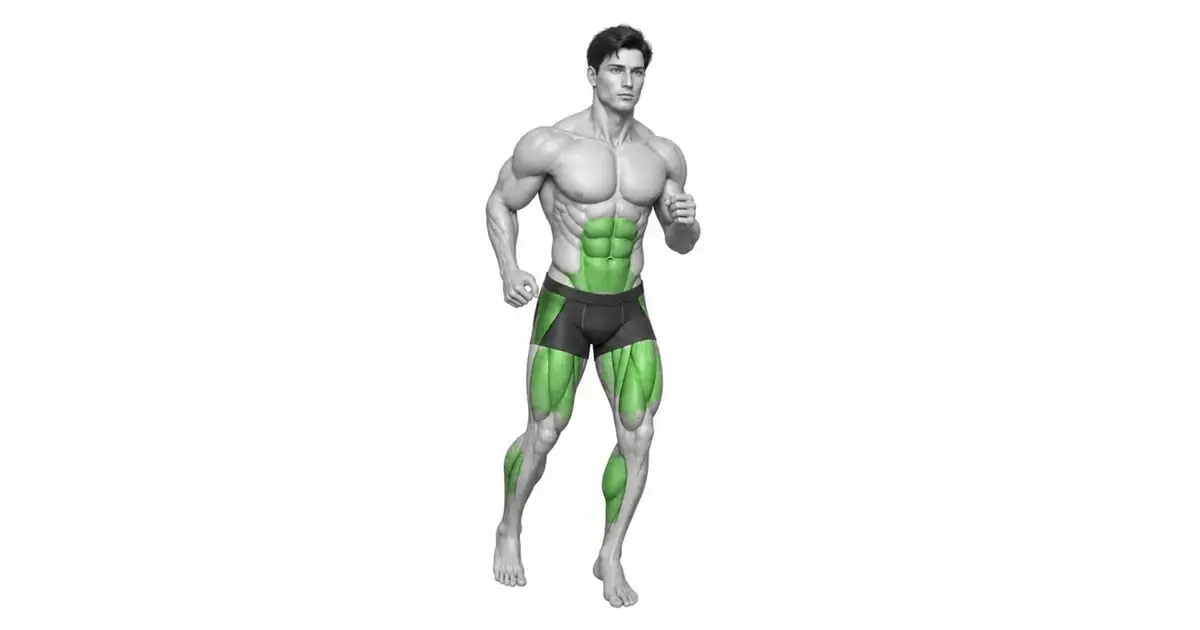
PLANK
Plank is not a long holding time, but an anti-extension exercise that connects tension from the elbows to the heels to prevent the lower back from bending.
Plank, which supports the body with the elbows and toes, is a core exercise that overcomes gravity and prevents the lower back from straightening or the pelvis from sagging. Raising your hips too high will reduce the demand on your abdomen, and if you're greedy for time and arch your lower back, you'll put more strain on your joints than you should aim for. Keep your posture short and sharp, with your elbows under your shoulders, your forearms pressed into the floor, and your ribs and pelvis overlapped.
- Primary muscles
- Transverse abdominis, rectus abdominis, obliques
- Secondary muscles
- Serratus anterior, deltoid, gluteus maximus, quadriceps femoris
- Difficulty
- Beginner
- Movement type
- Full body anti-extension isometric
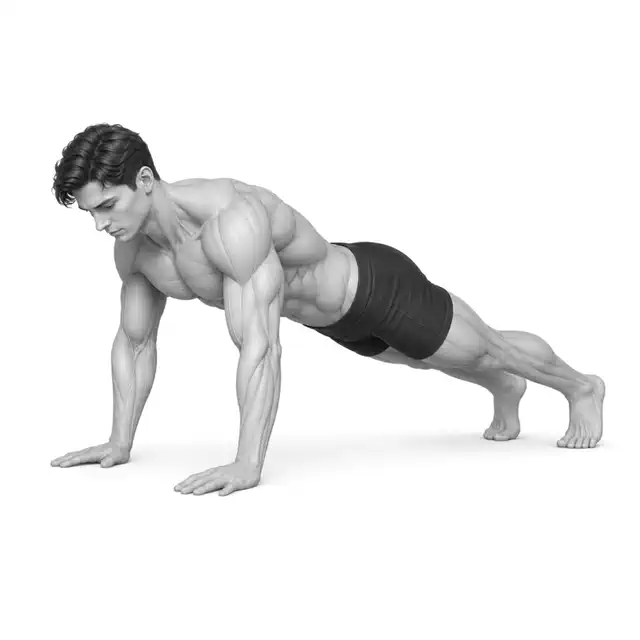
How long should I hold out?
There is no set minimum time. Repeat for 10 to 40 seconds with perfect alignment, and as it gets easier, adjust the difficulty to time.
STEP BY STEP
4 Steps for One Complete Rep
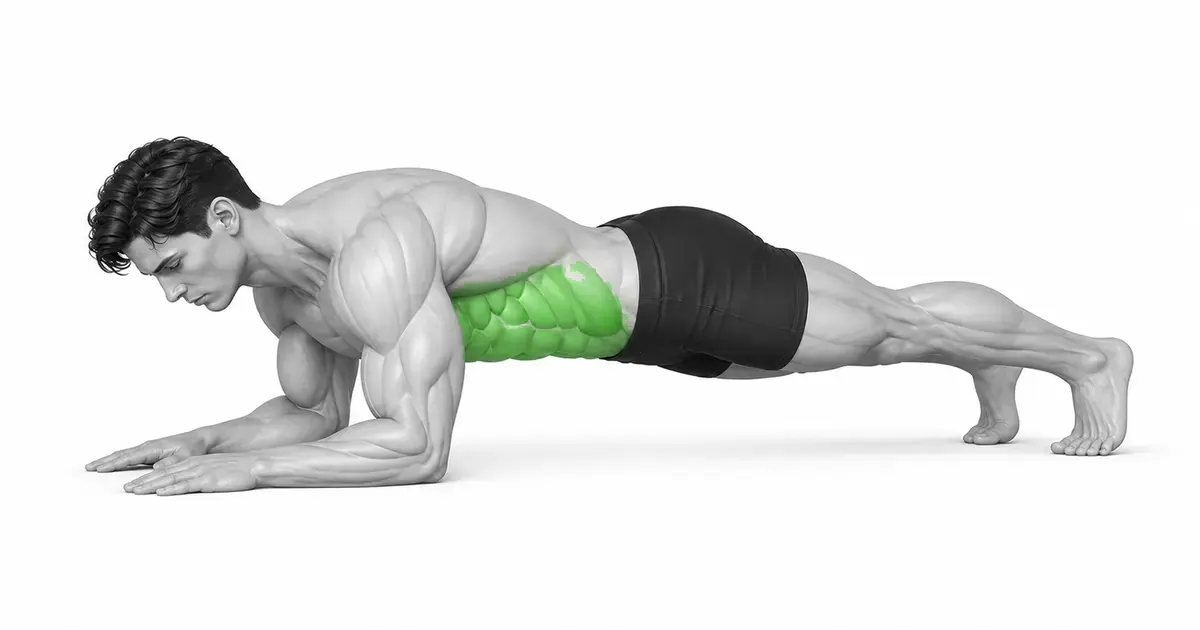
- 1
Place your elbows under your shoulders
Place your forearms on the mat and place your elbows directly under your shoulders. Hold your hands lightly or place your palms on the floor, but do not let your shoulders rise up to your ears.
- 2
Rise on tiptoes to create a long line of the body
Step one foot back, stand on tiptoe, and straighten your knees. Your head, back, pelvis, and heels should be in one gentle line.
- 3
Locking ribs and pelvis
Exhale long, lower your lower ribs and lengthen your tailbone toward your heels. Squeeze your glutes and quadriceps together.
- 4
Push with forearm, breathe and quit
Push your forearms into the floor, keeping your shoulder blades wide apart. Take a short breath and end the set by lowering your knees just before your lower back sags or your hips lift.
FULL-BODY TENSION
Not only tightens the abdomen, but also connects the forearms, glutes and legs as one chain.
If you think of pulling your elbows toward your toes and your toes toward your elbows, you will increase torso tension even without actually moving.
Do not hold your breath completely, but take short inhales and long exhales to maintain alignment.
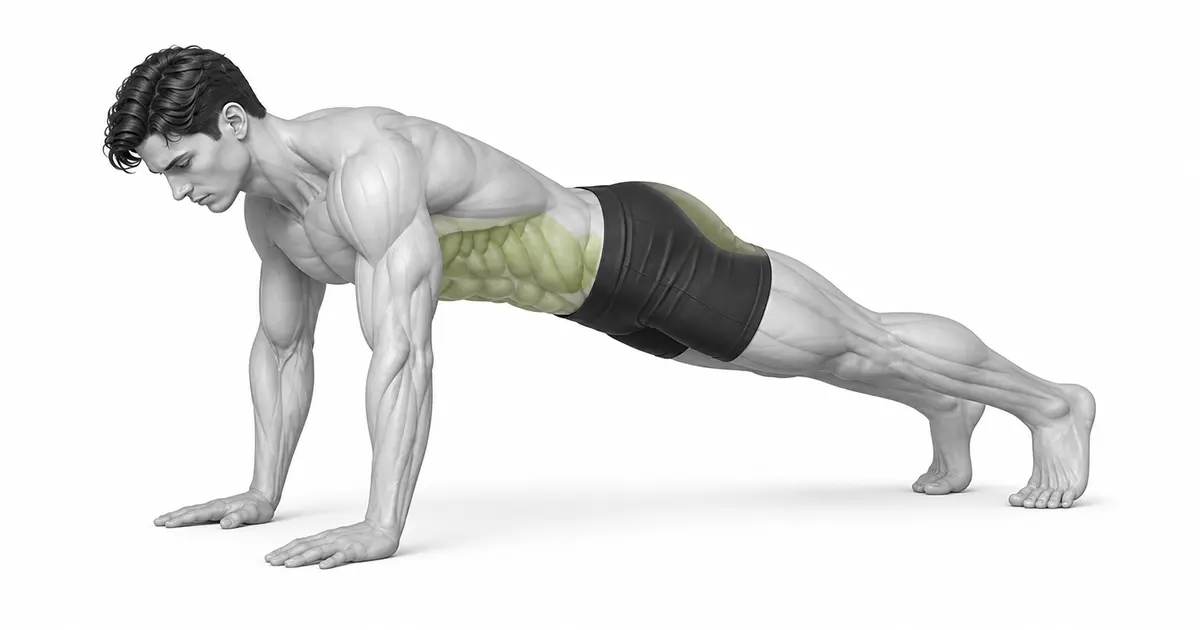
Key point: Cue to try right away: “Push into the floor and overlap your ribs and pelvis.”
QUALITY OVER TIME
Time after disalignment is not plank time
If your lower back sags or your hips rise significantly, quit immediately. 10 to 20 seconds of intense tension is better than 60 seconds of disorganized repetitions.
If it's easy, adjust the level of tension, such as long lever or RKC plank, rather than continuing to increase the time.
TROUBLESHOOTING
Fix the cause of a mistake, not just its appearance
Waist sags down
- What you see
- Your stomach sinks toward the floor and you feel pressure in your lower back.
- Likely cause
- Abdominal and gluteal muscles are relaxed or overtime.
- How to correct it
- Return to knee plank, exhale and bring your ribs and pelvis back together.
Lifting your hips too high
- What you see
- The body becomes mountain-shaped and the pelvis is much higher than the shoulders.
- Likely cause
- Collapsed hips to reduce abdominal demands.
- How to correct it
- Lower your pelvis slightly and tighten your glutes to create a long line from your head to your heels.
Shoulders collapse towards ears
- What you see
- The neck is shortened and the space between the shoulder blades is hollow.
- Likely cause
- Lean on your joints without pushing your forearms into the floor.
- How to correct it
- Keep your upper back wide by placing your elbows under your shoulders and pushing the floor away from you.
REGRESSION & PROGRESSION
Match the difficulty before adding load
High Support Plank
Lower gravity demands by placing forearms on the bench.
Knee Plank
Learn rib and pelvic alignment.
Forearm Flank
Keeps full body tension brief.
Long Lever Plank
Move the elbow forward to increase anti-extension demands.
BEGINNER PROGRAM
A practical starting framework
Repeat short sets of perfect alignment rather than holding for long periods at a time. If you already have a lot of core fatigue from other compound exercises, reduce the volume.
Time
10–40 seconds
Only sections where alignment is maintained
Set
2–5 sets
30–90 seconds recovery between sets
Frequency
2–5 times per week
Frequently possible at low volumes
- If alignment and breathing are maintained, increase the time in 5 second increments.
- Stop immediately if your back sags, your pelvis rises, or your shoulders collapse.
- If it easily exceeds 40~60 seconds, adjust the lever difficulty rather than the time.
Frequently asked questions
Why does my back feel stiff?
The ribs and pelvis may be out of alignment, causing hyperextension of the lumbar spine. Lie on your knees and re-establish abdominal and glute tension.
Do you have to hold your breath to become stronger?
No. You need to take short breaths and maintain alignment. Do not block breathing for long periods of time.