RACK CHIN-UP
Rack chin-up for pull-up conversion that adjusts the amount of assistance by foot position and pulls the torso in a straight line.
In rack chinups, bar and foot position and torso tension come first. Make sure the bar is fixed, hold your hands, and place your feet on the floor under the bar so that you are almost in a straight line from your head to your heels. Pull your chest toward the bar, but don't drop your hips or kick back. Placing your feet closer to the bar or bending your knees more can provide more assistance, while placing your feet further apart and lowering your body can increase the strain on your pull.
- Primary muscles
- Latissimus dorsi and biceps brachii
- Secondary muscles
- Rhomboids, middle trapezius, rear deltoids
- Difficulty
- Intermediate
- Movement type
- Foot assisted horizontal pulling
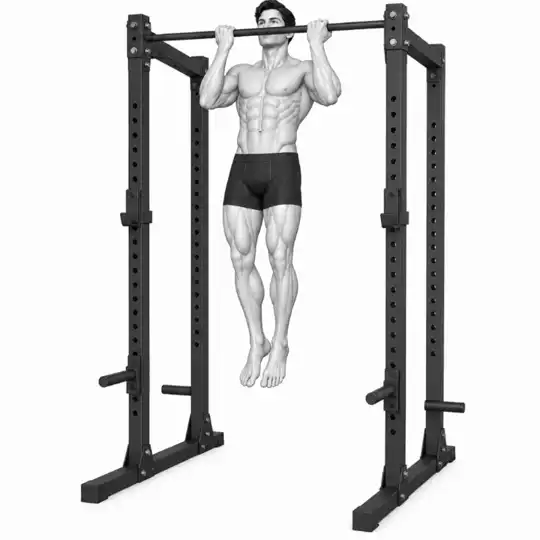
Where should I place my feet?
Initially, keep your torso close to one line and in a position where you can pull without kickback. In general, placing your feet closer to the bar or bending your knees more will provide more assistance, but this will vary depending on your body type and bar height.
STEP BY STEP
5 Steps for One Complete Rep
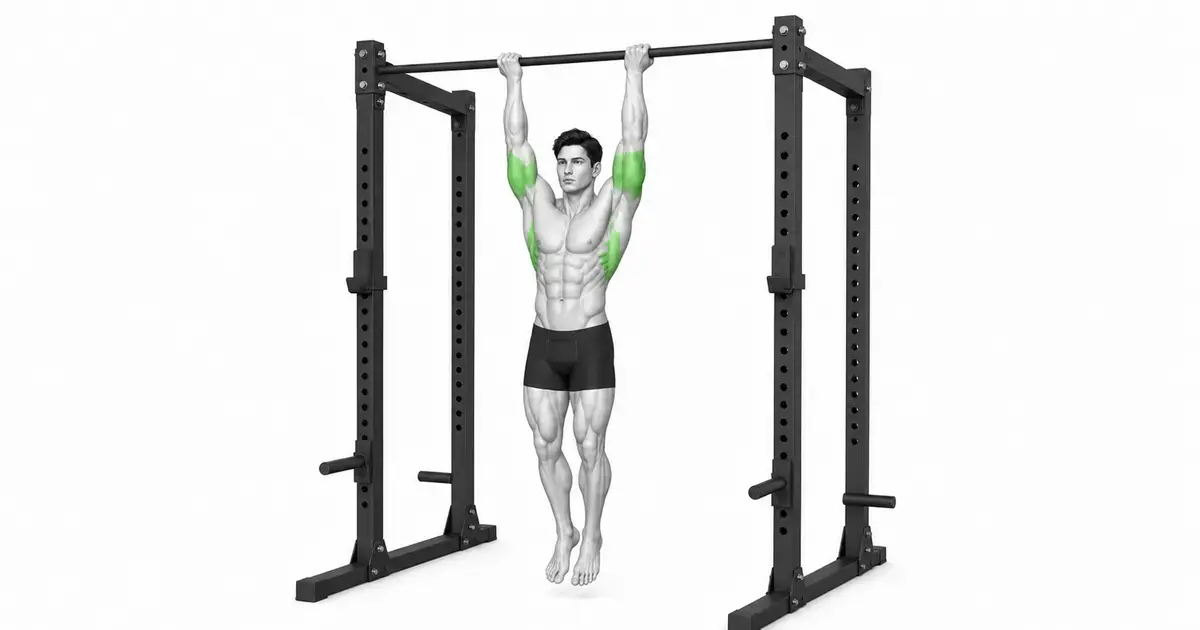
- 1
Check the bars and floor
Check whether the Smith machine is locked or the rack bar is secure. Make sure there are no slippery objects around the bar and your feet, and place the bar at a height you can comfortably reach.
- 2
Determine the assistance amount by foot position
Place your feet on the floor under the bar and hold the bar with your hands. You can increase leg assistance by placing your feet closer together or bending your knees more. Initially, choose an easy position that allows you to keep your torso in a straight line.
- 3
Keep your torso close to one line
Start with your arms extended, making sure your ribs and pelvis do not spread excessively. Create a light tension in your abdominals and glutes so that your hips don't sink to the floor or lift up.
- 4
Pull your chest toward the bar
Avoid raising your shoulders towards your ears and place your elbows behind your torso. Draw your chest toward the bar, but don't stick your neck forward or kick back.
- 5
Take Control Back
Extend your arms again, returning your body to the starting position over 2–3 seconds. Retract only within a comfortable range for your shoulders, and don't jump off the bar or start the next rep with a kickback.
FOOT ASSISTANCE
Foot position changes the amount of assistance but does not replace torso alignment
Rack chin-ups allow you to support some of your body weight by pressing your feet into the floor. In general, placing your feet closer to the bar or bending your knees more can provide more assistance, while placing your feet further apart and lowering your body can increase the strain on your pull.
However, changing your foot position can distract you from your targeted pulling pattern if your hips sag or your ribs are excessively lifted. See if you can maintain close to one line from head to heels before moving on to more difficult positions.
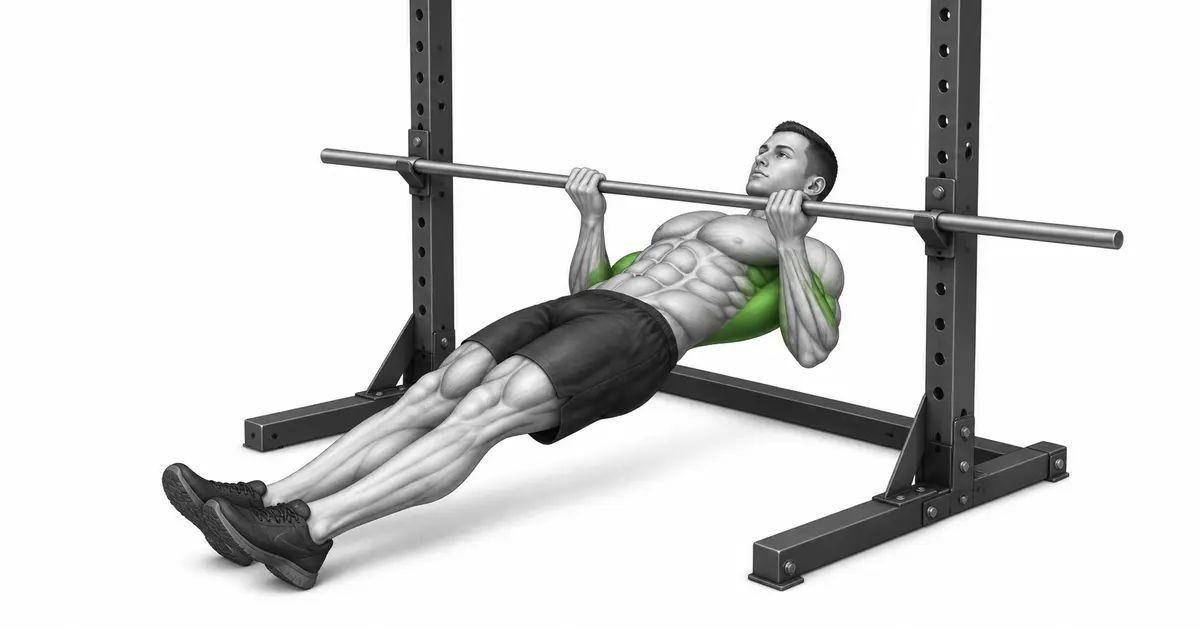
Key point: Lower body angle does not automatically mean better reps. Use only ranges that maintain torso alignment and controlled return.
BODY LINE
Don't throw your hips, but move your entire torso toward the bar.
At the beginning, extend your arms and do not open your pelvis and ribs excessively. When pulling, rather than just pulling your hands in, place your elbows behind your torso and move your chest toward the bar.
If your hips first drop to the floor or rise up, your motion will change and the strain on your back and shoulders may change. While pulling your arms, keep your feet firmly pressed to the floor and your neck long.
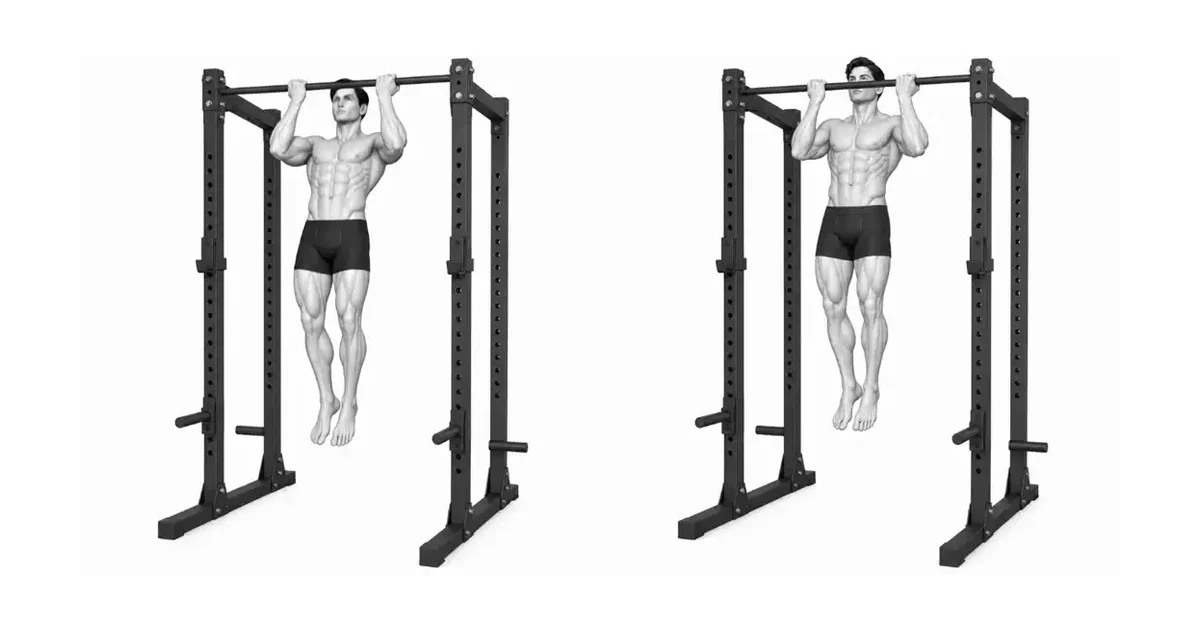
Key point: Do not crane your neck forward to reach the bar. Your chest and torso should go towards the bar together.
PROGRESSION
May be a step toward pull-ups, but not a replacement for pull-ups themselves
Rack chin-ups can be an option to practice back and arm pulling patterns with near-horizontal pulling and foot assistance. You can gradually change the difficulty level by adjusting your foot position and body angle.
However, increasing the number of rack chin-up reps does not mean you can safely perform regular pull-ups right away. Include separate dead hang, shoulder control, assisted pull-up, or controlled pull-up exercises as appropriate to your current abilities and goals.
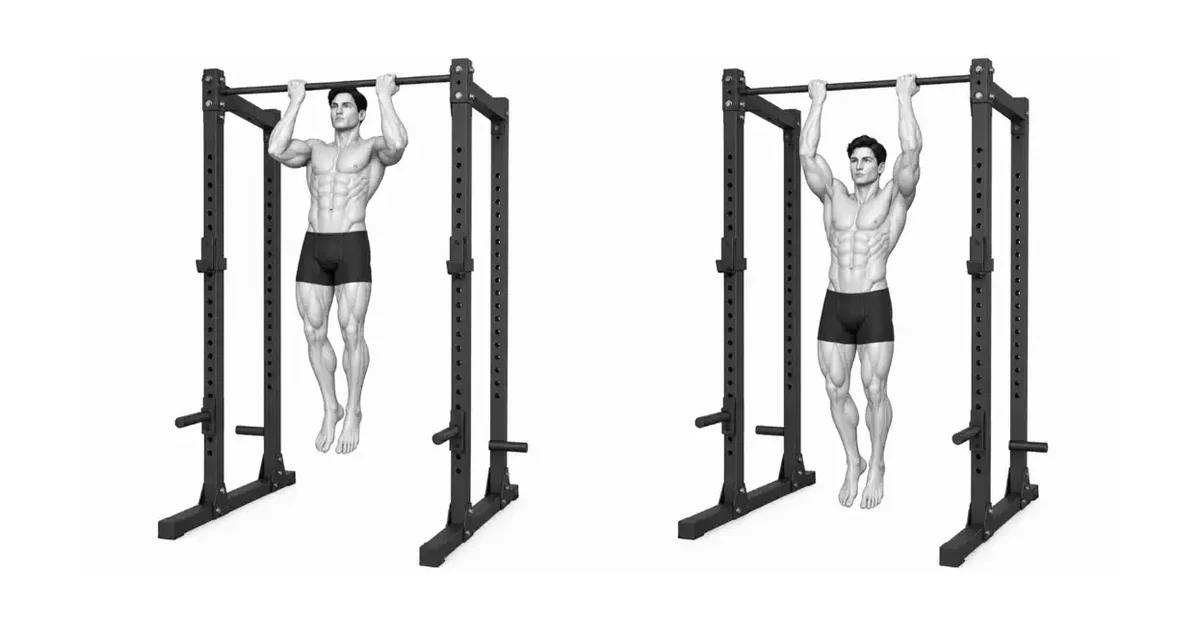
Key point: Rack chin-up can be a conversion tool. Also check your ability to hang on to the bar and your vertical pull skills separately.
TROUBLESHOOTING
Fix the cause of a mistake, not just its appearance
Not checking bar fixation status
- What you see
- The bar may rotate or wobble and the starting height is not as expected.
- Likely cause
- Smith machine lock or rack bar securement check may have been skipped.
- How to correct it
- Lightly test the bar before each repetition to check its fixation and height. If it is unstable, do not use it.
Sagging or excessive lifting of the buttocks
- What you see
- During the pull, the lower back arches or the pelvis bounces upward first.
- Likely cause
- Torso is relaxed or current angle is too difficult.
- How to correct it
- Increase assistance by moving your feet closer together, stabilize your ribs and pelvis, and try again.
Throws body in recoil
- What you see
- At the beginning of each repetition, your body shakes and bounces towards the bar.
- Likely cause
- You may be relying on inertia rather than controlling the load.
- How to correct it
- Delay the retraction to 2–3 seconds and pull from the stopped starting position without recoil.
Put your neck forward
- What you see
- Chin approaches the bar before the chest and the neck becomes shorter.
- Likely cause
- Height of contact with the bar may have taken precedence over rep quality.
- How to correct it
- Keep your neck long and stop at a range where your chest and torso move together.
Foot slips or changes position
- What you see
- Feet move during repetitions, changing assist amount and body angle.
- Likely cause
- The floor/shoes are slippery or the starting position is too difficult.
- How to correct it
- Use dry surfaces and stable shoes, then move your feet to an easier position and start again.
REGRESSION & PROGRESSION
Match the difficulty before adding load
High Bar Rack Chin-Up
Increase your body angle, increase foot support, and learn body alignment with the fixed bar.
Standard Rack Chinup
Pull your chest toward the bar and take controlled pullbacks for 2–3 seconds.
Low Bar Rack Chin-Up
Lower your body further to increase the pulling load, but only when there is no hip sagging or bounce.
Secondary pull-up or dead hang
Practice vertical pull and bar hang techniques separately, depending on your current ability.
BEGINNER PROGRAM
A practical starting framework
Start with 2–3 sets of 6–10 reps as part of a pulling routine 1–3 times per week. Record your foot position and bar height to compare repetitions under the same conditions. Move your feet further or increase repetitions only when you can maintain bar lock, torso alignment, pull without kickback, and 2–3 second return on all repetitions.
Repeat
6–10 times
Recoil-Free Chest-Bar Pull
Set
2–3 sets
60–90 seconds rest between sets
Progress
+1–2 times
Only when alignment and 2–3 second retracement are maintained
- Add 1–2 reps to the next session only when bar lock, foot position, torso alignment, kick-free pull and controlled return are maintained for all repetitions.
- If you experience hip drooping, neck thrusting, foot slipping, bar rotation, or shoulder/elbow pain, immediately return to an easier angle or stop.
- Record bar height, foot position, number of sets/reps, recovery time, and assisted pull-ups or dead hangs used.
Frequently asked questions
Can I do pull-ups right after doing rack chin-ups?
No. Rack chin-ups can be one step in practicing a foot-assisted pulling pattern, but they are not an automatic replacement for the vertical loading and hanging technique of a regular pull-up.
Should I put my chin on the bar?
Not required. It is more important to have a controlled range of movement of the chest and torso together towards the bar without the neck being thrust forward.