SINGLE-ARM LAT PULLDOWN
A one-arm cable pulldown that keeps the trunk stable while sending the elbow toward the ribs
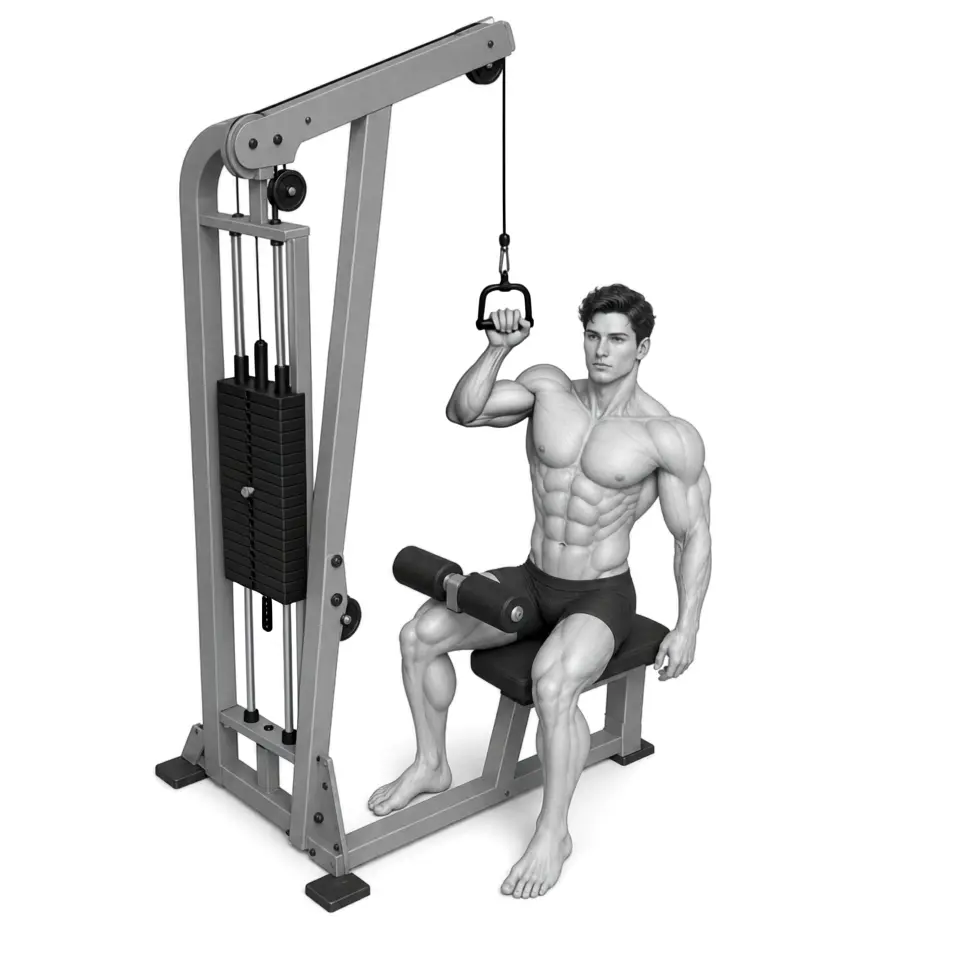
Cable height, handle, seat or thigh pad, and trunk position come first in a single-arm lat pulldown. Create a long-arm start only within a comfortable shoulder range, then draw the elbow toward the side of the ribs without lifting the shoulder toward the ear. Do not hyperextend the low back or force a strong torso twist to pull the handle lower. Return over 2–3 seconds with control and do not bounce the stack.
- Primary muscles
- Latissimus Dorsi
- Secondary muscles
- Teres Major · Biceps Brachii · Posterior Deltoids
- Difficulty
- Intermediate
- Movement type
- Single-Arm Vertical Pull
Can working one side at a time immediately fix an imbalance?
Working one side at a time may make each arm's path and control easier to observe, but it does not automatically or rapidly correct an imbalance. Prioritize the same setup and controlled repetition quality.
STEP BY STEP
5 Steps for One Complete Rep
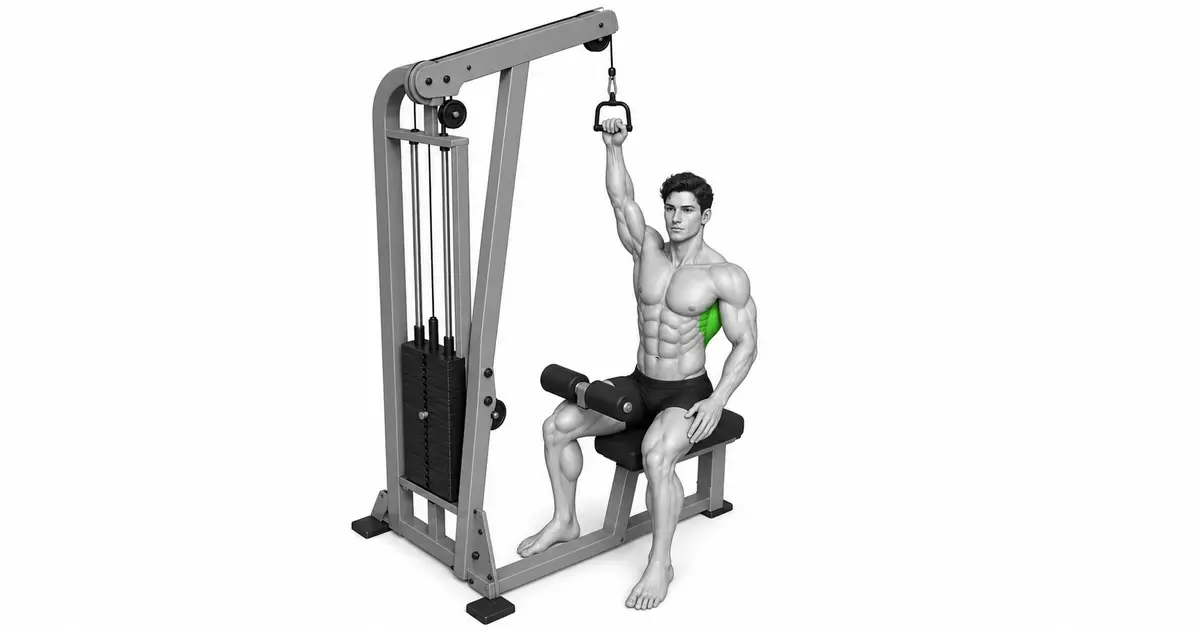
- 1
Check the cable and handle
Confirm that the D handle is safely attached to the high pulley and the selector pin is fully seated. Keep fingers, clothing, and objects clear of the cable, moving components, and stack.
- 2
Set a stable seat and trunk position
Adjust the seat or thigh pad so the body does not lift during the pull. Keep the trunk upright or only slightly angled without excessive low-back extension.
- 3
Create a controlled long-arm start
Grip the handle with one hand and reach upward only as far as the shoulder remains comfortable and does not forcefully elevate toward the ear. Use the opposite hand lightly only on an intended safe support point.
- 4
Draw the elbow toward the ribs
Rather than pulling only with the hand, send the elbow toward the side of the ribs. Do not shrug or use a large torso twist to move the stack.
- 5
Return over 2–3 seconds
Control the handle upward as the elbow returns, stopping within a comfortable shoulder range. Reduce load if stack contact noise or torso swing appears.
CABLE SETUP
Cable and trunk fixation come first in a one-arm pull
A one-arm cable movement can make it easier to shift load by leaning or rotating toward the opposite side. Set the seat, thigh pad, and foot position first so the body does not lift or rotate while the handle is pulled.
When the opposite hand is used for support, use only an intended safe fixed point rather than a handle, cable, or moving arm. Keep fingers, clothing, and objects clear of the cable and stack.
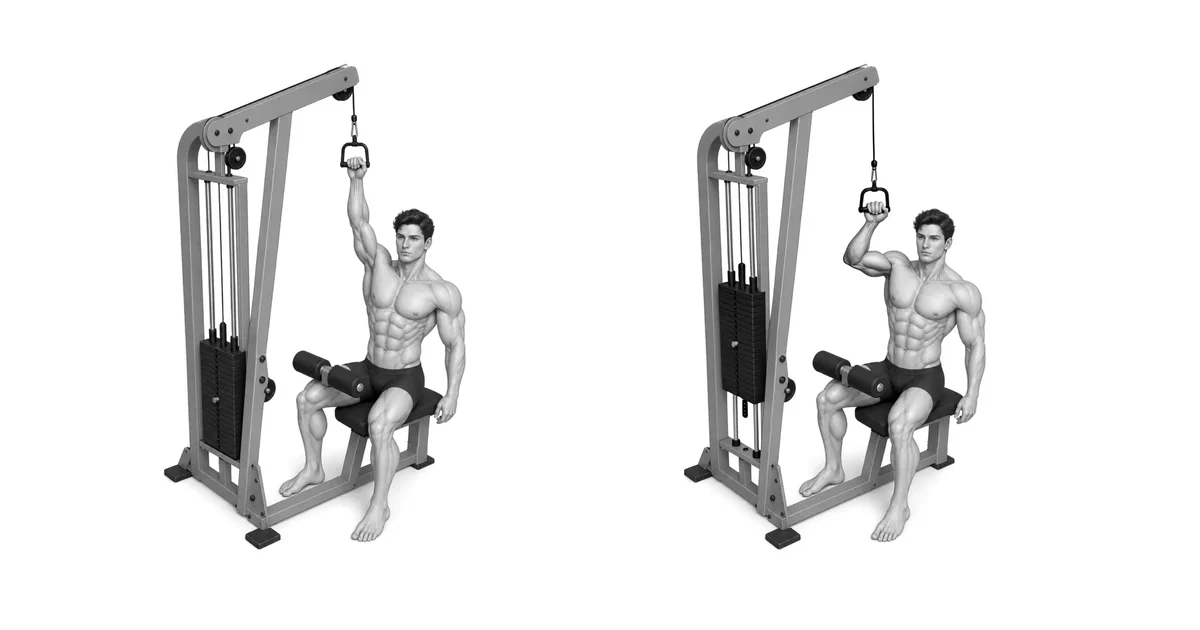
Key point: If a heavier load requires trunk rotation, it is heavier than current one-arm pulling control.
ELBOW PATH
Check the elbow route toward the ribs rather than chasing the handle
From a long arm within a comfortable shoulder range, send the elbow toward the side of the ribs. Keep the neck long and avoid raising the shoulder toward the ear.
There is no need to hyperextend the low back or strongly twist the trunk to send the elbow farther behind the body. Stop within the range that can be controlled comfortably for the shoulder and machine handle path.
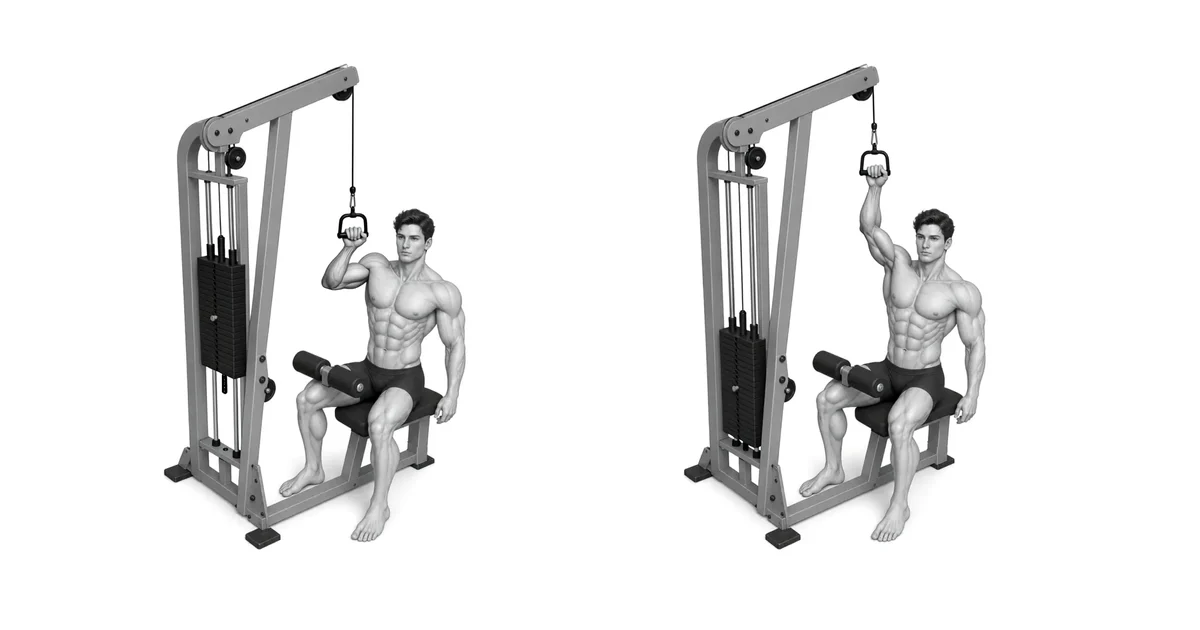
Key point: Pulling lower is not automatically a better repetition. Prioritize a controlled trunk and comfortable shoulder range.
RETURN & BALANCE
Compare sides under the same setup, not through momentum
One side at a time can make each arm's path and control easier to observe. It does not require immediately using more repetitions or load on one side to rapidly correct a difference.
Use the same seat, handle, load, and return time on both sides, then compare controlled repetition quality. If a 2–3 second return is not possible or the stack contacts loudly, load may exceed current control.
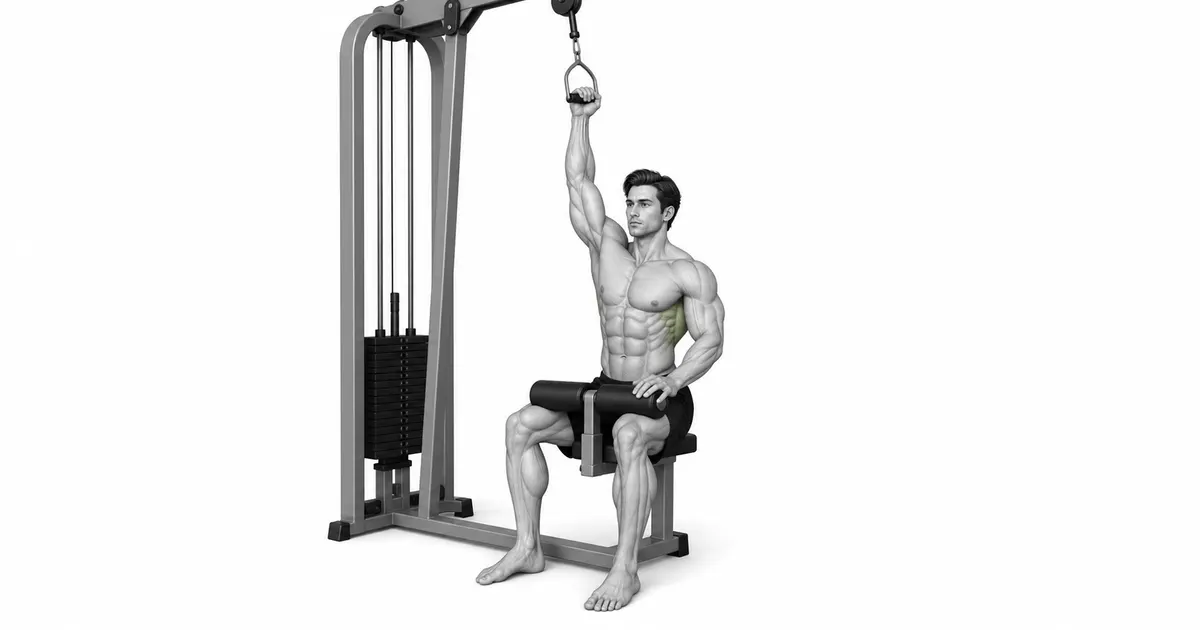
Key point: A side-to-side difference can be information for assessment. Consult a qualified professional if pain or functional loss persists.
TROUBLESHOOTING
Fix the cause of a mistake, not just its appearance
Large torso rotation or lean
- What you see
- The ribs and pelvis rotate strongly toward the handle during the pull.
- Likely cause
- Load may be too high or the seat, thigh pad, or foot position may not be stable.
- How to correct it
- Reduce load and reset the setup so the trunk can remain stable.
Shrugging the shoulder
- What you see
- The shoulder rises toward the ear and the neck shortens as the elbow comes down.
- Likely cause
- The starting range may be excessive or the load may exceed current shoulder control.
- How to correct it
- Use a more comfortable start range and keep the neck long. Stop if pain occurs.
Excessive low-back extension
- What you see
- The low back arches and ribs lift to pull the handle lower.
- Likely cause
- A lower handle position may be prioritized over elbow path.
- How to correct it
- Stop in a range with a stable trunk and reduce load if needed.
Bouncing the stack
- What you see
- The stack contacts at the end of the return and the next repetition begins with rebound.
- Likely cause
- The return may not be controlled or load may be too high.
- How to correct it
- Use a 2–3 second return and reduce load if stack contact continues.
Using unsafe machine parts as support
- What you see
- The opposite hand is near the cable, moving arm, or stack.
- Likely cause
- Moving components may have been used instead of a stable trunk position.
- How to correct it
- Use only an intended fixed point or create a safe position without opposite-hand support.
REGRESSION & PROGRESSION
Match the difficulty before adding load
Light bilateral lat pulldown
First learn cable and seat setup and a comfortable pulling range.
Light single-arm lat pulldown
Practice elbow path and a 2–3 second return without trunk rotation at low load.
Standard single-arm lat pulldown
Keep the same setup and repetition quality on both sides.
Small load increase
Increase only when every repetition avoids shrugging, low-back extension, and stack contact.
BEGINNER PROGRAM
A practical starting framework
Use this 1–3 times per week as an accessory back movement, beginning with 2–3 sets of 8–12 repetitions. Keep the same load, seat setting, and 2–3 second return on both sides. Do not rapidly add more load to one side merely because the exercise is unilateral, and do not complete repetitions with torso rotation.
Reps
8–12
Same setup and controlled return on both sides
Sets
2–3
Rest 60–90s between sets
Progression
+1–2 reps
Only when trunk, shoulder, and stack control remain
- Add 1–2 repetitions next session only when both sides retain the same seat, handle, load, return time, and trunk control.
- Immediately adjust load, range, or setup if torso rotation, shrugging, low-back extension, stack contact, or sharp pain appears.
- Record seat and thigh-pad position, handle, load, side repetitions, and return time together.
Frequently asked questions
May I lean slightly with the torso?
A small natural angle can occur depending on the machine and body proportions, but do not use large rotation, lean, or low-back extension to move the load.
How low should I pull the handle?
Pull only to the range where the elbow travels toward the ribs and the trunk and shoulder remain controlled. Do not extend the low back or ignore shoulder pain to pull lower.