TRAP BAR SQUAT
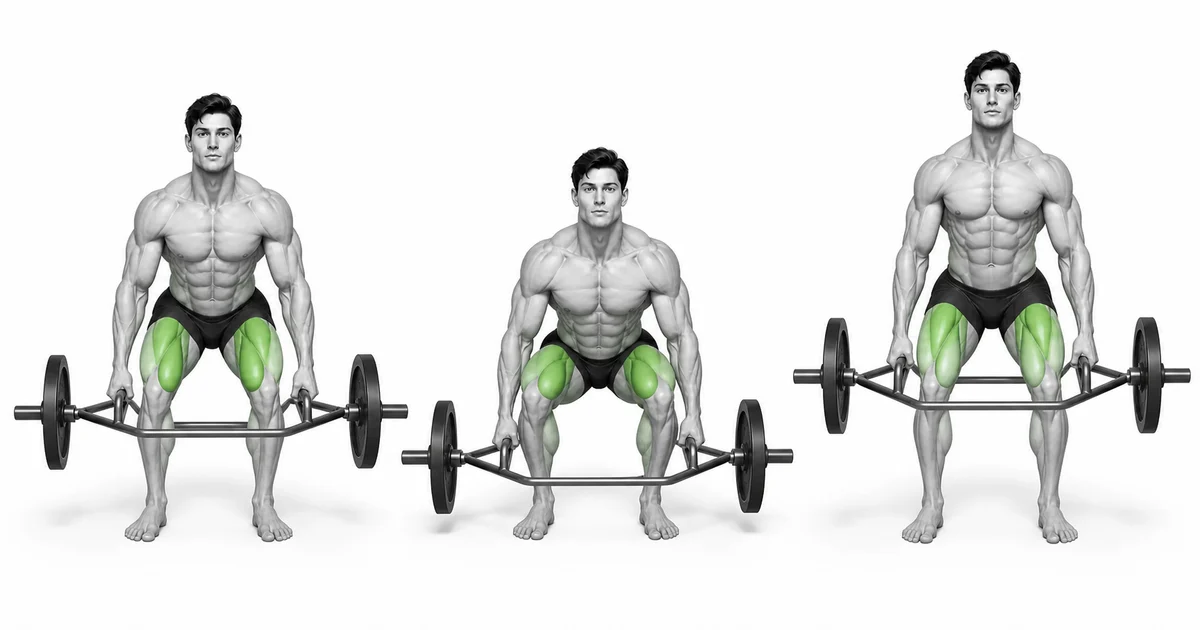
The trap bar squat is not an exercise where you only hold on to a handle and raise your upper body, but is a floor lift that stretches your knees and hips together in the center of the bar.
When you stand inside a trap bar and lift it with a neutral grip, the load wraps around your body and is more likely to rest closer to the middle of your feet than with a regular barbell. However, even if the name is a squat, there is a hip hinge element that starts from the floor, and the contribution of the knee and hip joints varies depending on the height of the handle and body type. Keep your feet in the center of the frame and do not force your upper body angle to be vertical, but rather let the bar and your body move together.
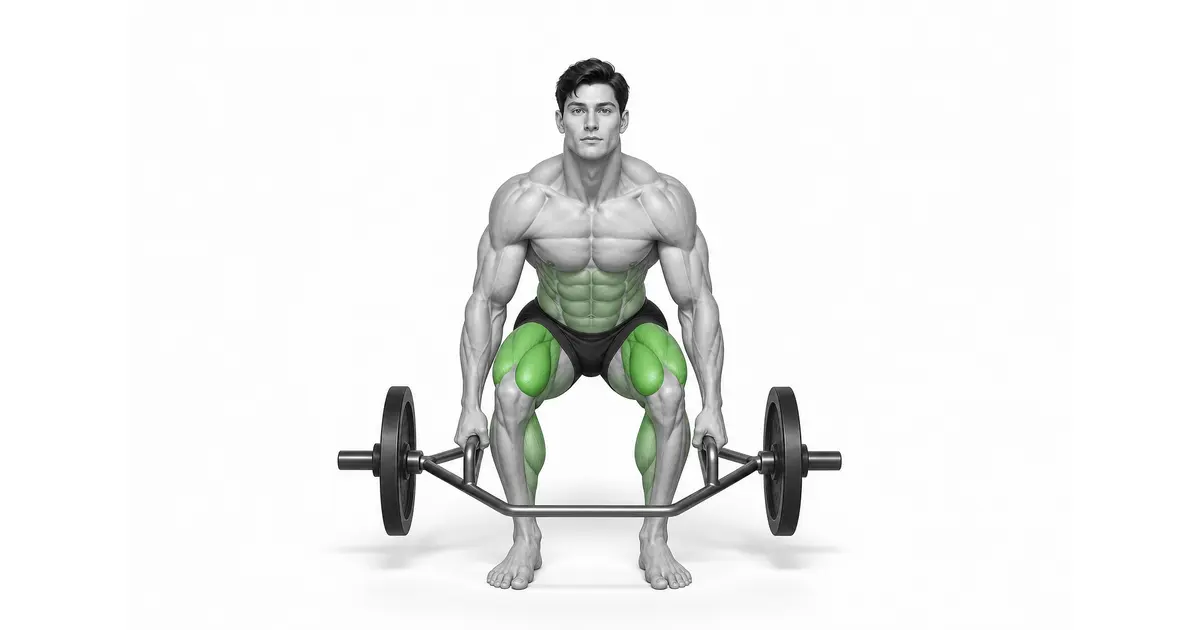
- Primary muscles
- Quadriceps and gluteus maximus
- Secondary muscles
- Hamstrings, adductors, erector spinae, forearms, core
- Difficulty
- Intermediate
- Movement type
- Neutral Grip Floor Lift Squat Type
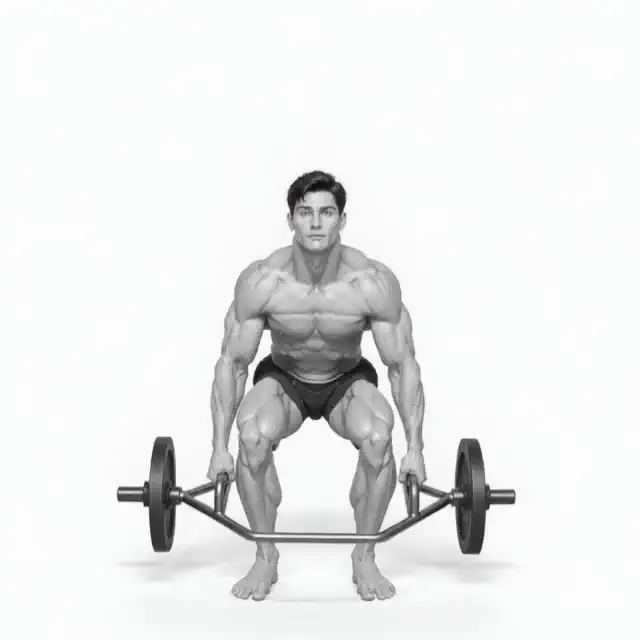
Trap bar squat or deadlift?
This is a movement that combines hip hinge and knee extension to lift the load from the floor. The weight varies depending on your posture and handle height, so look at the actual movement rather than the name.
STEP BY STEP
4 Steps for One Complete Rep
- 1
Align handle height and foot center
Choose a high or low handle to suit your range of motion and skill level. Place your feet in the center of the frame and make sure they are the same distance forward and back from the handles on both sides.
- 2
Create a neutral grip and full body tension
Bend your hips and knees to grasp the handles and tighten your armpits to stabilize your shoulders. Inhale to create abdominal pressure and first remove any clearance from the bar.
- 3
Push off the floor to stand together
Push the floor with your entire foot and straighten your knees and hip joints at the same time. Ensure that your chest and pelvis rise at the same rate and that your frame does not tilt forward or backward.
- 4
Bend hips and knees to place
At the top, stand straight without bending your back, then send your pelvis back and bend your knees to lower the bar vertically. When the disc touches the floor, it resets the tension.
STAY CENTERED
Trap bar tilts back and forth when off center of frame
If your feet are too far forward or too far back, the handle may become skewed during the ascent and one disc may lift first. Before starting, check the gap between the frame and your feet left, right, front and back.
If the position changes after placing it on the floor after each repetition, immediately center it again.
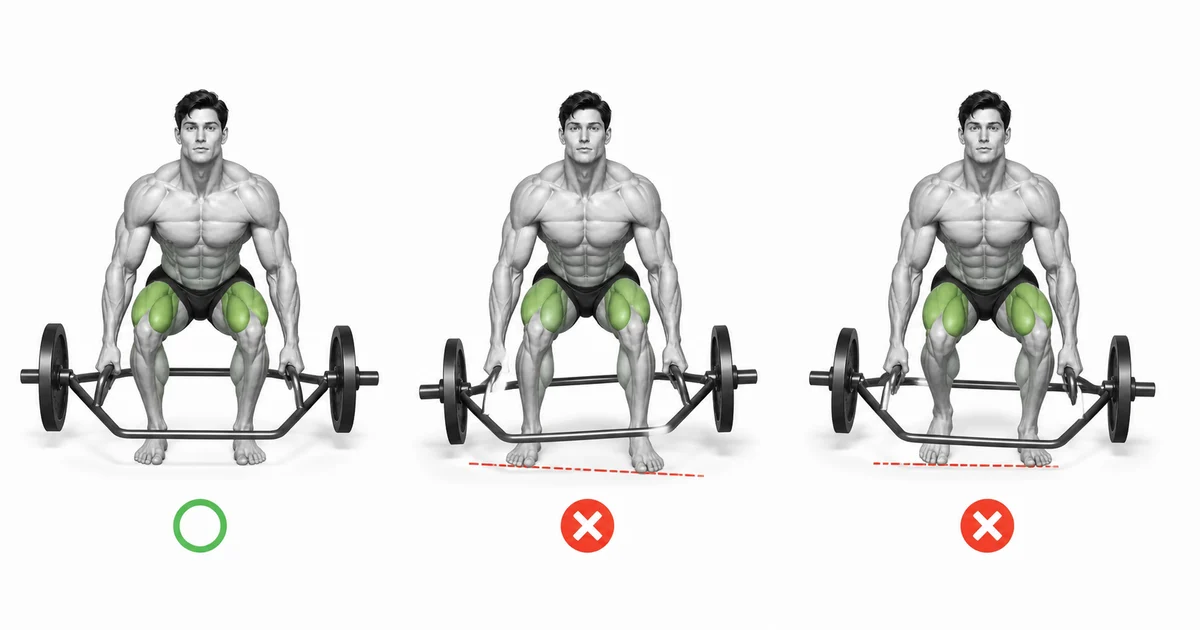
Key point: Cue to try right now: “Push the floor from the center of the bar.”
HANDLE HEIGHT
A high handle is a regression that reduces the range of motion, and a low handle is not always the answer.
High handle reduces the starting range of the lower back and hips, making floor lifts easier to master. Low handlebars require greater knee and hip bending and range of motion.
Prioritize neutral spine, foot pressure, and frame levelness over handle selection.
TROUBLESHOOTING
Fix the cause of a mistake, not just its appearance
Is biased toward the back or front of the frame
- What you see
- One disk floats first and the handle tilts back and forth.
- Likely cause
- Center of feet and bar not checked.
- How to correct it
- Put the bar down, adjust the distance between the ends of the frame and your feet, and start again.
Only the pelvis rises first
- What you see
- The knees are extended first and the upper body is lowered toward the floor.
- Likely cause
- The weight is heavy or the force pushing the floor and the body fixation are separated.
- How to correct it
- Lower the weight and raise your chest and pelvis together on the high handle.
Excessive arching of the waist at the top
- What you see
- In the locked position, the ribs are lifted and the lower back is compressed.
- Likely cause
- Hip extension followed by lumbar extension adds range.
- How to correct it
- Pause in an upright position, squeezing your glutes and keeping your ribs over your pelvis.
REGRESSION & PROGRESSION
Match the difficulty before adding load
Kettlebell deadlift
Learn to load the center of your body and push the floor.
High Handle Trap Bar Lift
Practice frame leveling at short ranges.
Low Handle Trap Bar Lift
Apply when there is sufficient scope and control.
Trapbar Tempo or Stop Variant
Enhances starting position and descent control.
BEGINNER PROGRAM
A practical starting framework
Record the trap bar's own weight and handle height. Resetting each rep from the floor reduces positional confusion and allows you to accurately compare weight progress.
Count
3–8 times
Reset at bottom of every iteration
Set
3–5 sets
2–4 minutes recovery between sets
Frequency
1–2 times a week
Combined with squat and deadlift volume
- If the starting position, such as frame horizontal, is maintained, increase the number of repetitions first.
- If pelvic tilt, back bending, or grip loosening occurs, reduce the weight or range of motion.
- Bouncing off the floor does not lead to the next repeat.
Frequently asked questions
Does using a high handle make it less effective?
No. It reduces range of motion but is useful for steady starts and progressive loading. Choose according to your goals and current range of motion.
Do I need to keep my upper body fully upright?
Not required. Depending on your body type, you may be inclined, but a neutral spine, mid-foot balance, and frame level are more important.