ZERCHER SQUAT
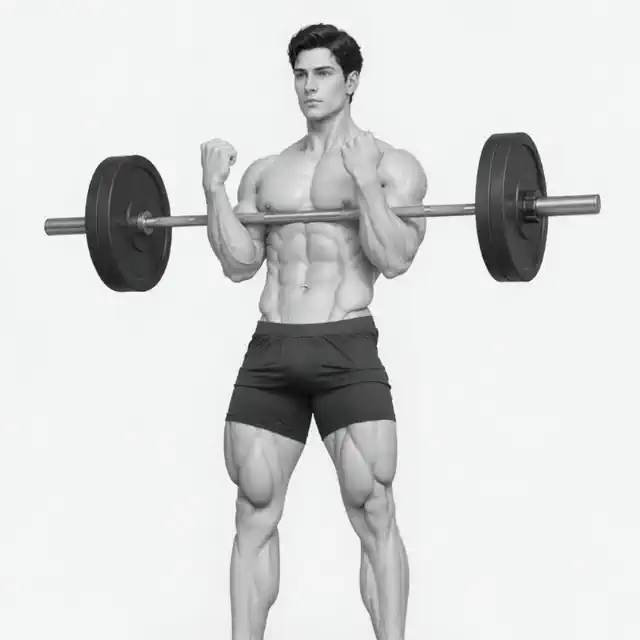
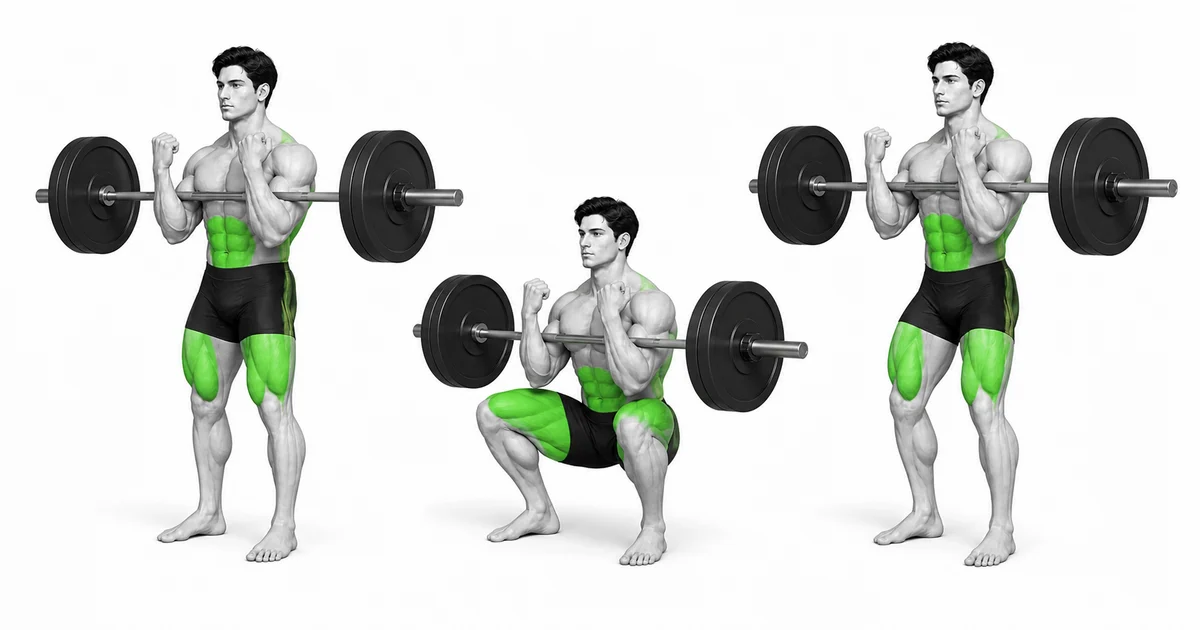
The zercher squat is not an exercise where you curl the bar with your arms, but rather a squat that supports the front load on the inside of your elbows with your torso and lower body.
The zercher squat places the barbell inside the elbows, placing the center of gravity in front of the body, placing great anchoring demands on the torso and upper back. Deadlifting the bar from the floor and raising it to your thighs is a separate skill to master, and in general training, it is safer to use a rack and safety pins to unrack it at a comfortable height. You can use a pad or towel on the elbow crease, but do not proceed with numbness or sharp pressure in your hand.
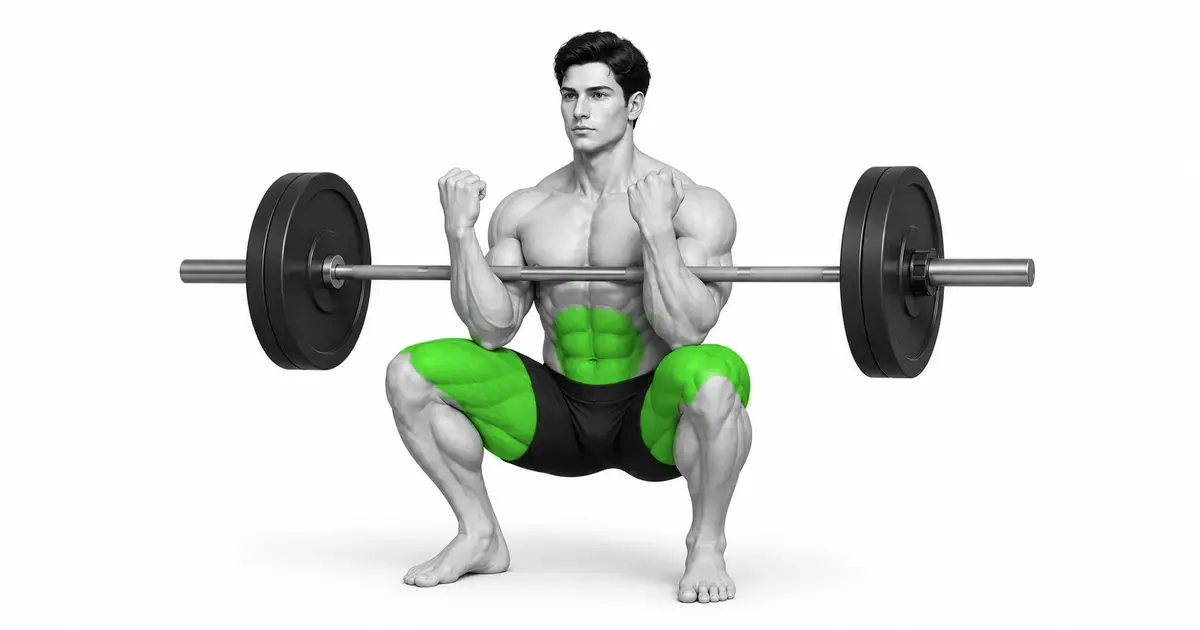
- Primary muscles
- Quadriceps, gluteus maximus, adductors
- Secondary muscles
- Core, upper back, biceps, forearms
- Difficulty
- Intermediate
- Movement type
- Elbow inner front load squat
Is it normal for elbows to hurt?
There may be widespread pressure, but stabbing pain or numbness in the hand is not considered normal. Adjust bar position and weight and use pads.
STEP BY STEP
4 Steps for One Complete Rep
- 1
Setting Rack and Safety Height
Place the bar at an elbow-friendly height and set the safety pin just below the lowest depth. Practice pressing positions and rack returns with an empty bar.
- 2
Support bar inside elbow
Place your arms under the bar, keeping the bar close to your elbow crease. Keep your palms or fists together and your elbows close to your body to prevent the bar from rolling outward.
- 3
Sit while maintaining upper back
Unrack the bar and move it back briefly to create abdominal pressure. Bend your knees and hips together, place your elbows between your thighs, and place your entire foot on the floor.
- 4
Raise chest and pelvis together
Stand up by pushing off the floor with your feet to prevent your upper back from collapsing. After fully standing, approach the rack and make sure the bar touches both supports before putting it down.
ELBOW CRADLE
The bar is not lifted with the biceps, but rests on a shelf inside the elbows
Spreading your elbows causes the bar to roll down and forward, putting unnecessary force on your wrists and arms. Keep your elbows close to your torso and your forearms relaxed.
If the pressure is uncomfortable, you can use thick clothes or a special pad, but do not wrap it so loosely that the bar slips.
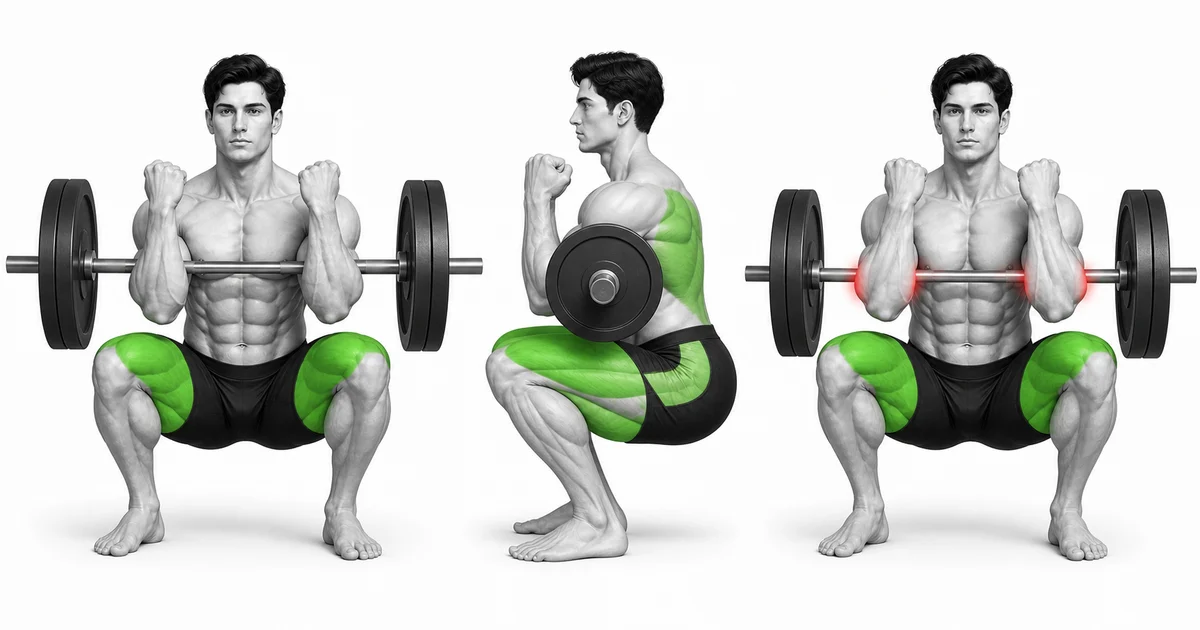
Key point: Cue to try right away: “Put your elbows on your back and keep your hands on the bar.”
UPPER-BACK CONTROL
As the bar is pulled forward, it is important not to lose upper back and abdominal pressure.
At the bottom, your elbows drop and your back collapses, moving the bar forward to mid-foot. Rather than lifting your chest excessively, keep your upper back wide with your ribs and pelvis overlapped.
The depth at which the elbow touches the thigh varies depending on body type. There is no need to round your back to aim for contact.
TROUBLESHOOTING
Fix the cause of a mistake, not just its appearance
Support the bar by curling it with your arms
- What you see
- Biceps and wrists tire quickly and the bar bobs up and down.
- Likely cause
- The bar is placed on the forearms rather than the elbow creases.
- How to correct it
- Reposition the bar from the rack to an empty bar, distributing the weight on the rack inside your elbows.
Elbows apart, bar rolling
- What you see
- During descent, hands drop and bar moves away from body.
- Likely cause
- Hand connection and upper back are loose or overweight.
- How to correct it
- Lower the weight and depth, keeping your hands together and elbows close to your body.
Upper light becomes sharply rounded
- What you see
- At the bottom, the bar drops forward and your chest folds toward your knees.
- Likely cause
- Depth or load was given priority over abdominal pressure and upper back strength.
- How to correct it
- Raise the height of your safety and practice tempo repetitions while maintaining your upper back.
REGRESSION & PROGRESSION
Match the difficulty before adding load
Goblet Squat
Learn front load and upright body.
Empty Bar Zercher Hold
Practice elbow shelves and breathing.
Box Zercher Squat
Creates consistent depth and bar position.
Zerzer Squat
Gradually increase load as alignment is maintained.
BEGINNER PROGRAM
A practical starting framework
This variation causes a lot of arm strain and upper back fatigue, so start with light weight and low volume at first. Even if the number is lower than a regular squat, it is not a failure.
Count
4–10 times
Maintains bar position and top light
Set
3–4 sets
2–3 minutes recovery between sets
Frequency
1–2 times a week
Control with arm and back training fatigue
- If elbow shelves and upper back are maintained, increase the number of repetitions first.
- If you experience numbness in your hands, sharp pressure on your arms, or rolling of the bar, place it on the rack immediately.
- The advanced method of lifting the bar from the floor and moving it into position is not attempted without special skill.
Frequently asked questions
Should your elbows touch between your knees?
Not required. Neutral spine, foot pressure, and the depth at which the bar position is maintained are priorities.
Can I start by lifting the bar from the floor?
That method adds deadlifts and wrap transition techniques. In most cases, unracking is simpler and safer.